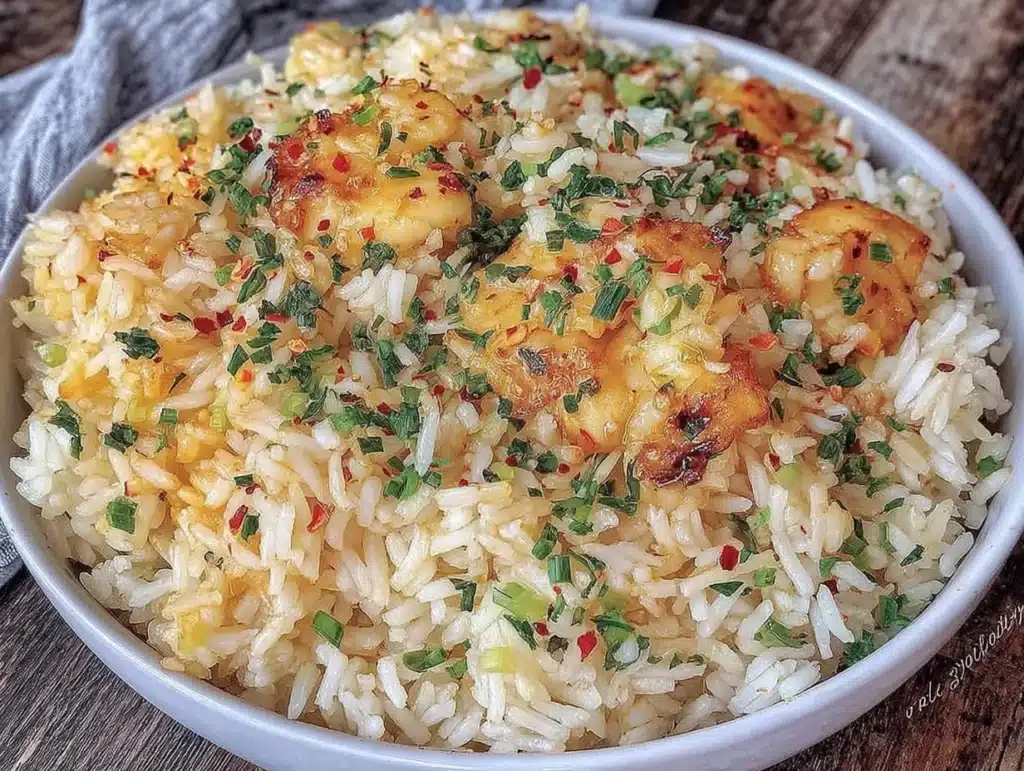
There is nothing quite like the smell of butter and toasted garlic hitting hot rice. It stops you in your tracks. I remember standing in my tiny college kitchen, staring at a pot of plain white rice that tasted like sadness. It was dry, bland, and completely forgettable. My roommate asked if I had lost my mind for spending hours on “just rice.” Let’s face it, most of us treat rice as an afterthought. We dump it in the rice cooker and hope for the best.
But honestly, homemade seasoned rice is a game-changer. It transforms from a basic filler into a star side dish. The secret isn’t fancy ingredients. It’s actually just three things: rice, fat, and flavor. When you take the time to toast the grains and bloom the spices, you unlock a depth of flavor that instant packets just can’t match. I’ve tested this method over a dozen times, tweaking ratios until it was perfect.
This homemade seasoned rice recipe is my go-to for weeknight dinners. It pairs perfectly with crispy garlic chicken or roasted vegetables. You know how some recipes feel like hard work? This one doesn’t. It’s forgiving and fast. You likely have every ingredient in your pantry right now. That’s the beauty of it. It turns a humble grain into something soul-soothing. Trust me, once you taste the difference, you’ll never go back to plain steamed rice again. It’s comfort food, simplified.
Why You’ll Love This Recipe
I’ve been cooking for years, and I still come back to this simple method. It’s not about being fancy; it’s about getting the fundamentals right. After years of trial and error, I’ve found that the key to great rice is patience. You need to let the aromatics cook in the fat before adding the liquid. This step creates a flavor base that sticks to every single grain. It’s a technique that professional chefs use, but you can do it at home with zero stress.
Here is why this specific version of homemade seasoned rice stands out from the crowd:
- Quick & Easy: It comes together in under 30 minutes. This is perfect for busy weeknights when you need a side dish that doesn’t require babysitting. You can toss it together while your main protein cooks.
- Simple Ingredients: No fancy grocery trips needed. You probably already have rice, butter, and garlic in your kitchen. It’s a pantry staple recipe that feels gourmet but costs pennies.
- Perfect for Meal Prep: This rice reheats beautifully. The flavors actually meld together overnight, making it even better the next day. It’s ideal for lunch boxes or quick dinners later in the week.
- Crowd-Pleaser: Kids and adults alike love it. The savory garlic notes are familiar and comforting. It’s a safe bet for potlucks or family gatherings where you want everyone to smile.
- Unbelievably Delicious: The texture is fluffy but distinct, not mushy. Every bite has a hint of richness from the butter and a punch of garlic. It’s next-level comfort food.
What makes this recipe different is the toasting step. Most people skip this, and that’s why their rice tastes flat. By cooking the rice in the butter first, you coat the grains in fat. This prevents them from sticking and adds a nutty aroma. It’s a small tweak that makes a huge difference. This isn’t just another rice recipe; it’s the best version of it. It’s the kind of side dish that makes you close your eyes after the first bite. It turns a simple meal into something memorable without any extra effort.
What Ingredients You Will Need
This recipe relies on the quality of your base ingredients. Since there are only three main components, each one plays a vital role. The rice provides the structure, the butter adds richness, and the garlic brings the aromatic punch. You don’t need a dozen spices or hard-to-find items. This is about simplicity and balance. Using pantry staples ensures you can make this any day of the week.
- Long-Grain White Rice: I recommend using brands like Jasmine or Basmati for the best texture. Jasmine rice has a slight floral note that pairs well with garlic. Basmati is firmer and fluffier. Avoid short-grain rice for this method, as it can get too sticky. Look for bags that say “long-grain” clearly.
- Unsalted Butter: This is non-negotiable for me. Butter adds a creamy mouthfeel that oil just can’t match. I prefer European-style butter for its higher fat content, but standard salted butter works too. If you use salted butter, reduce the added salt later. The fat also helps toast the rice evenly.
- Fresh Garlic: Please, skip the jarred stuff. Fresh garlic cloves are essential here. I use about three to four medium cloves. You want to mince them finely so they distribute evenly. If you use large cloves, taste them first, as they can be sharper. Fresh garlic blooms in the butter, creating a fragrant oil.
- Chicken or Vegetable Broth: Using broth instead of water adds significant depth. I like to use low-sodium broth so you can control the salt level. If you don’t have broth, water is fine, but the flavor will be milder. Bone broth is a great option for extra protein.
- Salt and Black Pepper: Kosher salt is my go-to because it’s easy to pinch. Use about one teaspoon for this amount of rice. Freshly cracked black pepper adds a nice heat. Don’t skip the pepper; it balances the richness of the butter.
- Optional Parsley: For color, I often stir in fresh chopped parsley at the end. It adds a fresh contrast to the heavy garlic flavor. If you don’t have fresh herbs, dried oregano works in a pinch.
For the best results, I suggest using a heavy-bottomed pot. It distributes heat evenly and prevents scorching. I’ve tried this in a rice cooker, but the stovetop method gives you more control over the toasting phase. The texture is noticeably better when you cook it on the burner. It’s worth the extra five minutes of attention.
Equipment Needed
You don’t need fancy gadgets to make this rice. A standard kitchen setup works perfectly. The most important tool is a good pot. I use a 3-quart saucepan with a tight-fitting lid. The lid is crucial because it traps steam, which cooks the rice evenly. If your lid doesn’t seal well, you might need to cover the pot with foil as well.
A sharp chef’s knife and a cutting board are needed for mincing the garlic. I also recommend a fine microplane grater if you want the garlic to dissolve completely into the butter. This creates a smoother sauce. For measuring, standard cups and spoons are fine. I use a wooden spoon to stir the rice, as it doesn’t scratch the pot. If you don’t have a wooden spoon, a silicone spatula works too. Avoid metal spoons if your pot is non-stick.
For budget-friendly options, a basic stainless steel pot from any discount store is perfect. You don’t need expensive copper or copper-core pans. Just make sure the bottom is flat and thick. Thinner pots can burn the rice quickly. I also keep a set of measuring cups handy. Consistency is key in cooking, so accurate measurements help you get the same result every time. Clean your garlic press often, as dried garlic can be hard to remove.
Preparation Method
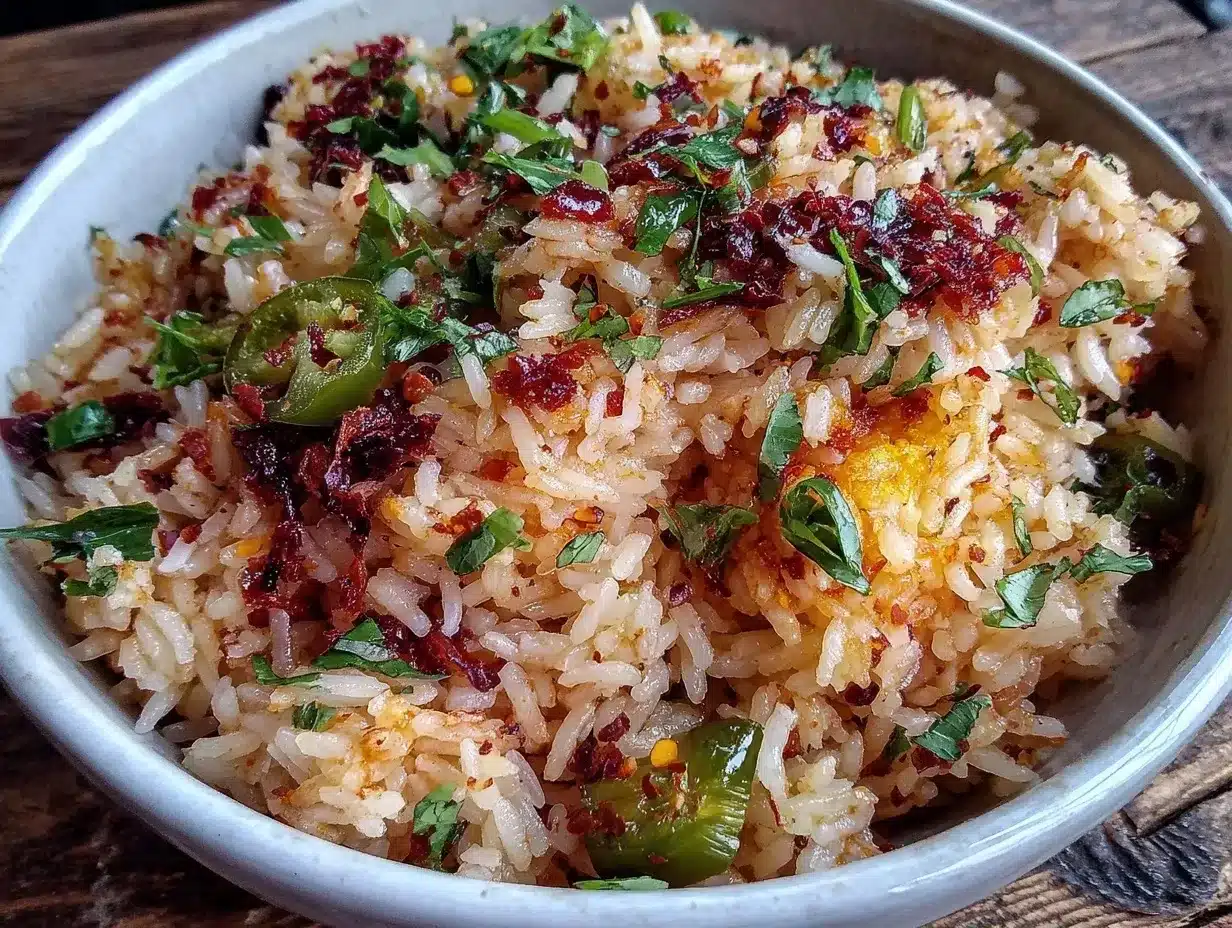
Let’s walk through the steps to make this homemade seasoned rice. It’s straightforward, but timing matters. Follow these steps closely for the best results. The process takes about 25 minutes total, including prep.
- Rinse the Rice (2 minutes): Start by measuring out two cups of long-grain white rice. Place it in a fine-mesh strainer and rinse it under cold water. Swirl it with your hand until the water runs clear. This removes excess starch, which prevents the rice from becoming gummy. It’s a crucial step for fluffy results.
- Mince the Garlic (1 minute): While the rice drains, peel three to four cloves of fresh garlic. Use your chef’s knife to mince them as finely as possible. You want small pieces that will melt into the butter. If you prefer a stronger garlic flavor, crush them with the side of your knife first.
- Toast the Rice (5 minutes): Heat two tablespoons of unsalted butter in a medium saucepan over medium heat. Once the butter melts and foams, add the drained rice. Stir constantly for about five minutes. The rice should start to look translucent and smell nutty. This toasting step is what gives the rice its signature flavor. Don’t rush this part.
- Add Garlic and Broth (1 minute): Add the minced garlic to the pot. Stir for 30 seconds until it’s fragrant. Be careful not to burn it. Then, pour in four cups of chicken or vegetable broth. Add one teaspoon of salt and half a teaspoon of black pepper. Stir to combine everything.
- Simmer (18 minutes): Bring the mixture to a boil. Once it boils, reduce the heat to low. Cover the pot with a tight-fitting lid. Let it simmer undisturbed for 18 minutes. Do not lift the lid during this time. Steam needs to stay inside to cook the rice properly. If you peek, you lose the steam.
- Rest and Fluff (5 minutes): After 18 minutes, turn off the heat. Keep the lid on and let the pot sit for another five minutes. This resting period allows the moisture to redistribute evenly. Then, remove the lid and fluff the rice with a fork. It should be tender and separate. Serve immediately while hot.
If you notice the rice is still hard after 18 minutes, add two more minutes of cooking. If it’s too wet, remove the lid and let it steam for a minute longer. Listen for the gentle bubbling sound. That’s the sound of perfect rice cooking.
Cooking Tips & Techniques
I’ve made mistakes with rice before, and you can learn from them. The biggest error people make is lifting the lid too often. Every time you lift it, you release steam. This drops the temperature and can lead to undercooked rice. Trust the process. Set a timer and walk away. Another common issue is burning the garlic. Garlic burns faster than rice cooks. That’s why you add it after the rice has toasted slightly. If the garlic starts to brown too quickly, lower the heat immediately.
For consistency, always use the same ratio of liquid to rice. Two cups of rice to four cups of liquid is the golden rule for this method. If you are using a different type of rice, adjust the liquid accordingly. Brown rice needs more water and time. For this recipe, stick to white rice. Also, use low heat for simmering. High heat can cause the bottom layer to burn before the top is cooked. A heavy pot helps here because it holds heat steadily.
One personal tip is to taste the broth before adding it. If it’s very salty, reduce the added salt in the recipe. This helps you control the final flavor. Multitasking is key here. While the rice simmers, you can chop vegetables or marinate protein. This makes dinner prep efficient. Remember, patience pays off. Rushing the process leads to mushy or crunchy rice. Take your time with the toasting step. It builds the foundation for the entire dish.
Variations & Adaptations
This basic recipe is a canvas for creativity. You can adapt it to suit different dietary needs or flavor preferences. Here are a few ways to tweak it:
- Garlic Butter Herb Rice: Stir in one tablespoon of fresh chopped parsley or chives at the end. This adds a fresh, grassy note that cuts through the richness. It looks beautiful on the plate.
- Spicy Garlic Rice: Add a pinch of red pepper flakes or a dash of hot sauce when you add the broth. This gives the rice a kick. It’s great with grilled meats.
- Vegetable Boost: Sauté diced onions or bell peppers with the garlic. This adds sweetness and texture. It turns the rice into a more substantial side dish.
- Dairy-Free Option: Swap the butter for olive oil or coconut oil. Olive oil gives a Mediterranean vibe, while coconut oil adds a subtle sweetness. The texture will be slightly different but still delicious.
- Coconut Rice: Replace half the broth with canned coconut milk. Add a pinch of salt. This creates a creamy, sweet-savory rice that pairs well with curry.
I’ve tried adding turmeric for color, which gives it a beautiful yellow hue. It works well with Indian-inspired meals. For a gluten-free version, just ensure your broth is certified gluten-free. Most rice is naturally gluten-free, but check your broth labels. These variations keep the recipe exciting. You can rotate them throughout the week.
Serving & Storage Suggestions
This rice is best served hot and fresh. I like to garnish it with a pat of butter on top for extra shine. It pairs wonderfully with roasted chicken, grilled steak, or fried fish. For a complete meal, add a green vegetable like steamed broccoli or asparagus. A glass of white wine or iced tea complements the flavors well.
For storage, let the rice cool completely before putting it in an airtight container. It will last in the refrigerator for up to four days. To reheat, add a splash of water or broth to the rice. This restores the moisture. Microwave it in intervals, stirring in between, until heated through. You can also reheat it in a skillet over low heat with a lid on.
Freezing is possible but not ideal. The texture may become slightly grainy after freezing. If you must freeze it, use it in dishes like fried rice later. The flavors develop over time in the fridge, so it often tastes better on day two. Just ensure it’s stored properly to avoid drying out. Always use clean utensils when serving to keep it fresh longer.
Nutritional Information & Benefits
While this is a treat, it can fit into a balanced diet. One cup of this seasoned rice contains approximately 250 calories. It provides carbohydrates for energy and some fat from the butter. The garlic adds antioxidants and anti-inflammatory properties. It’s a good source of manganese, which supports bone health.
If you are watching your sodium, use low-sodium broth and control the salt. You can reduce the butter to cut calories, though the flavor will be less rich. This recipe is naturally gluten-free if you check your broth. It’s also dairy-free if you swap the butter for oil. I enjoy this as part of a balanced meal with lean protein and veggies. It’s not a diet food, but it’s not unhealthy either. It’s about moderation and enjoying good food.
Garlic is known for supporting heart health. The butter provides satiety. This combination keeps you full longer than plain rice. It’s a satisfying side dish that doesn’t leave you hungry an hour later. I appreciate that it uses whole foods. There are no artificial additives or preservatives. It’s clean eating, simplified.
Conclusion
Making homemade seasoned rice is easier than you think. It turns a basic ingredient into something special with just a few simple steps. The toasting and garlic technique make all the difference. You don’t need to be a chef to master this. Just follow the instructions and trust your senses. This recipe has become a staple in my kitchen. It’s reliable, tasty, and always a hit.
I encourage you to try it and make it your own. Add your favorite herbs or spices. Experiment with different broths. Share it with friends and family. I’d love to hear how it turns out for you. Leave a comment below with your variations. Don’t forget to share photos if you post them online. Cooking should be fun and rewarding. This rice is a great way to start. Enjoy every bite of this delicious side dish. It’s simple, but it’s perfect.
Frequently Asked Questions
Can I use brown rice for this recipe?
Yes, but you will need more liquid and cooking time. Brown rice is tougher, so use about five cups of broth for two cups of rice. Simmer it for 40-45 minutes instead of 18. The texture will be chewier, which is traditional for brown rice.
Why is my rice mushy?
This usually happens if you don’t rinse the rice enough or if you use too much water. Rinsing removes excess starch. Also, ensure you are using the correct ratio of liquid to rice. Two cups of rice should only need four cups of liquid for this method.
Can I make this in a rice cooker?
You can, but the flavor won’t be as deep. For best results, toast the rice in butter in a pan first, then transfer it to the rice cooker with the broth. This gives you the toasty flavor with the convenience of the machine.
Is this recipe gluten-free?
Yes, rice and butter are naturally gluten-free. Just make sure to use a gluten-free broth. Some broths contain wheat-based thickeners, so check the label carefully.
How do I reheat leftover rice?
Add a tablespoon of water or broth to the rice. Cover it and microwave it in 30-second intervals, stirring in between. This restores the moisture and makes it fluffy again. You can also reheat it in a skillet on the stove.
Pin This Recipe!
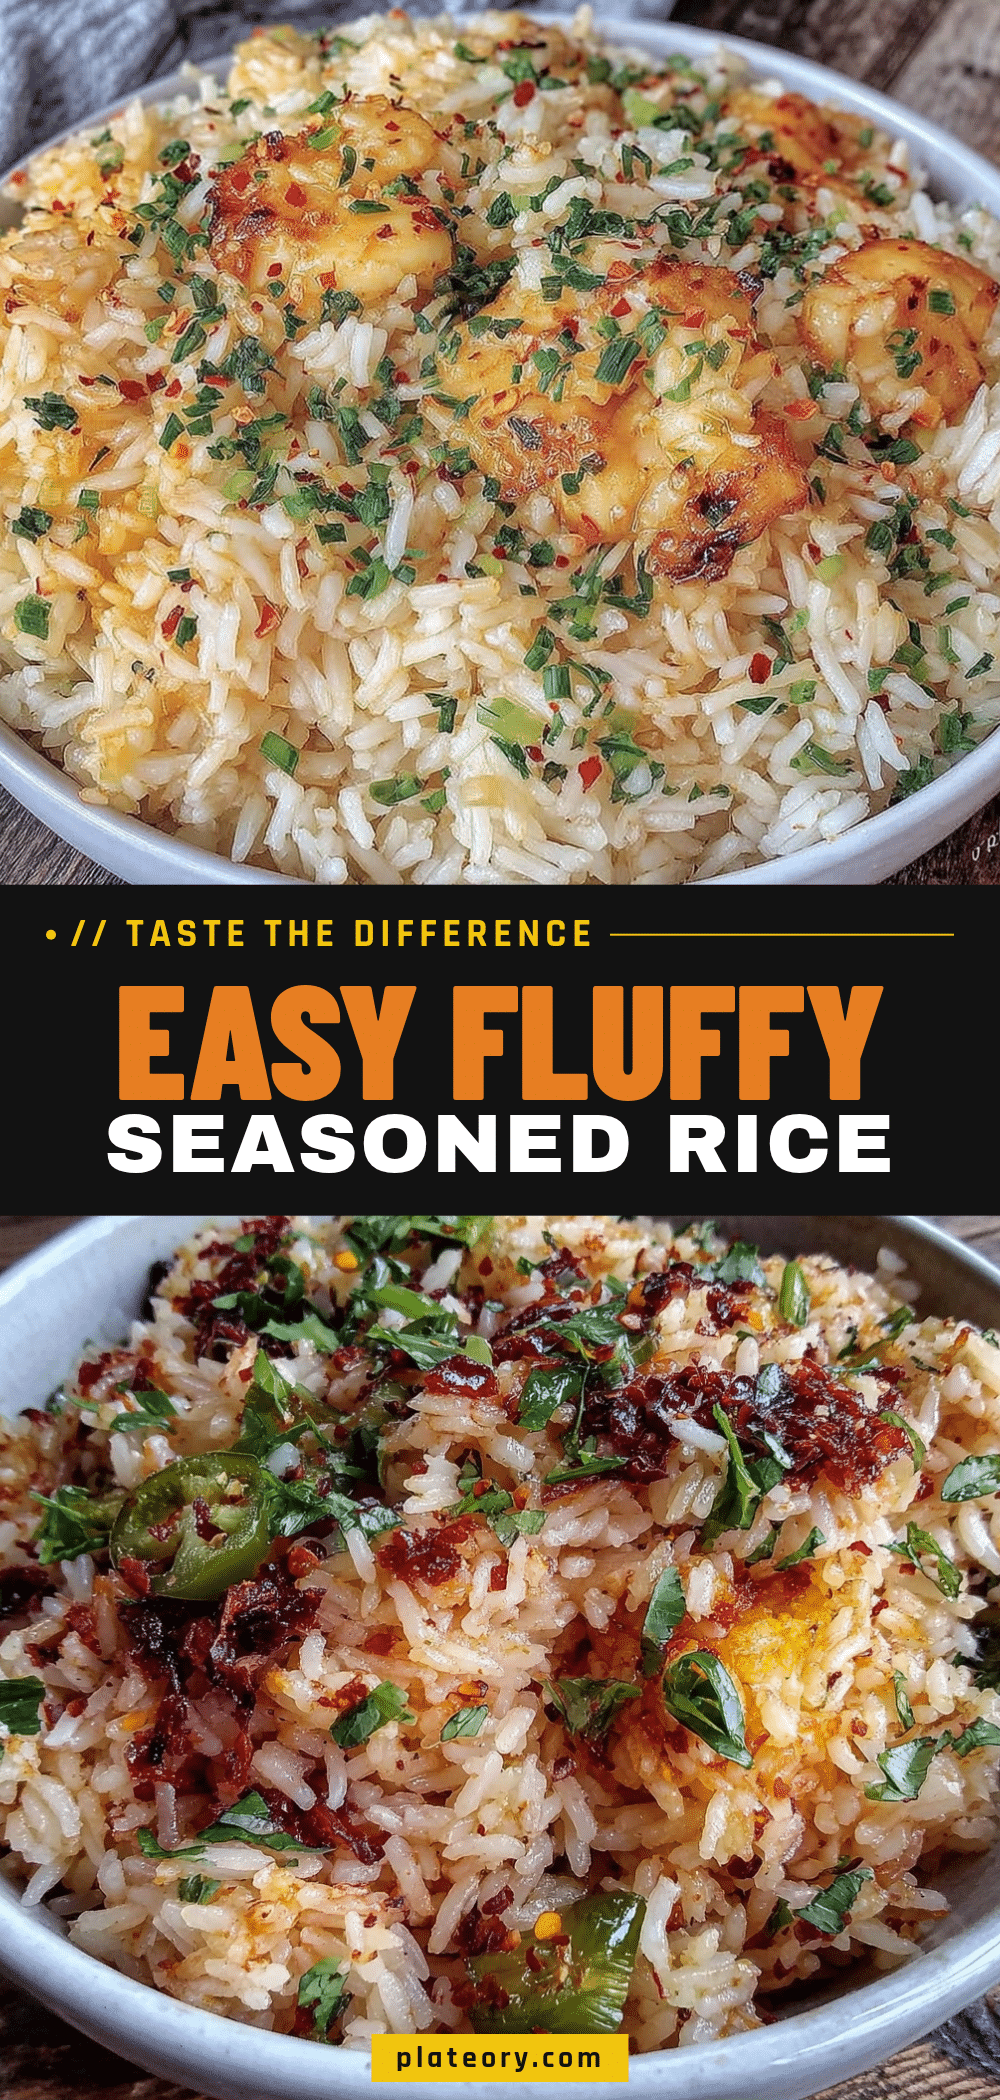

Homemade Seasoned Rice: Best 3-Ingredient Side Dish
- Total Time: 30 minutes
- Yield: 4 servings 1x
Description
Transform plain white rice into a star side dish with this simple, flavorful recipe using just rice, butter, and garlic. Toasting the grains unlocks a nutty depth of flavor that makes it the perfect companion for weeknight dinners.
Ingredients
- 2 cups long-grain white rice (such as Jasmine or Basmati)
- 2 tablespoons unsalted butter
- 3–4 cloves fresh garlic, minced
- 4 cups chicken or vegetable broth (low-sodium recommended)
- 1 teaspoon kosher salt
- 0.5 teaspoon freshly cracked black pepper
- 1 tablespoon fresh chopped parsley or chives (optional)
Instructions
- Rinse the rice in a fine-mesh strainer under cold water until the water runs clear to remove excess starch.
- Mince the fresh garlic cloves as finely as possible.
- Heat the butter in a medium saucepan over medium heat. Once melted and foaming, add the drained rice and stir constantly for about 5 minutes until the rice looks translucent and smells nutty.
- Add the minced garlic to the pot and stir for 30 seconds until fragrant, being careful not to burn it.
- Pour in the broth, salt, and black pepper. Stir to combine.
- Bring the mixture to a boil, then reduce heat to low. Cover with a tight-fitting lid and simmer undisturbed for 18 minutes.
- Turn off the heat and let the pot sit, covered, for another 5 minutes to allow moisture to redistribute.
- Remove the lid and fluff the rice with a fork. Serve immediately.
- Garnish with fresh parsley or chives if desired.
Notes
Do not lift the lid during the simmering process to retain steam. If using salted butter, reduce the added salt. For a dairy-free option, swap butter for olive oil or coconut oil. Ensure broth is gluten-free if required.
- Prep Time: 5 minutes
- Cook Time: 25 minutes
- Category: Side Dish
- Cuisine: American
Nutrition
- Serving Size: 1 cup
- Calories: 250
- Sugar: 1
- Sodium: 600
- Fat: 8
- Saturated Fat: 5
- Carbohydrates: 40
- Fiber: 1
- Protein: 5
Keywords: seasoned rice, garlic rice, side dish, easy rice recipe, homemade rice, butter rice, weeknight dinner, meal prep