The smell of ripe bananas and cold vanilla ice cream is basically a hug for your brain. I remember standing in line at the Dairy Queen during a particularly brutal July heatwave back in 2012. My feet were blistering, my wallet was light, and I just needed something cold. That thick, creamy banana milkshake was the only thing that saved me. It wasn’t just a drink; it was a moment of pure, frozen bliss.
I’ve made this copycat Dairy Queen banana milkshake recipe dozens of times since then. Honestly, I’ve tested it with different ice creams, different bananas, and even different blenders. The version below is the one that actually tastes like the real deal. It’s not just a smoothie. It’s not just a dessert. It’s that specific, nostalgic treat you crave when the weather turns warm.
You know how some recipes are just too complicated for a Tuesday night? This isn’t one of those. You need four ingredients. That’s it. No fancy syrups, no obscure spices, and definitely no expensive equipment. If you have a blender and a freezer, you’re good to go.
I love making this because it brings back those carefree summer days without the drive-thru wait. Plus, it’s way cheaper than buying it out. My kids think I’m a wizard when I pull this out of the blender. They always ask for the “DQ shake” by name now. Let’s face it, homemade is better because you control the sweetness. It’s rich, it’s cold, and it’s exactly what you need.
Why You’ll Love This Recipe
There are a thousand banana shake recipes online. But this one? This one hits different. I’ve spent years tweaking this copycat Dairy Queen banana milkshake recipe to get that exact texture you get at the counter. It’s not too watery, and it’s not so thick it breaks your straw. It’s that perfect middle ground that makes you sip it slowly.
Here is why this recipe earns a permanent spot in your rotation:
- Quick & Easy: You can have this ready in under five minutes. Seriously. It’s faster than ordering takeout. Perfect for those sudden cravings that hit around 3 PM.
- Simple Ingredients: You likely already have everything in your kitchen. Bananas, ice cream, milk, and vanilla. No trips to the specialty store needed.
- Nostalgic Comfort: This tastes exactly like a trip to the mall food court. It’s the kind of drink that transports you back to being a teenager.
- Crowd-Pleaser: Kids love the banana flavor, and adults appreciate the lack of artificial aftertaste. It’s a win-win for family gatherings.
- Unbelievably Delicious: The texture is velvety smooth. It coats your mouth in the best way possible. It’s next-level comfort in a glass.
What makes this different from other banana shakes? Most recipes use frozen bananas, which can make the shake icy or grainy. I use ripe fresh bananas blended with high-quality vanilla ice cream. This creates a creamy, rich base that mimics the soft-serve style of the original. It’s not just a banana smoothie. It’s a proper milkshake.
I also add a splash of vanilla extract. It sounds simple, but it boosts the flavor profile significantly. It reminds me of the vanilla syrup they use, but without the corn syrup hangover. This recipe is wholesome, indulgent, and surprisingly easy to make. It’s the kind of recipe that makes you feel like a pro chef, even if you’re just standing in your pajamas.
What Ingredients You Will Need
This recipe relies on the quality of your base ingredients. Since there are only four of them, each one plays a huge role. You want fresh, ripe fruit and good dairy. Don’t skimp on the ice cream here. If you use cheap, icy ice cream, the shake will taste watery.
Here is what you need to gather:
- Ripe Bananas (2 medium): Look for bananas with brown spots. They are sweeter and blend smoother. I prefer Cavendish bananas because they are soft and aromatic.
- Vanilla Ice Cream (2 cups): Use full-fat vanilla ice cream. Brands like Häagen-Dazs or Ben & Jerry’s work great. Avoid low-fat versions as they lack the necessary creaminess.
- Whole Milk (1/2 cup): Full-fat milk creates the best texture. You can use 2% if you prefer, but whole milk makes it richer. Cold milk helps keep the shake chilled.
- Vanilla Extract (1 teaspoon): Use real vanilla extract, not imitation. It adds a depth of flavor that mimics the signature DQ taste. A little goes a long way.
I usually keep a bag of bananas on my counter. When they start to brown, I know it’s shake time. The ripeness of the banana is crucial. If they are green, the shake will taste starchy. If they are too mushy, they might ferment slightly, which changes the flavor.
For the ice cream, I recommend buying a pint rather than a tub if possible. Pint ice cream often has a denser, creamier texture. Tubs can sometimes be airier. This density helps thicken the shake without needing extra ice.
If you need a dairy-free option, you can swap the ice cream for vanilla coconut ice cream. It adds a tropical twist that is still delicious. The milk can be swapped for oat milk or almond milk, though the texture will be slightly thinner.
The vanilla extract is the secret weapon. It bridges the gap between the banana and the ice cream. It makes the flavor profile feel complete and professional. Trust me on this one. It’s the difference between a snack and a treat.
Equipment Needed
You don’t need much to make this copycat Dairy Queen banana milkshake recipe. A good blender is the most important tool. I use a high-speed blender like a Vitamix or Ninja. These machines crush the ice cream and banana into a silky smooth consistency. If you have a weaker blender, you might need to blend longer.
A standard countertop blender works fine too. Just make sure it’s powerful enough to handle frozen fruit or cold ice cream. If your blender struggles, add the milk first to help it move. This prevents the motor from burning out.
You will also need two tall glasses. Old-fashioned milkshake glasses are classic, but any tall glass works. I like to chill my glasses in the freezer for 10 minutes before serving. This keeps the shake cold longer. It’s a small trick that makes a big difference in the drinking experience.
A measuring cup is essential for getting the ratios right. Too much milk, and it’s a drink. Too little, and it’s a pudding. Use liquid measuring cups for the milk and ice cream scoops for the rest.
If you want to get fancy, you can use a milkshake whisk. These are those metal whisks you see in diners. They help incorporate air and make the shake fluffy. But honestly, the blender does most of the work.
Keep your blender blades clean. Banana residue can stick to the blades if you wait too long. Rinse it out immediately after use. It saves you from scrubbing later. Simple tools, big results.
Preparation Method
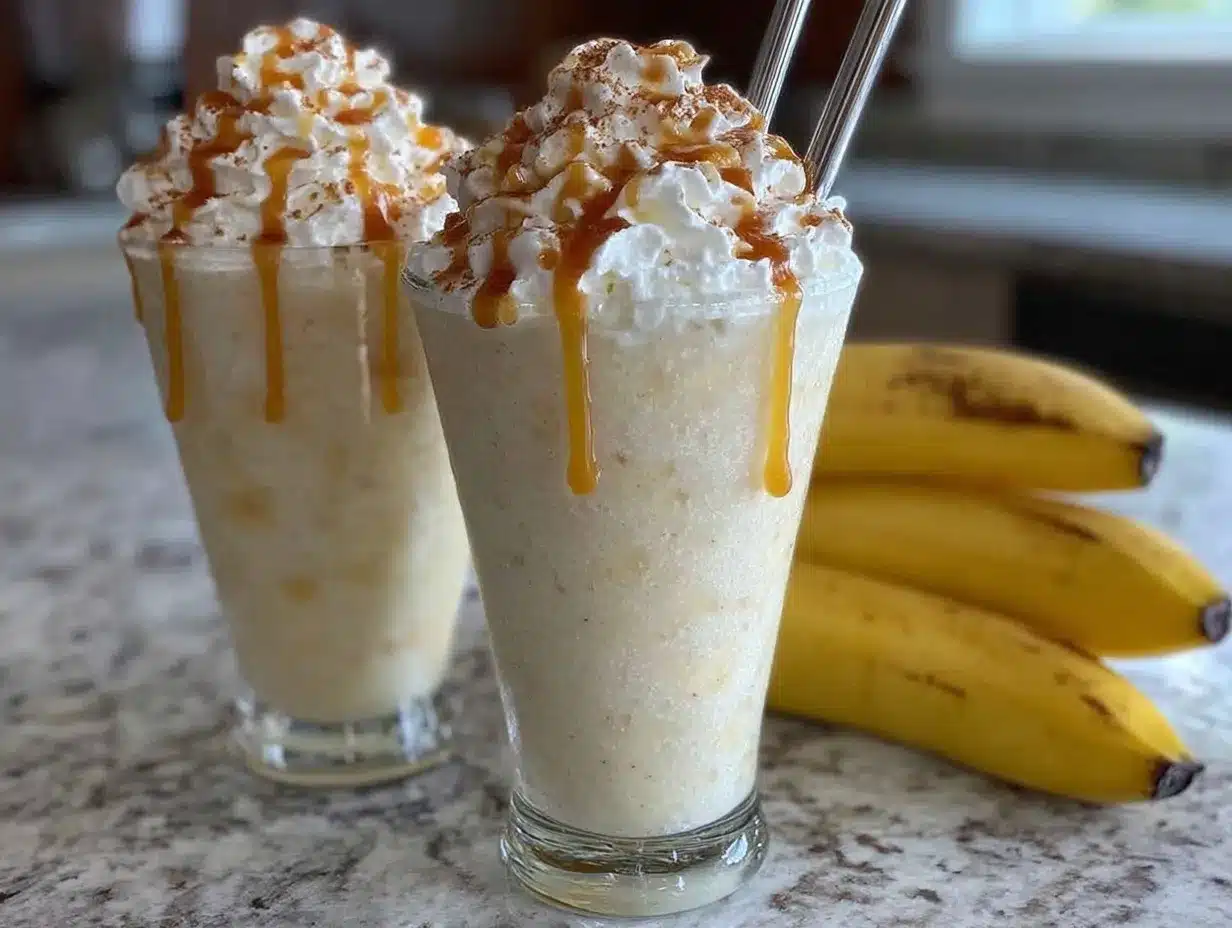
Making this shake is straightforward. Follow these steps to get that perfect consistency.
- Prep the Bananas: Peel two ripe bananas. Break them into chunks. If they are very large, cut them in half. Smaller chunks blend more evenly. This takes about 1 minute.
- Load the Blender: Add the banana chunks to the blender jar. Then add the vanilla ice cream. Scoop it directly from the container. Aim for two full cups. This takes about 1 minute.
- Add Liquids: Pour in the half cup of cold milk. Add the teaspoon of vanilla extract. The milk helps the blades move. The vanilla adds flavor. This takes about 30 seconds.
- Blend Smooth: Start the blender on low speed. Gradually increase to high. Blend for 30-45 seconds. Stop and scrape down the sides if needed. You want a uniform, creamy mixture. No chunks should remain.
- Check Consistency: Lift the blender jar. The shake should be thick but pourable. If it’s too thick, add a splash more milk. If it’s too thin, add more ice cream. This step takes about 1 minute.
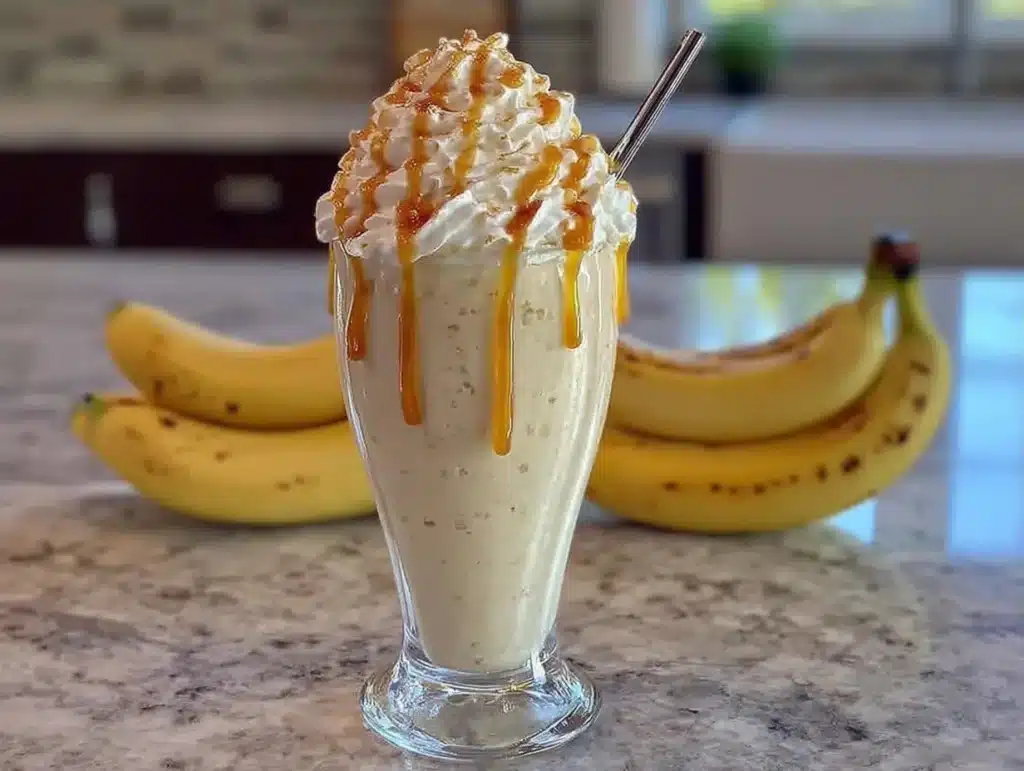
- Serve Immediately: Pour the shake into chilled glasses. Top with whipped cream if you like. Insert a thick straw and enjoy. This takes about 30 seconds.
The key is to not over-blend. If you blend too long, the shake can warm up from the friction of the blades. You want it cold and thick.
If the blender gets stuck, stop it. Use a spoon to push the ingredients down. Do not leave the blender running if it’s struggling. This protects the motor.
I usually make two shakes at once. It’s easier to blend them together. Just double the ingredients. The ratio stays the same. This is great for sharing with a friend or partner.
The sensory cues are important. You should hear the blender humming smoothly. You should smell the sweet banana and vanilla. The texture should look like thick cream. If it looks watery, you added too much milk.
Troubleshooting tip: If your shake is too icy, it might be because the ice cream was too frozen. Let it sit out for 5 minutes before blending. This softens it slightly. It makes blending easier and the texture better.
Another tip: Use cold ingredients. Cold milk and cold ice cream help keep the shake thick. Warm ingredients will make it melt faster. Plan ahead and keep everything chilled.
Cooking Tips & Techniques
Getting the texture right is all about temperature control. I’ve learned this the hard way. Early on, I used ice cream straight from the freezer. It was a battle with the blender. The shake ended up chunky and uneven. Now, I let the ice cream soften slightly.
Here are some professional tips to improve your shake:
- Softening Ice Cream: Let the ice cream sit at room temperature for 5-10 minutes. It should be scoopable but still cold. This ensures a smooth blend.
- Chilled Glassware: Keep your glasses in the freezer. A cold glass keeps the shake cold longer. It also prevents immediate melting.
- Batch Blending: If making multiple shakes, blend in batches. Overloading the blender can lead to uneven mixing. Blend one or two servings at a time.
- Straining (Optional): If you dislike banana strings, strain the shake through a fine mesh sieve. It’s not usually necessary with ripe bananas, but it’s an option.
- Immediate Serving: Drink it right away. Milkshakes melt fast. The best texture is right after blending. Waiting too long changes the experience.
I once tried adding frozen bananas to this recipe. It made the shake too thick and icy. I had to add a lot of milk to fix it. The result was watery and disappointing. Stick to fresh bananas and good ice cream.
Another mistake I made was using too much vanilla. It overpowered the banana flavor. Balance is key. One teaspoon is enough. It enhances, not dominates.
Multitasking strategy: Prep your bananas while the ice cream softens. This saves time. Have your glasses ready in the freezer. Everything should be in place before you hit the blend button.
Consistency comes with practice. Try different ice cream brands. Some are creamier than others. Adjust the milk amount based on your preference. Some like it thicker, some like it thinner.
Personal lesson: I once used almond milk by mistake. The shake was too thin. I had to add more ice cream. It worked, but the flavor was different. Stick to the recommended ingredients for the best result.
Timing is everything. Blend for 30 seconds. Stop. Check. Blend more if needed. Don’t rush it. A smooth shake takes a little attention.
Variations & Adaptations
You can tweak this recipe to suit your tastes. Here are some ideas:
- Chocolate Banana: Add a tablespoon of cocoa powder. It creates a banana split vibe. The chocolate and banana pair well.
- Strawberry Banana: Swap half the bananas for fresh strawberries. It adds a fruity twist. Great for spring.
- Protein Boost: Add a scoop of vanilla protein powder. It makes it a post-workout treat. Adjust milk if it gets too thick.
- Decadent Treat: Add a tablespoon of peanut butter. It adds richness and protein. The PB banana combo is classic.
I tried the peanut butter version once. It was amazing. Thick, nutty, and sweet. It became a favorite in my house.
For a lighter version, use low-fat ice cream and skim milk. It won’t be as creamy, but it’s lower in calories. It’s a compromise, but it works.
If you are vegan, use coconut milk ice cream. It’s creamy and dairy-free. The flavor is slightly different but still delicious.
Seasonal variations: In summer, add ice cubes for extra chill. In winter, use warm milk to make it more comforting. The base recipe stays the same.
Allergen swaps: Use oat milk for dairy-free. Use banana-free options if you have allergies, but the flavor will change. This recipe relies on banana.
I like to experiment with toppings. Crushed cookies, caramel drizzle, or sprinkles. It adds fun and texture.
Serving & Storage Suggestions
Serve this shake immediately after blending. It’s best enjoyed cold and thick. Top it with whipped cream and a banana slice. It looks pretty and tastes great.
Pair it with a burger or fries for a classic diner meal. It’s also great with cookies or brownies. The sweetness balances savory or chocolate flavors.
For storage, milkshakes don’t store well. They melt and separate. If you must store it, put it in an airtight container in the freezer. It will become a solid block. Let it thaw slightly and blend again.
Reheating is not recommended. This is a cold treat. Warm milkshakes are not enjoyable.
Flavors develop over time. The banana flavor intensifies as it sits. But the texture suffers. Fresh is best.
I usually make enough for two glasses. It’s a shared treat. Perfect for date nights or movie nights.
Presentation matters. Use a straw. It’s a shake, not a juice. The straw adds to the experience.
Nutritional Information & Benefits
This shake is rich in calories and sugar. It’s a treat, not a health food. But it does have some benefits. Bananas provide potassium and fiber. Ice cream provides calcium.
One serving has roughly 500-600 calories. It depends on the ice cream brand. It’s high in sugar, so enjoy in moderation.
It’s gluten-free by default. Check your ice cream for added ingredients. Most vanilla ice creams are safe.
The recipe is not low-carb. Bananas and ice cream are high in carbs. It’s not suitable for keto diets.
My wellness perspective: Balance is key. Enjoy this shake as a special treat. Don’t make it a daily habit. It’s a joy, not a staple.
Listen to your body. If you need energy, this provides a quick sugar boost. But pair it with protein later for balance.
It’s a mental health treat too. Comfort food matters. Sometimes you just need a sweet, cold drink.
Conclusion
This copycat Dairy Queen banana milkshake recipe is a winner. It’s easy, delicious, and nostalgic. You don’t need to go out to enjoy it. Just blend, pour, and sip.
I love this recipe because it brings back happy memories. It’s simple yet satisfying. Try it this weekend. You won’t be disappointed.
Customize it with your favorite toppings. Make it your own. Share it with friends and family. It’s a great way to bond.
Please leave a comment below. Let me know how it turned out. Did you add peanut butter? Did you use a specific ice cream brand? I love hearing your stories.
Share this recipe with someone who needs a sweet treat. Spread the joy. Enjoy every sip.
Frequently Asked Questions
Can I use frozen bananas instead of fresh?
Yes, but it changes the texture. Frozen bananas make the shake thicker and icier. You may need more milk. Fresh bananas with good ice cream is the best method for a creamy shake.
How can I make it thicker?
Add more ice cream or less milk. You can also freeze the banana chunks beforehand. This adds body without watering it down.
Is this recipe gluten-free?
Yes, the basic ingredients are gluten-free. Just check your ice cream label for added thickeners or mix-ins that might contain gluten.
Can I use almond milk instead of dairy milk?
You can, but the shake will be thinner. Almond milk has less fat than whole milk. You might need to add more ice cream to compensate.
How long does it take to make?
It takes about 5 minutes from start to finish. Prep time is minimal. Blending is quick. It’s one of the fastest desserts you can make.
Pin This Recipe!
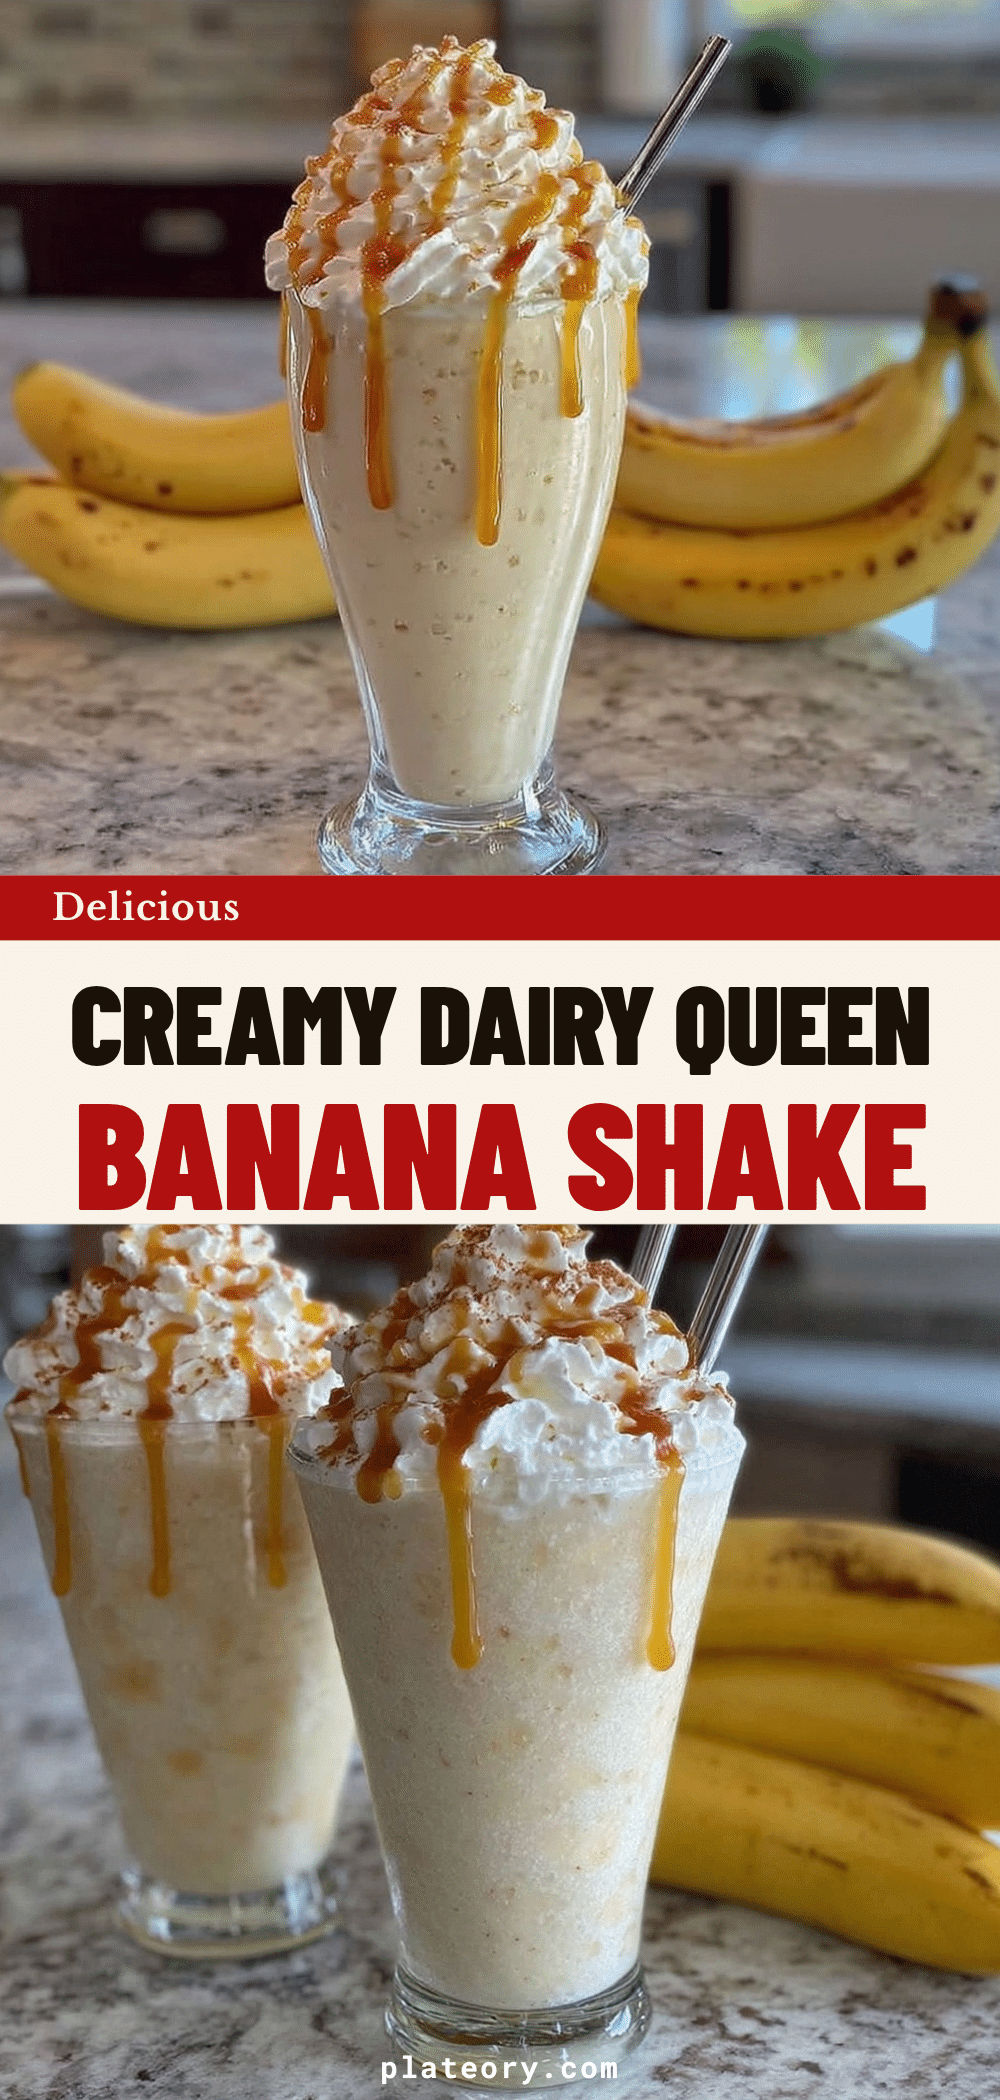

Copycat Dairy Queen Banana Milkshake: Easy 4-Ingredient DQ Copycat
- Total Time: 5 minutes
- Yield: 2 servings 1x
Description
A nostalgic, creamy banana milkshake that mimics the taste of Dairy Queen using just four simple ingredients: ripe bananas, vanilla ice cream, milk, and vanilla extract.
Ingredients
- 2 medium ripe bananas
- 2 cups vanilla ice cream (full-fat)
- 1/2 cup whole milk (cold)
- 1 teaspoon vanilla extract
Instructions
- Peel the ripe bananas and break them into chunks.
- Add the banana chunks to the blender jar.
- Scoop the vanilla ice cream into the blender (aim for 2 cups).
- Pour in the cold milk and add the vanilla extract.
- Blend on low speed, gradually increasing to high, for 30-45 seconds until smooth.
- Check consistency; add a splash of milk if too thick or more ice cream if too thin.
- Pour into chilled glasses and serve immediately.
Notes
For best results, let the ice cream soften for 5-10 minutes before blending to ensure a smooth texture. Chill glasses in the freezer beforehand to keep the shake cold longer. Do not over-blend as friction can warm the shake. If using a weaker blender, add milk first to help the blades move.
- Prep Time: 5 minutes
- Cook Time: 0 minutes
- Category: Dessert
- Cuisine: American
Nutrition
- Serving Size: 1 glass (approx. 16
- Calories: 550
- Sugar: 65
- Sodium: 120
- Fat: 22
- Saturated Fat: 14
- Carbohydrates: 75
- Fiber: 3
- Protein: 10
Keywords: Dairy Queen copycat, banana milkshake, 4 ingredient recipe, easy dessert, summer drink, nostalgic treat, homemade milkshake