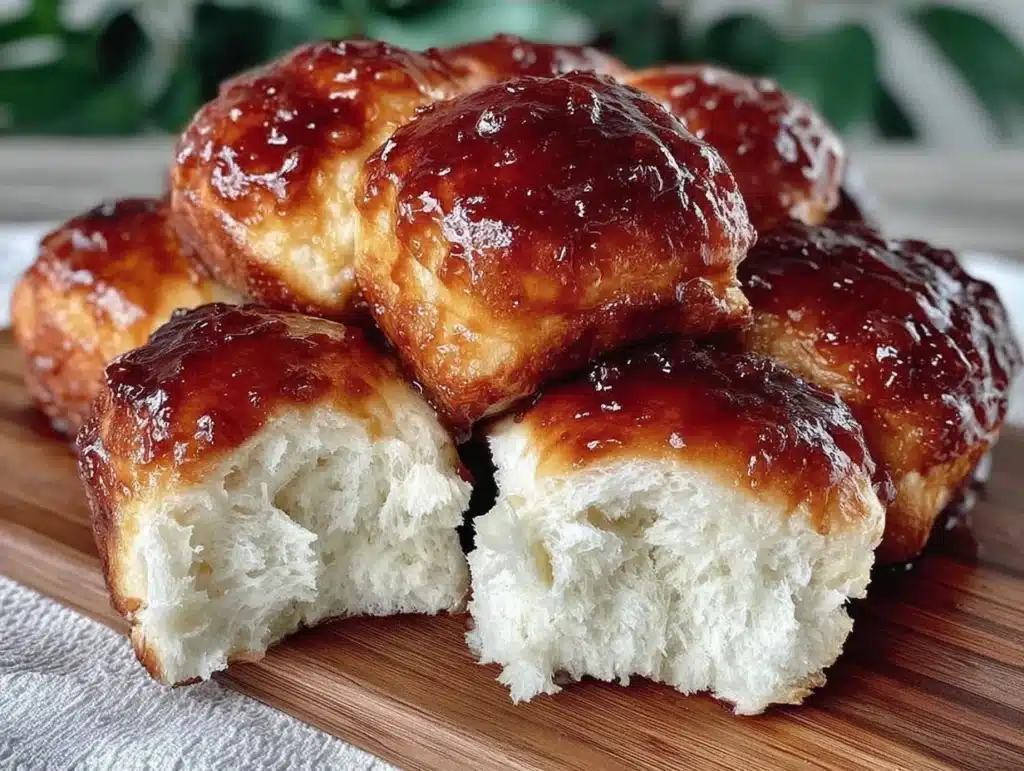
The smell of warm, slightly sweet yeast dough baking in my kitchen is like a warm hug from the inside out. It reminds me of those long summer afternoons back in the 90s, when the air conditioner hummed and the TV played cartoons while Mom whipped up a batch of those pillowy, pink-hued dinner rolls. Honestly, I thought those were magic. I never understood how something so soft could hold its shape yet melt in your mouth.
I spent years trying to recreate that specific texture in my home kitchen. Store-bought versions just don’t cut it. They’re too dense, too dry, or they lack that signature sweet, brioche-like richness. Let’s face it, if you are reading this, you probably crave that perfect balance of fluffy interior and a tender, slightly crisp top crust. You want rolls that pull apart easily without crumbling into a mess.
After testing this homemade Hawaiian rolls recipe over a dozen times, I finally cracked the code. It’s not about fancy ingredients; it’s about technique and patience. These buns are incredibly versatile. They work for Sunday dinners, holiday feasts, or even as a base for sliders. I’ve used them for pulled pork sandwiches that keep their moisture, and for stuffing that needs a soft, absorbent bread. This isn’t just another bread recipe. It is the one you’ll return to when you need comfort food that feels like a celebration.
As someone who loves exploring global flavors, I was fascinated by the history of these rolls. They aren’t actually from Hawaii in the traditional sense. They were invented in California in the 1950s, likely inspired by Asian sweet breads and European brioche. But here’s the thing: they’ve become a staple in Hawaiian cuisine, served alongside plate lunches and luaus. Making them at home lets you bring that island spirit to your table, served the way it’s meant to be—warm, fresh, and shared with people you love.
What I love most is how simple the ingredient list is. You don’t need a stand mixer if you don’t want one, though it helps. You don’t need exotic flours or hard-to-find yeasts. Just basic pantry staples and a little bit of love. These homemade Hawaiian rolls are softer than store-bought, fresher than frozen, and infinitely more satisfying. They are the kind of bread that disappears before you can say “pass the butter.” If you’ve been intimidated by bread baking, this is the perfect starting point. It’s forgiving, it’s delicious, and it’s going to make your kitchen smell amazing.
Why You’ll Love This Recipe
There is a special kind of magic that happens when you bake bread from scratch. It’s not just about the food; it’s about the process. With this homemade Hawaiian rolls recipe, you get to control exactly what goes into your food. No preservatives, no weird additives, just real ingredients. I’ve made these so many times that I can do it almost on autopilot now. But every single time, the result is just as good as the first.
- Quick & Easy Preparation: While the dough needs time to rise, the active hands-on time is minimal. You can have these in the oven in about an hour and a half. It’s perfect for busy weeknights or when you need a last-minute side dish for guests.
- Simple Ingredients: You likely have everything you need right now. Flour, sugar, yeast, milk, butter, and eggs. No fancy grocery trips needed. This makes it accessible for anyone, regardless of their cooking skill level.
- Perfect for Any Occasion: Whether it’s a casual Tuesday taco night, a cozy holiday brunch, or a summer barbecue, these rolls fit right in. They are versatile enough to pair with savory dishes or sweet desserts.
- Crowd-Pleaser: Kids love them because they are sweet and soft. Adults love them because they are rich and buttery. I’ve served these at potlucks and watched them vanish in minutes. They always get rave reviews.
- Unbelievably Delicious Texture: The secret is in the dough hydration and the sweet enrichment. The result is a bun that is airy, moist, and slightly chewy. It’s next-level comfort food that feels indulgent but is simple to make.
What makes this recipe different from others is the attention to detail in the shaping and baking process. Many recipes skip the step of letting the rolls rest in the pan for the second rise, which is crucial for that tall, golden dome. I also add a touch of vanilla extract, which enhances the sweetness without making it taste like cake. This isn’t just a bread recipe; it’s an experience. It’s the kind of baking that makes you close your eyes after the first bite and smile. It’s comfort food reimagined—healthier because you control the sugar, faster because you skip the drive-thru, but with the same soul-soothing satisfaction. It turns a simple meal into something memorable.
What Ingredients You Will Need
This recipe uses simple, wholesome ingredients to deliver bold flavor and satisfying texture without the fuss. The beauty of homemade Hawaiian rolls lies in the quality of the basics. You don’t need expensive imports, but you do need fresh yeast and good quality butter. Here is what you’ll need to get started.
For the Dough
- All-Purpose Flour: 3 to 3.5 cups (375-440g). This is the backbone of the rolls. I recommend using a high-protein all-purpose flour like King Arthur for better structure, but standard store brands work fine too.
- Instant Yeast: 2.25 teaspoons (one packet). Instant yeast is faster and doesn’t need to be activated in water first. It’s a game-changer for quick breads. Make sure it’s not expired.
- Granulated Sugar: 1/3 cup (65g). This feeds the yeast and adds that signature sweet flavor. You can reduce this slightly if you prefer less sweetness, but don’t cut it too much or the yeast won’t rise properly.
- Warm Milk: 1 cup (240ml). Milk adds richness and softness to the crumb. Whole milk is best, but 2% works too. Warm it to about 110°F (43°C)—it should feel like a warm bath, not hot.
- Unsalted Butter: 4 tablespoons (56g), melted. Butter adds flavor and tenderness. Use good quality butter for the best taste.
- Large Eggs: 2 large eggs, room temperature. Eggs provide structure and richness. Room temperature eggs incorporate into the dough more easily.
- Salt: 1 teaspoon. Salt is essential for flavor and controlling yeast activity. Don’t skip it.
- Vanilla Extract: 1 teaspoon. This is my secret weapon. It adds a subtle depth of flavor that makes these rolls taste like a dessert.
For the Topping
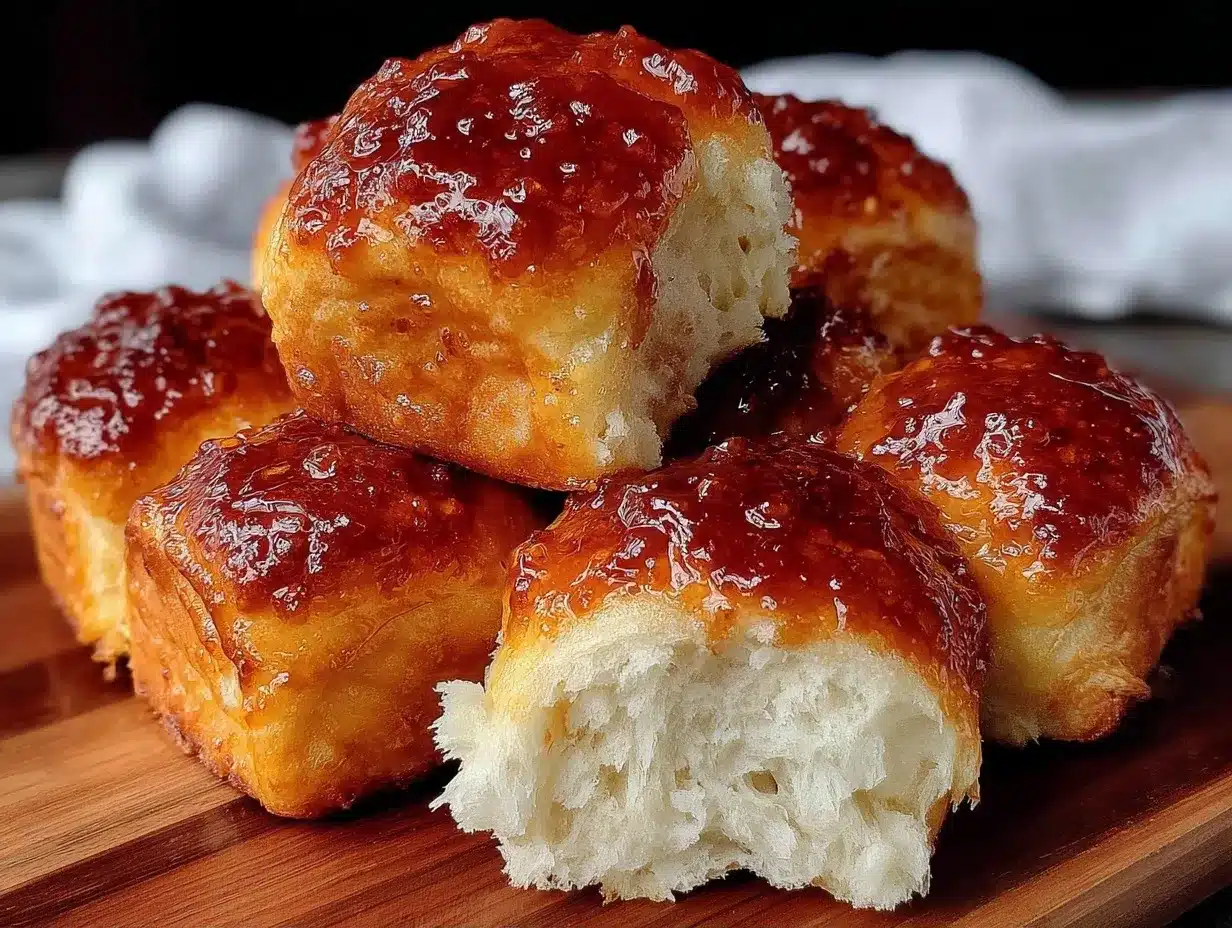
- Melted Butter: 4 tablespoons (56g). Brushing the tops with butter before baking gives them that beautiful golden color and soft crust.
- Coarse Sugar (Optional): 1-2 tablespoons. Sprinkling coarse sugar on top adds a nice crunch and extra sweetness. I love this for a classic Hawaiian roll look.
I always recommend using a digital scale for the flour. Measuring by volume can lead to too much flour, which makes dense rolls. If you must use cups, spoon the flour into the cup and level it off. Don’t scoop directly from the bag. For the yeast, check the expiration date on the packet. Old yeast won’t rise. If you are dairy-free, you can swap the milk for oat milk and the butter for a plant-based alternative, though the texture will be slightly less rich.
Equipment Needed
You don’t need a fancy kitchen to make these rolls. Most of what you need is probably already in your drawers. Here is a list of essential tools.
- 9×13 Inch Baking Pan: A standard metal pan works best. Glass pans take longer to bake and may result in a softer crust. Dark pans can cause the bottoms to burn, so keep an eye on them.
- Mixer: A stand mixer with a dough hook is helpful but not required. You can mix this by hand with a sturdy spoon or your hands. If you use a mixer, it will save you some arm fatigue.
- Digital Kitchen Scale: Highly recommended for accuracy. Bread baking is chemistry, and weight is more precise than volume.
- Cooling Rack: Essential for letting the rolls cool evenly. If you leave them in the hot pan, the bottoms will steam and become soggy.
- Pastry Brush: For brushing melted butter on the tops. A silicone brush is easier to clean.
- Cling Wrap: For covering the dough during rising. It keeps the dough from drying out.
If you don’t have a stand mixer, be prepared to knead for about 10 minutes. It’s good exercise! For the pan, I find that a light-colored aluminum pan gives the most even browning. If you only have a glass pan, reduce the oven temperature by 25°F to prevent over-browning.
Preparation Method
Making these rolls is easier than you think. Here is the step-by-step process to get perfect results every time.
- Activate the Yeast (if using active dry): If you are using active dry yeast, mix it with the warm milk and a teaspoon of sugar. Let it sit for 5-10 minutes until it becomes foamy. If using instant yeast, you can skip this step and mix it directly with the flour.
- Mix the Wet Ingredients: In a large bowl (or the bowl of a stand mixer), combine the warm milk, melted butter, eggs, sugar, and vanilla extract. Whisk until well combined. The mixture should be lukewarm.
- Combine Dry Ingredients: Add the flour and salt to the wet mixture. If using a stand mixer, attach the dough hook. Mix on low speed until the flour is incorporated. If mixing by hand, stir until a shaggy dough forms.
- Knead the Dough: If using a mixer, increase the speed to medium and knead for 5-7 minutes until the dough is smooth and elastic. If kneading by hand, turn the dough out onto a floured surface and knead for 8-10 minutes. The dough should pass the “windowpane test”—stretch a small piece thin enough to see light through it without tearing.
- First Rise: Place the dough in a lightly oiled bowl. Cover with cling wrap or a damp towel. Let it rise in a warm, draft-free place for 1-1.5 hours, or until doubled in size. This usually takes about an hour in a warm kitchen.
- Shape the Rolls: Punch down the dough to release air. Divide the dough into 12 equal pieces. Roll each piece into a smooth ball. Place them into the greased 9×13 inch pan, leaving a little space between them. They will expand, so don’t pack them too tightly.
- Second Rise: Cover the pan again and let the rolls rise for 30-45 minutes. They should puff up and touch each other. This step is crucial for soft rolls.
- Bake: Preheat your oven to 350°F (175°C). Brush the tops with melted butter. Bake for 20-25 minutes until golden brown. The internal temperature should reach 190°F (88°C). If they brown too quickly, cover loosely with foil.
- Cool: Remove from the oven and immediately brush with more melted butter if desired. Let them cool in the pan for 5 minutes, then transfer to a wire rack to cool completely or serve warm.
Don’t rush the rising process. If the dough isn’t doubled, the rolls will be dense. Trust the clock and the look of the dough. If your kitchen is cold, you can let the dough rise in a turned-off oven with the light on for extra warmth.
Cooking Tips & Techniques
After making hundreds of loaves, I’ve learned a few tricks to ensure success. The biggest mistake people make is over-flouring the dough. It’s tempting to add more flour if it’s sticky, but this will make your rolls tough. Instead, wet your hands slightly when handling the dough. It prevents sticking without adding extra flour.
Another tip is to check your yeast freshness. If your dough doesn’t rise, your yeast is likely dead. Always use fresh yeast. Also, pay attention to the temperature of your milk. Too hot, and you kill the yeast. Too cold, and it won’t activate. Aim for 110°F (43°C).
When shaping the rolls, create surface tension by tucking the edges under. This helps them rise upward rather than outward. Use a bench scraper to divide the dough evenly. This ensures uniform baking. If you guess the portions, some rolls will be huge and others tiny.
Don’t skip the second rise. This is what gives you those soft, pillowy textures. If you bake them immediately after shaping, they will be dense and bread-like. Let them puff up in the pan. Finally, test for doneness with a thermometer. Visual cues are good, but temperature is accurate. 190°F (88°C) is the sweet spot for soft breads.
Variations & Adaptations
One of the best things about this base recipe is how adaptable it is. Here are a few ways to mix it up.
- Savory Version: Reduce the sugar to 2 tablespoons and add 1 teaspoon of garlic powder and 1 teaspoon of dried rosemary to the dough. Brush with herb butter before baking. These are perfect for pasta nights.
- Cinnamon Sugar Rolls: After the second rise, brush with melted butter and sprinkle generously with cinnamon sugar. Bake as directed. These are like cinnamon rolls but softer.
- Gluten-Free Option: Use a 1:1 gluten-free flour blend with xanthan gum. Note that the texture will be slightly different, but still delicious. You may need to add an extra tablespoon of liquid.
- Dairy-Free: Swap milk for oat or almond milk and butter for coconut oil or vegan butter. The rolls will be slightly less rich but still soft.
I once tried adding shredded coconut to the dough for a true Hawaiian twist. It worked well, adding a chewy texture. You can also add chopped macadamia nuts for crunch. Experiment and find your favorite combination.
Serving & Storage Suggestions
These rolls are best served warm. They are incredible with a slab of salted butter melting on top. They pair well with anything from roasted chicken to chili. For a party, serve them with a variety of dips like marinara, ranch, or honey mustard.
For storage, keep them in an airtight container at room temperature for up to 3 days. They freeze beautifully. Wrap them tightly in plastic wrap and then foil. They will last for up to 3 months. To reheat, thaw at room temperature and warm in the oven at 300°F for 10 minutes, or microwave for 20 seconds. They will taste fresh again.
Don’t refrigerate them unless necessary. The fridge dries out bread quickly. If you must refrigerate, wrap them well. The flavors develop slightly over the first day, making them even softer.
Nutritional Information & Benefits
While these are sweet rolls, they are made with real ingredients. Each roll contains approximately 180 calories, 4g protein, 3g fat, and 35g carbohydrates. They are a source of energy from the carbohydrates and provide some protein from the eggs and milk. They are not gluten-free or dairy-free unless adapted. They are a treat, so enjoy them in moderation. For a healthier option, reduce the sugar and use whole wheat flour, though the texture will change.
I believe in balance. Enjoying homemade bread is a wonderful way to connect with your food and your family. It’s a break from processed foods and a chance to nourish your body with something wholesome.
Conclusion
Making homemade Hawaiian rolls is a rewarding experience that pays off in every soft, sweet bite. You don’t need to be a professional baker to succeed. Just follow the steps, be patient with the rising, and trust the process. These rolls are versatile, delicious, and perfect for any occasion. I hope you try this recipe and make it your own. Customize it with your favorite flavors and share it with your loved ones. I’d love to hear how they turn out for you. Leave a comment below with your thoughts or questions. Happy baking!
Frequently Asked Questions
Why are my homemade Hawaiian rolls dense?
This usually happens if the dough is over-floured or if the yeast is old. Make sure you are measuring flour correctly by weight, not scooping. Also, ensure your yeast is fresh and your milk is warm enough to activate it.
Can I use bread flour instead of all-purpose flour?
Yes, but the rolls will be chewier. All-purpose flour gives a softer, tender crumb which is ideal for Hawaiian rolls. If you use bread flour, reduce the liquid slightly.
How do I know when the rolls are done baking?
They should be golden brown on top and reach an internal temperature of 190°F (88°C). If they sound hollow when tapped on the bottom, they are likely done.
Can I freeze the dough before baking?
Yes, you can freeze the shaped rolls after the second rise. Let them thaw in the fridge overnight and then bake as directed. Alternatively, you can freeze the baked rolls and reheat them later.
What is the best way to store leftover rolls?
Store them in an airtight container at room temperature for up to 3 days. For longer storage, freeze them in a freezer-safe bag. Avoid the refrigerator as it dries out the bread.
Pin This Recipe!
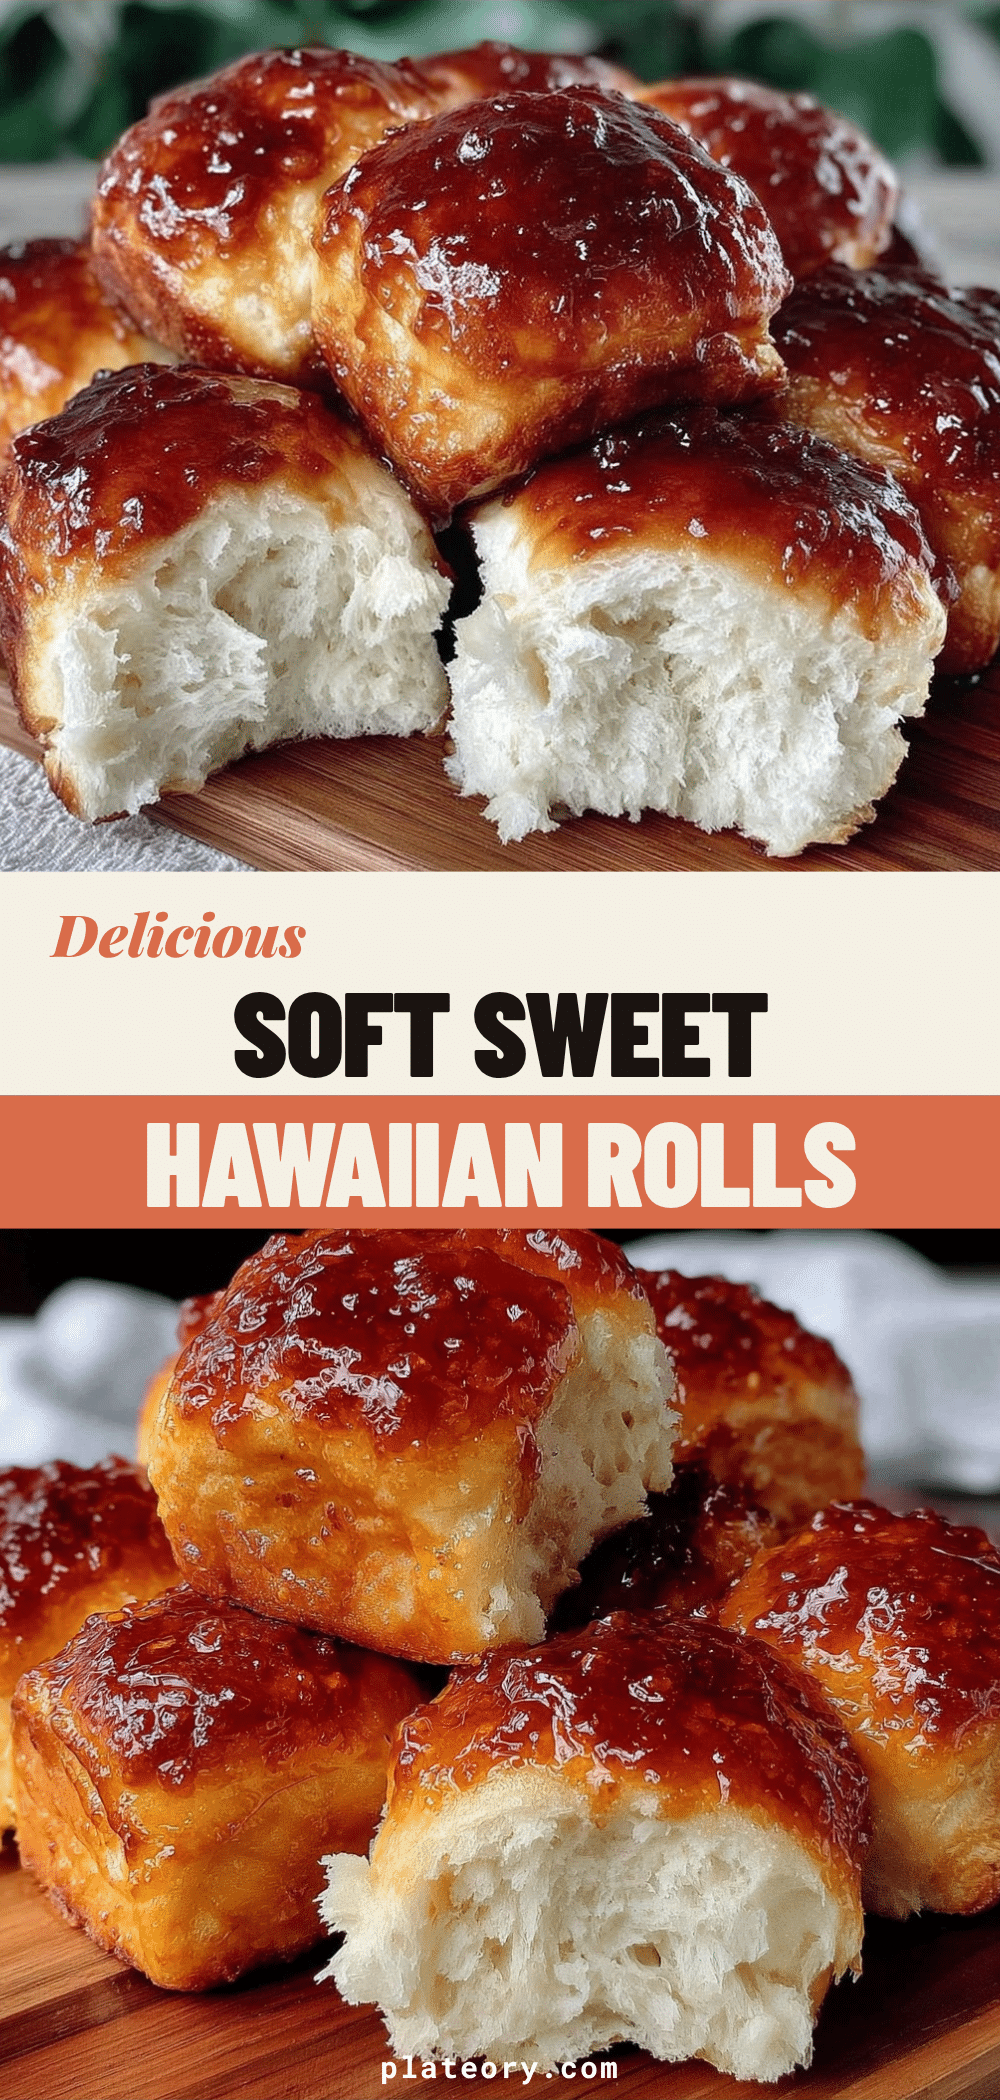

Homemade Hawaiian Rolls: 6-Ingredient Soft & Sweet Buns
- Total Time: 1 hour 55 minutes
- Yield: 12 servings 1x
Description
Soft, sweet, and pillowy homemade Hawaiian rolls that are easier to make than you think. These buns are perfect for sliders, side dishes, or enjoying warm with butter.
Ingredients
- 3 to 3.5 cups (375-440g) All-Purpose Flour
- 2.25 teaspoons Instant Yeast (one packet)
- 1/3 cup (65g) Granulated Sugar
- 1 cup (240ml) Warm Milk (about 110°F/43°C)
- 4 tablespoons (56g) Unsalted Butter, melted
- 2 large Eggs, room temperature
- 1 teaspoon Salt
- 1 teaspoon Vanilla Extract
- 4 tablespoons (56g) Melted Butter (for topping)
- 1–2 tablespoons Coarse Sugar (optional, for topping)
Instructions
- If using active dry yeast, mix with warm milk and a teaspoon of sugar; let sit for 5-10 minutes until foamy. If using instant yeast, skip this step.
- In a large bowl or stand mixer, combine warm milk, melted butter, eggs, sugar, and vanilla extract. Whisk until well combined.
- Add flour and salt to the wet mixture. Mix on low speed (or by hand) until a shaggy dough forms.
- Knead the dough for 5-7 minutes in a mixer or 8-10 minutes by hand until smooth and elastic. It should pass the windowpane test.
- Place dough in a lightly oiled bowl, cover with cling wrap, and let rise in a warm place for 1-1.5 hours until doubled in size.
- Punch down the dough and divide into 12 equal pieces. Roll each into a smooth ball and place in a greased 9×13 inch pan.
- Cover the pan and let rolls rise for 30-45 minutes until they puff up and touch each other.
- Preheat oven to 350°F (175°C). Brush tops with melted butter.
- Bake for 20-25 minutes until golden brown and internal temperature reaches 190°F (88°C).
- Remove from oven, brush with more butter if desired, and cool in the pan for 5 minutes before transferring to a wire rack.
Notes
Use a digital scale for flour to avoid dense rolls. Ensure milk is warm (110°F) but not hot to avoid killing yeast. Do not skip the second rise for soft texture. If kitchen is cold, rise dough in an oven with the light on.
- Prep Time: 30 minutes
- Cook Time: 25 minutes
- Category: Side Dish
- Cuisine: American
Nutrition
- Serving Size: 1 roll
- Calories: 180
- Sugar: 12
- Sodium: 250
- Fat: 3
- Saturated Fat: 1.5
- Carbohydrates: 35
- Fiber: 1
- Protein: 4
Keywords: Hawaiian rolls, homemade bread, soft dinner rolls, sweet buns, yeast dough, slider buns, comfort food