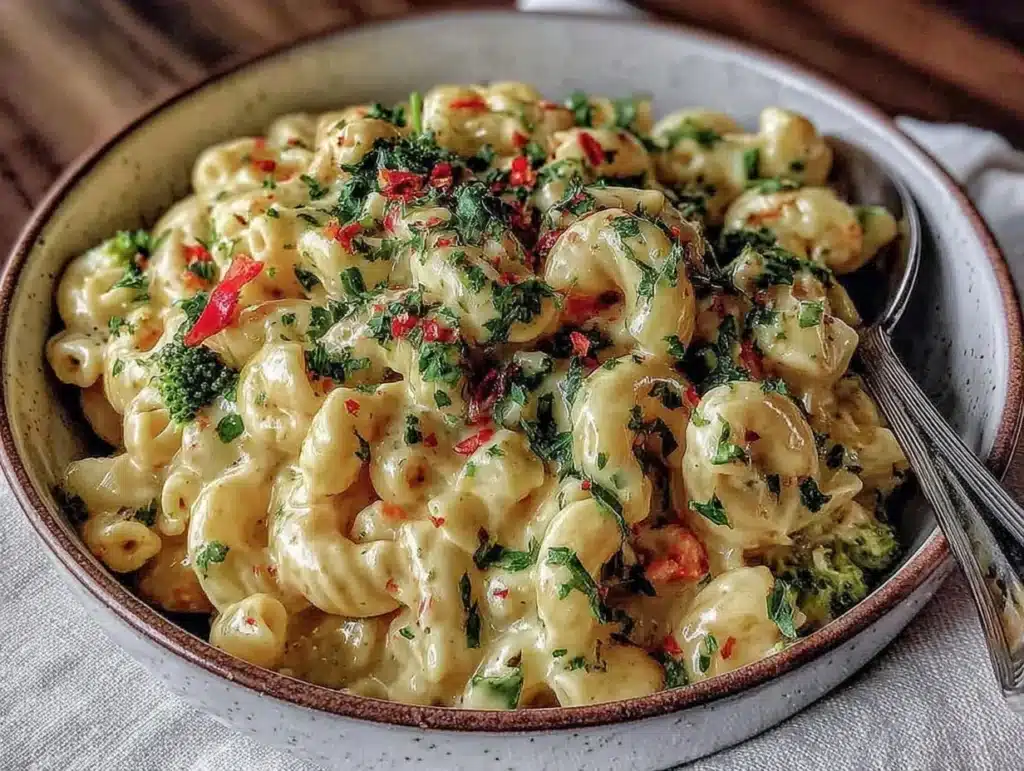
The smell of nutty, toasted breadcrumbs mixing with sharp cheddar and creamy pasta water is basically a hug for your soul. I remember standing over my stove in a cramped apartment kitchen, staring at a pot that was threatening to boil over, and realizing I didn’t have time for a three-sauce béchamel or a complicated baking dish. Honestly, I just wanted comfort food that didn’t leave me feeling sluggish for the rest of the evening. That was the birthplace of this one pot healthy mac and cheese recipe.
It wasn’t supposed to be healthy at first. It was just supposed to be easy. But after years of testing variations, swapping heavy creams for blended cauliflower, and using whole grain pasta, I found a balance that actually works. You know how some recipes sound great on paper but turn out gluey or bland in real life? This one doesn’t. It’s rich, it’s savory, and it cooks in a single vessel so you spend less time scrubbing pans and more time eating.
I’ve made this dish for picky toddlers, for hungry college students, and for my own high-protein meal prep needs. It’s the kind of side dish that steals the show at potlucks because people can’t believe it’s not loaded with butter and heavy cream. As someone who has spent years experimenting with global flavors in a home kitchen, I’ve learned that simplicity often beats complexity. This recipe brings that philosophy to a classic American comfort food. If you’ve been looking for a way to enjoy mac and cheese without the guilt or the mess, you’re going to love this version. It’s honest, it’s quick, and it tastes like you spent hours on it.
Why You’ll Love This Recipe
There are a million mac and cheese recipes out there. Why this one? Because it respects your time and your health goals without sacrificing the creamy texture we all crave. I’ve tested this recipe over a dozen times, adjusting the liquid ratios and cheese blends to get that perfect coat on every noodle. It’s not just another version; it’s the result of trial, error, and a lot of tasting.
- Quick & Easy: You can have this on the table in under 30 minutes. No pre-boiling water, no separate saucepan, no washing three different dishes. It’s perfect for busy weeknights when you’re tired and just want to eat.
- Simple Ingredients: You likely already have most of this in your kitchen. We’re talking pasta, milk, a few cheeses, and some veggies. No fancy grocery trips needed for obscure ingredients.
- Perfect for Meal Prep: Unlike traditional baked mac and cheese which can dry out, this one pot version holds up surprisingly well in the fridge. It’s great for lunchboxes or quick reheated dinners.
- Crowd-Pleaser: Kids love the cheesy goodness, and adults appreciate the lighter profile. It’s a win-win for family dinners where everyone has different dietary needs.
- Unbelievably Delicious: The texture is next-level comfort food. By cooking the pasta directly in the cheese sauce, the starches thicken the liquid into a creamy emulsion that feels indulgent but isn’t heavy.
What makes this truly different is the technique. Most people boil pasta, drain it, and make a sauce separately. That’s where the creaminess gets lost in the drain. Here, we cook the pasta in a measured amount of liquid that transforms into the sauce. It’s a technique I picked up from experimenting with Italian risotto styles, but adapted for a quick weeknight meal. It’s comfort food reimagined—healthier, faster, but with the same soul-soothing satisfaction. Plus, it pairs beautifully with a simple green salad or some roasted broccoli, making it a complete meal experience.
What Ingredients You Will Need
This recipe uses simple, wholesome ingredients to deliver bold flavor and satisfying texture without the fuss. We are focusing on whole grains for fiber and a mix of cheeses for flavor depth without needing excessive amounts of high-fat dairy. The key is balancing the starch from the pasta with the liquid and fat from the cheese.
- Whole Grain Elbow Pasta: About 2 cups (uncooked). I prefer whole wheat or chickpea pasta for the extra protein and fiber. Look for brands that hold their shape well, like Barilla Whole Wheat or Tinkyada Brown Rice if you need gluten-free.
- Low-Fat Milk: 1.5 to 2 cups. Use 1% or 2% milk for a creamy base without the heaviness of whole milk. Almond milk works too, but dairy milk helps with the starch thickening.
- Sharp Cheddar Cheese: 1 cup, freshly grated. Please, do not use pre-shredded cheese. It contains anti-caking agents that prevent it from melting smoothly. Buy a block and grate it yourself for the best texture.
- Mozzarella Cheese: 1/2 cup, shredded. This adds that stretchy, gooey quality that everyone loves in mac and cheese. Low-moisture part-skim mozzarella works best.
- Cauliflower Florets: 1 cup, finely chopped. This is the secret weapon. It adds volume, nutrients, and a subtle creaminess when blended into the sauce. You won’t taste the vegetable, but you’ll feel the benefit.
- Garlic Powder: 1 teaspoon. Adds a savory backbone without the bite of raw garlic.
- Smoked Paprika: 1/2 teaspoon. This gives a hint of smokiness that mimics the flavor of baked mac and cheese.
- Dijon Mustard: 1 teaspoon. It sounds weird, but mustard cuts through the richness of the cheese and brightens the flavor profile.
- Salt and Black Pepper: To taste. Seasoning is crucial, especially with lower-fat dairy.
- Whole Wheat Breadcrumbs (Optional): 1/4 cup. For those who want a crunchy topping, toss these with a tiny bit of olive oil.
I always recommend using a mix of cheeses. Cheddar provides the sharp flavor, while mozzarella provides the melt. If you’re lactose intolerant, there are great dairy-free cheese alternatives that melt well, though the flavor will be slightly different. For the cauliflower, small florets are best so they cook evenly with the pasta. If you’re in a rush, you can skip the cauliflower, but I highly encourage keeping it for that hidden nutrient boost.
Equipment Needed
You don’t need a fancy kitchen for this. A large, deep skillet or a wide Dutch oven is your best friend here. The wide surface area helps the liquid evaporate at the right rate, concentrating the flavors. I use a 12-inch non-stick skillet because it’s easy to clean and distributes heat evenly. If you don’t have one, a large stockpot works, but you might need to stir more frequently to prevent sticking.
A fine-mesh grater is essential for the cheese. Pre-shredded cheese is the enemy of smooth sauce. A microplane works wonders for getting fine shreds that melt instantly. For the cauliflower, a sharp chef’s knife is all you need to chop it into small, uniform pieces. If you’re using a blender to puree some of the cauliflower for extra creaminess, a standard hand blender or countertop blender works fine. Just make sure it’s easy to clean. I keep a cheap, durable colander on hand for rinsing the cauliflower, though it’s not strictly necessary if you cook everything in one pot.
Preparation Method
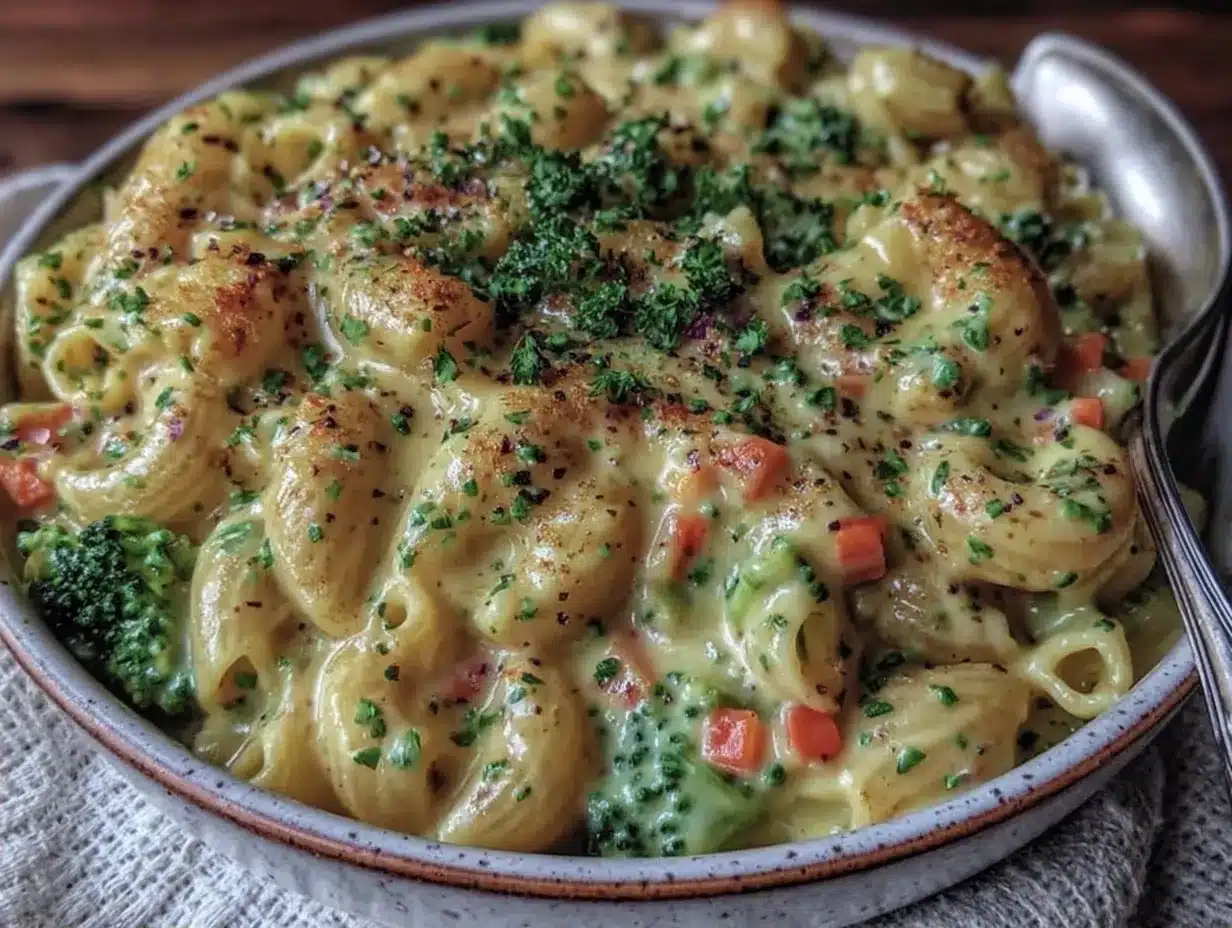
Getting this right is all about timing and liquid management. Here is exactly how to make it, step by step.
- Prep the Veggies and Cheese (5 minutes): Finely chop the cauliflower florets into small, rice-sized pieces. This ensures they cook at the same rate as the pasta. Grate your cheddar and mozzarella cheeses. Having everything ready before you start cooking is key because the sauce comes together quickly.
- Combine Pasta, Liquid, and Veggies (0 minutes): In your large skillet, add the dry pasta, chopped cauliflower, garlic powder, smoked paprika, and Dijon mustard. Pour in the milk and add a generous pinch of salt. The liquid should just barely cover the pasta. If it doesn’t, add a splash more water. Stir well to distribute the spices.
- Simmer the Pasta (10-12 minutes): Place the skillet over medium-high heat and bring to a simmer. Once it bubbles, reduce the heat to medium-low. Let it cook undisturbed for about 3 minutes, then stir. Continue cooking for another 8-9 minutes, stirring every 2 minutes. You want the pasta to absorb the liquid and become tender. The mixture will look thick and starchy. Taste a piece of pasta to ensure it’s al dente. If it’s still hard, add a splash more water and cook longer.
- Add the Cheese (2 minutes): Once the pasta is cooked and most of the liquid has been absorbed, turn off the heat. This is crucial. If the pan is too hot, the cheese can break and become grainy. Immediately add the grated cheddar and mozzarella. Stir vigorously until the cheese is completely melted and creamy. The residual heat will help melt it smoothly.
- Season and Serve (1 minute): Taste the sauce. Add more salt and pepper if needed. If you want a thinner sauce, add a splash of milk. If you want it thicker, let it sit for a minute. Stir in the optional breadcrumbs if you’re topping it. Serve immediately while it’s hot and creamy.
The biggest mistake people make is letting the liquid evaporate completely before adding the cheese. You want a bit of starchy pasta water left to help emulsify the cheese. If it gets too dry, add a splash of milk or water right before the cheese. Also, always remove from heat before adding cheese to prevent separation.
Cooking Tips & Techniques
I’ve learned a few hard lessons along the way. The first is about stirring. Unlike risotto, you don’t need constant stirring, but you do need to stir every few minutes to prevent the bottom from burning. Starch settles, and if it sits too long, it sticks. A wooden spoon is great for this because it scrapes the bottom well.
Another tip is the heat control. Start medium-high to get the boil, but switch to medium-low as soon as it bubbles. High heat can scorch the milk solids and burn the pasta. Low and slow is the way to go for even cooking. Also, don’t overcrowd the pan. If you’re making a large batch, you might need to do it in two stages. Cooking in a single layer ensures the pasta cooks evenly.
For the cheese, freshness is non-negotiable. Pre-shredded cheese has potato starch that prevents melting. I once used pre-shredded cheese and ended up with a greasy, clumpy mess. Never again. Grate your own cheese, and it will melt like butter. Also, let the cheese come to room temperature if you can. Cold cheese straight from the fridge can take longer to melt and might cool the pasta too quickly.
Finally, trust your senses. The sauce is done when it coats the back of a spoon. If it looks too thick, add liquid. If it’s too thin, let it simmer a bit longer. Cooking is intuitive once you get the hang of it. Don’t be afraid to adjust seasoning at the end. Cheese can be salty, so taste before adding more salt.
Variations & Adaptations
This recipe is a canvas. Here are a few ways to make it your own. For a vegan version, use dairy-free milk and vegan cheese shreds. I recommend brands like Violife or Daiya for their melting properties. Add nutritional yeast for a cheesy flavor boost. For a gluten-free option, use brown rice or corn pasta. Just note that these cook faster, so keep a close eye on the liquid. For a protein boost, stir in cooked chicken breast or chickpeas. I also love adding diced ham or crispy bacon for a savory twist. If you want more veggies, stir in cooked spinach or kale at the end. The wilting heat is perfect for greens. For a spicy kick, add a dash of cayenne pepper or some diced jalapeños. The smokiness of the paprika pairs well with heat. You can also swap the cauliflower for butternut squash puree for a sweeter, orange-hued sauce. It’s a fun seasonal variation for fall. Feel free to experiment with different herbs like thyme or rosemary for an herbal note.
Serving & Storage Suggestions
Serve this mac and cheese hot, right out of the pan. It pairs wonderfully with a crisp green salad with a vinaigrette dressing, which cuts through the richness. Roasted broccoli or steamed green beans are also excellent sides. For a complete meal, add a side of grilled chicken or fish. Store leftovers in an airtight container in the fridge for up to 4 days. The pasta will continue to absorb liquid, so it might look dry when you reheat it. Simply add a splash of milk or water and microwave it, stirring halfway through. You can also freeze it, but the texture might change slightly. Reheat gently on the stove over low heat, adding liquid as needed. The flavors actually develop overnight, making it even tastier the next day.
Nutritional Information & Benefits
This recipe is designed to be healthier than traditional mac and cheese. By using whole grain pasta, you get more fiber, which helps with digestion and keeps you full longer. The cauliflower adds vitamins A and C without adding many calories. Using low-fat milk reduces saturated fat content. One serving contains approximately 350 calories, 15g of protein, and 40g of carbohydrates. It’s a balanced meal that provides energy without the crash. For those watching their sodium, you can reduce the salt and rely on the sharp cheddar for flavor. It’s a great option for families looking to sneak in more veggies. As a home cook focused on wellness, I find this recipe strikes the perfect balance between indulgence and nutrition.
Conclusion
This one pot healthy mac and cheese is more than just a side dish. It’s a solution for busy nights, a way to enjoy comfort food without guilt, and a recipe that brings people together. I hope you try it and find it as comforting as I do. Customize it with your favorite add-ins and make it your own. I’d love to hear how you like it. Leave a comment below with your variations or just tell me if you loved it. Share this recipe with a friend who needs a quick, healthy dinner idea. Happy cooking!
Frequently Asked Questions
Can I use gluten-free pasta for this recipe?
Yes, you can use gluten-free pasta like brown rice or corn pasta. Just be careful as they cook faster and can become mushy. Reduce the cooking time by a few minutes and check frequently.
Why is my sauce grainy?
This usually happens if the heat is too high when adding the cheese or if you use pre-shredded cheese. Always remove the pan from heat before adding cheese and grate your own cheese for a smooth sauce.
Can I make this ahead of time?
You can prep the ingredients ahead of time, but it’s best to cook it fresh. If you do make it ahead, reheat it with a splash of milk to restore the creamy texture.
How do I make it spicier?
Add cayenne pepper, red pepper flakes, or diced jalapeños to the sauce. You can also use a spicy pepper jack cheese instead of mild cheddar.
Is this recipe kid-friendly?
Absolutely. The mild flavor and creamy texture are perfect for kids. You can hide the cauliflower in the sauce so they don’t even notice it. It’s a great way to introduce healthier ingredients.
Pin This Recipe!
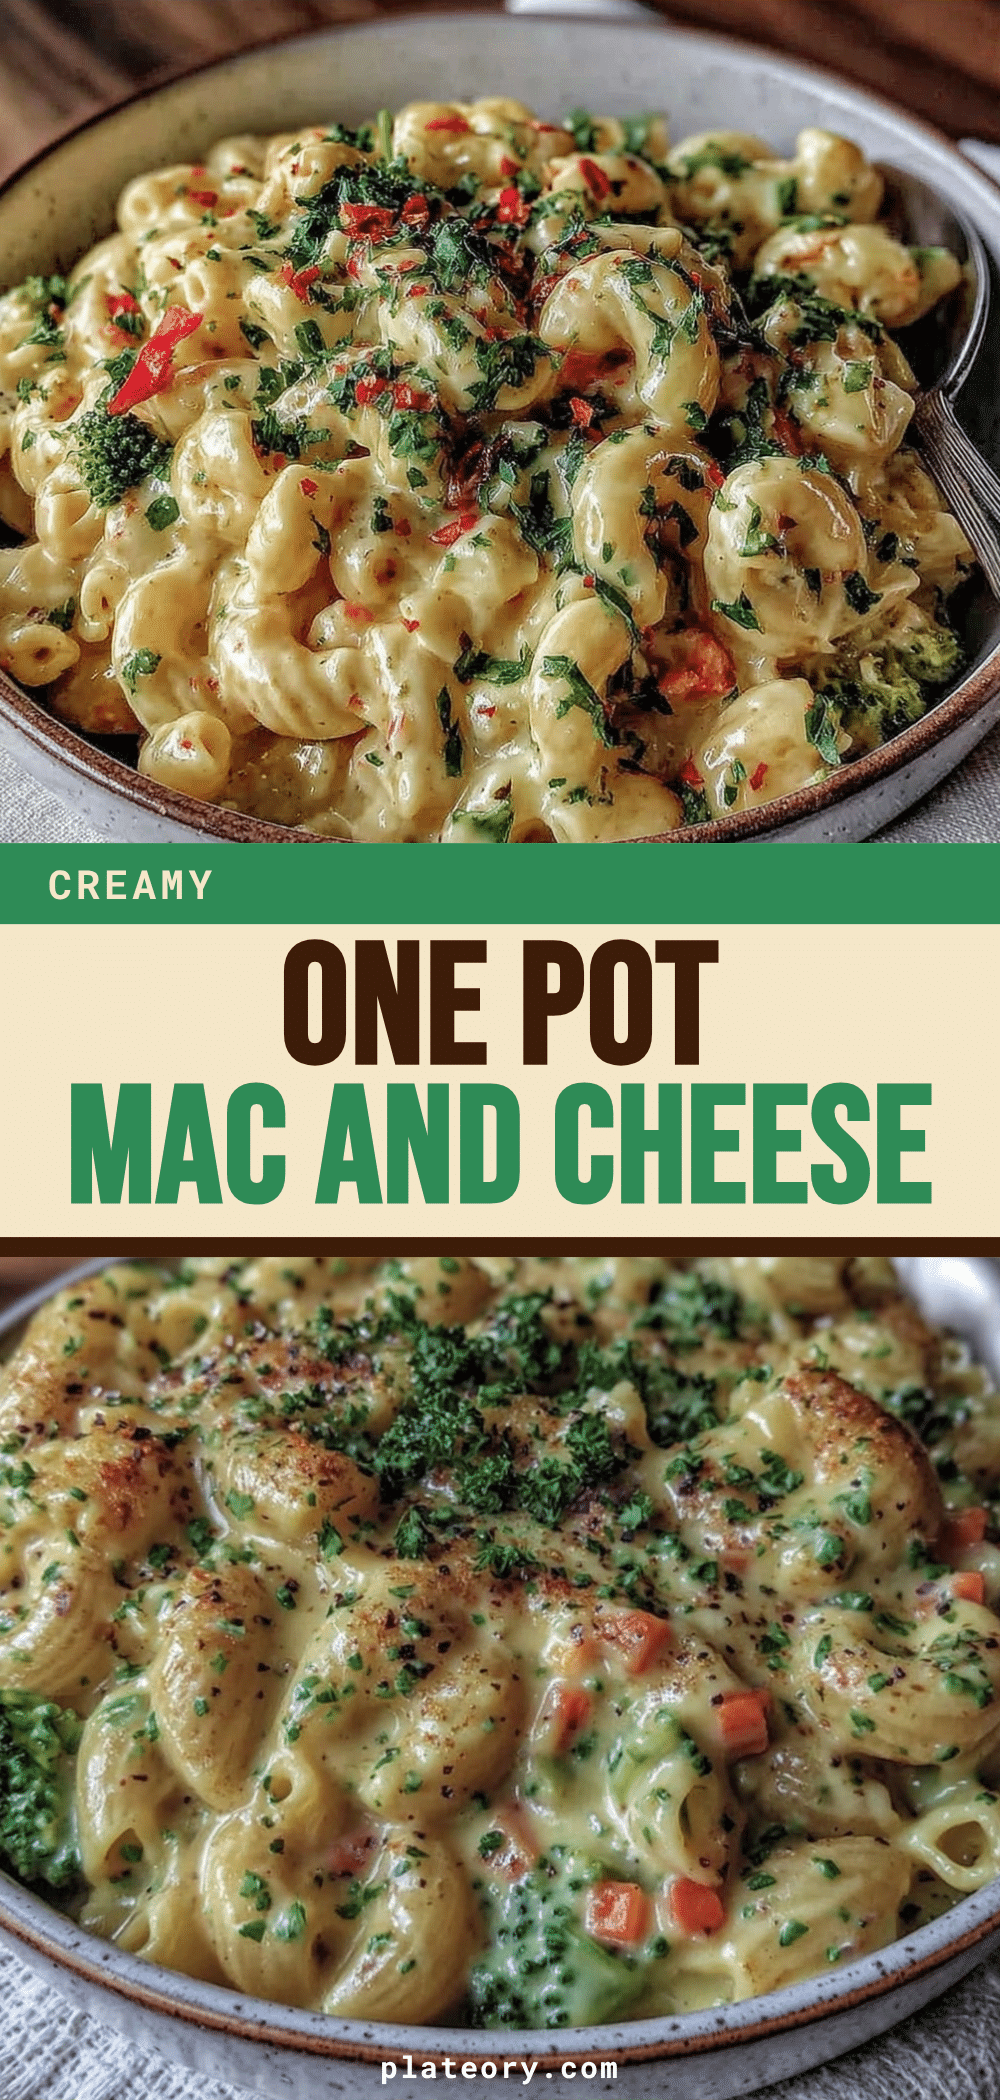

One Pot Healthy Mac and Cheese: Best Side Dish
- Total Time: 20 minutes
- Yield: 4 servings 1x
Description
A quick, creamy, and healthier version of mac and cheese that cooks in a single pot. By blending cauliflower into the sauce and using whole grain pasta, this dish offers rich comfort food flavor without the heavy cream or excessive mess.
Ingredients
- 2 cups whole grain elbow pasta (uncooked)
- 1.5 to 2 cups low-fat milk (1% or 2%)
- 1 cup sharp cheddar cheese, freshly grated
- 1/2 cup low-moisture part-skim mozzarella cheese, shredded
- 1 cup cauliflower florets, finely chopped
- 1 teaspoon garlic powder
- 1/2 teaspoon smoked paprika
- 1 teaspoon Dijon mustard
- Salt and black pepper to taste
- 1/4 cup whole wheat breadcrumbs (optional, for topping)
Instructions
- Finely chop the cauliflower florets into small, rice-sized pieces and grate the cheddar and mozzarella cheeses.
- In a large, deep skillet or Dutch oven, combine the dry pasta, chopped cauliflower, garlic powder, smoked paprika, and Dijon mustard.
- Pour in the milk and add a generous pinch of salt. Ensure the liquid just barely covers the pasta; add a splash of water if needed. Stir well to distribute spices.
- Place the skillet over medium-high heat and bring to a simmer. Once bubbling, reduce heat to medium-low.
- Cook undisturbed for about 3 minutes, then stir. Continue cooking for another 8-9 minutes, stirring every 2 minutes, until the pasta is al dente and the mixture is thick and starchy.
- Turn off the heat. Immediately add the grated cheddar and mozzarella cheeses.
- Stir vigorously until the cheese is completely melted and creamy. Use residual heat to help melt the cheese smoothly.
- Taste and season with more salt and pepper if needed. If the sauce is too thick, add a splash of milk; if too thin, let it sit for a minute.
- If using, toss breadcrumbs with a tiny bit of olive oil and sprinkle on top. Serve immediately.
Notes
Do not use pre-shredded cheese as it contains anti-caking agents that prevent smooth melting. Always remove the pan from heat before adding cheese to prevent it from becoming grainy. The cauliflower adds volume and nutrients without altering the flavor significantly. Leftovers can be stored in the fridge for up to 4 days; reheat with a splash of milk or water to restore creaminess.
- Prep Time: 5 minutes
- Cook Time: 15 minutes
- Category: Side Dish
- Cuisine: American
Nutrition
- Serving Size: 1 serving
- Calories: 350
- Sugar: 6
- Sodium: 450
- Fat: 12
- Saturated Fat: 6
- Carbohydrates: 40
- Fiber: 5
- Protein: 15
Keywords: one pot mac and cheese, healthy mac and cheese, quick dinner, comfort food, whole grain pasta, cauliflower mac and cheese, meal prep