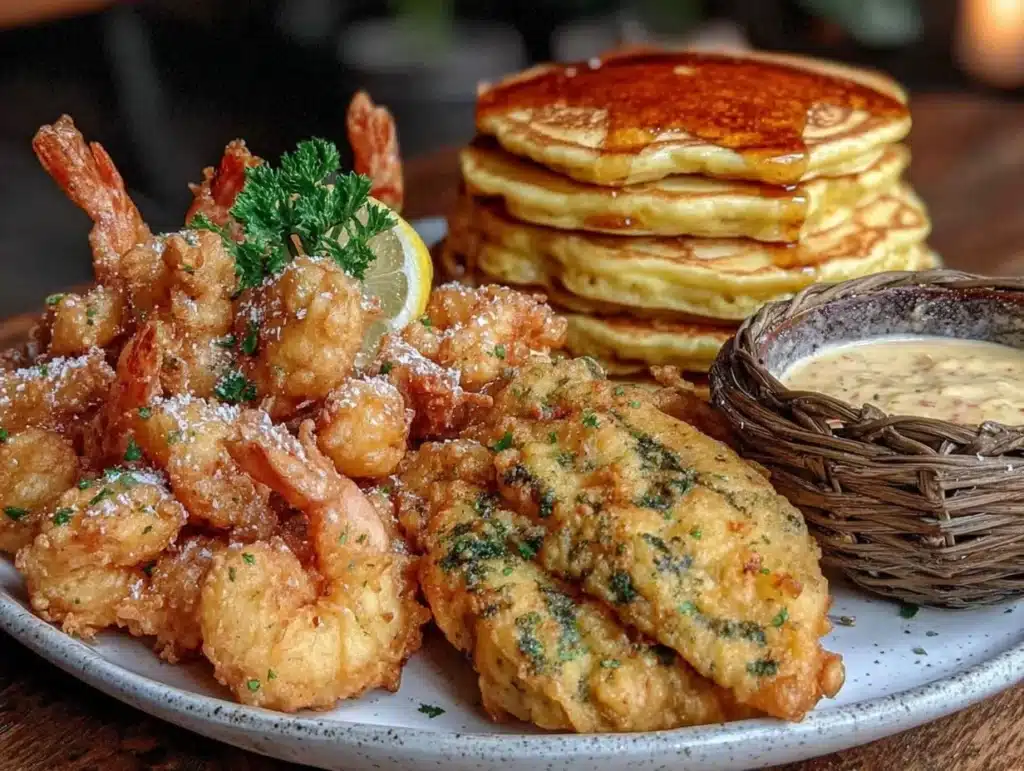
The smell of sizzling oil and the crisp crunch of golden batter is something I’ve chased for years. Honestly, there’s nothing quite like it. I remember standing in my tiny kitchen during a rainy Tokyo trip, watching a chef make tempura with what looked like simple flour and water. It wasn’t simple at all. The secret was in the ice-cold water and the gentle mixing. That moment changed how I cook forever. Now, I use that same logic for pancakes and everyday frying. This guide on 3 batter types for tempura, pancakes & frying will change your weeknight dinners. You’ll get lighter, crispier results every single time.
I’ve tested these methods over dozens of weekends. Each batter serves a different purpose. One is for delicate seafood, one for fluffy breakfasts, and one for hearty comfort food. Let’s face it, we all want that perfect crunch without the grease. These recipes are my go-to for impressing guests or just treating myself. As someone who loves global flavors, I find that mastering these basics opens up a world of cooking. You don’t need fancy gadgets. Just good ingredients and the right technique.
The value here is huge. You save money by making batter from scratch. You control the salt and fats. And the taste? Unbeatable. Whether you are a busy parent or a foodie, this approach works. I’ve shared this with friends who thought they couldn’t cook. They were shocked at how easy it was. This isn’t just about food. It’s about confidence in the kitchen. So, let’s get started on this journey together.
Why You’ll Love This Recipe
There are so many reasons to add these three batter types to your regular rotation. First, let’s talk about texture. The tempura batter creates a lacy, airy coating that lets the ingredient shine. It’s not a heavy breaded shell. It’s light as air. The pancake batter, on the other hand, gives you that cloud-like softness. It’s the kind of breakfast that makes you want to stay in bed a little longer. And the frying batter? That’s for when you want pure comfort. Think crispy chicken or fried veggies that hold up to dipping sauces.
I’ve made these versions for family gatherings. The tempura shrimp always gets the biggest compliments. Kids love the sweetness of the pancakes. Adults appreciate the depth of flavor in the frying batter. It’s a crowd-pleaser trio. Each one brings something unique to the table. You won’t find these specific ratios in most cookbooks. I’ve tweaked them over years of trial and error. The result is a set of recipes that are foolproof.
Here is what makes this approach stand out:
- Quick & Easy: Each batter comes together in under five minutes. No long rising times or complex steps. Just mix and cook.
- Simple Ingredients: You likely have flour, eggs, and oil in your kitchen already. No need for special trips to the store.
- Versatile: Use the tempura batter for vegetables. Try the pancake batter for savory breakfasts. Use the frying batter for anything from fish to tofu.
- Unbelievably Delicious: The contrast between the crispy outside and tender inside is next-level comfort food.
- Customizable: Adjust the thickness or add spices to fit your taste. These batters are a blank canvas for your creativity.
This isn’t just another list of recipes. It’s a masterclass in texture. I remember my first time making tempura. It turned out soggy and dense. I felt defeated. But after learning about ice water and minimal mixing, everything changed. The batter became translucent and crisp. That same principle applies to the other two batters. Understanding the “why” behind each type makes you a better cook. You’ll start seeing patterns in your cooking. It’s satisfying to see how small changes make a big difference.
What Ingredients You Will Need
This recipe uses simple, wholesome ingredients to deliver bold flavor and satisfying texture without the fuss. The key is quality. Fresh eggs and good flour make a huge difference. For the tempura batter, I recommend using cake flour if you can find it. It has less protein, which means less gluten development. This keeps the coating light. For the pancake batter, all-purpose flour works best. It gives that classic structure. For the frying batter, bread flour adds a nice chew and crunch. You can substitute with all-purpose if needed, but bread flour is my preference.
Here is what you’ll need to get started:
- For the Tempura Batter: 1 cup cake flour (120g), 1 large egg (room temperature), 1 cup ice-cold water (240ml), 1 teaspoon cornstarch (optional for extra crispness), and a pinch of salt. The ice water is non-negotiable. It stops the flour from getting tough.
- For the Pancake Batter: 1 ½ cups all-purpose flour (190g), 2 tablespoons sugar (30g), 2 teaspoons baking powder (6g), ½ teaspoon baking soda (2.5g), 1 cup buttermilk (240ml), 1 large egg, 2 tablespoons melted butter, and 1 teaspoon vanilla extract. The buttermilk adds tang and tenderness. You can make your own by adding lemon juice to milk.
- For the Frying Batter: 1 cup bread flour (125g), 1 cup cold sparkling water (240ml), 1 large egg, 2 tablespoons oil, and ½ teaspoon salt. The carbonation in the sparkling water creates bubbles. This leads to a lighter crust than using still water.
I personally prefer using organic eggs for all three batters. The yolks are richer and give a better color. For the tempura, I always keep my water in the freezer for ten minutes before mixing. This ensures it stays cold. For the pancakes, I like to let the batter rest for five minutes. This allows the flour to hydrate fully. For the frying batter, I mix it right before dipping. Over-mixing is the enemy here. I also suggest using a neutral oil like canola or vegetable for frying. It doesn’t interfere with the flavors. If you are dairy-free, swap the butter and buttermilk in the pancake batter with coconut oil and almond milk. It works surprisingly well.
What Equipment Do I Need?
You don’t need much to make these batters. A medium mixing bowl is essential for each type. I use glass bowls because they are easy to clean and don’t retain heat. For whisking, a wire whisk is best. It incorporates air into the batter quickly. A silicone spatula is helpful for folding in ingredients gently. For frying, a heavy-bottomed skillet or a deep fryer works. I prefer a cast-iron skillet for even heat distribution. A thermometer is useful for checking oil temperature. Aim for 350°F (175°C) for frying. For pancakes, a non-stick griddle is ideal. It prevents sticking and makes flipping easier. If you don’t have a thermometer, drop a bit of batter into the oil. If it sizzles and rises to the top, it’s ready.
How to Prepare Each Batter Type
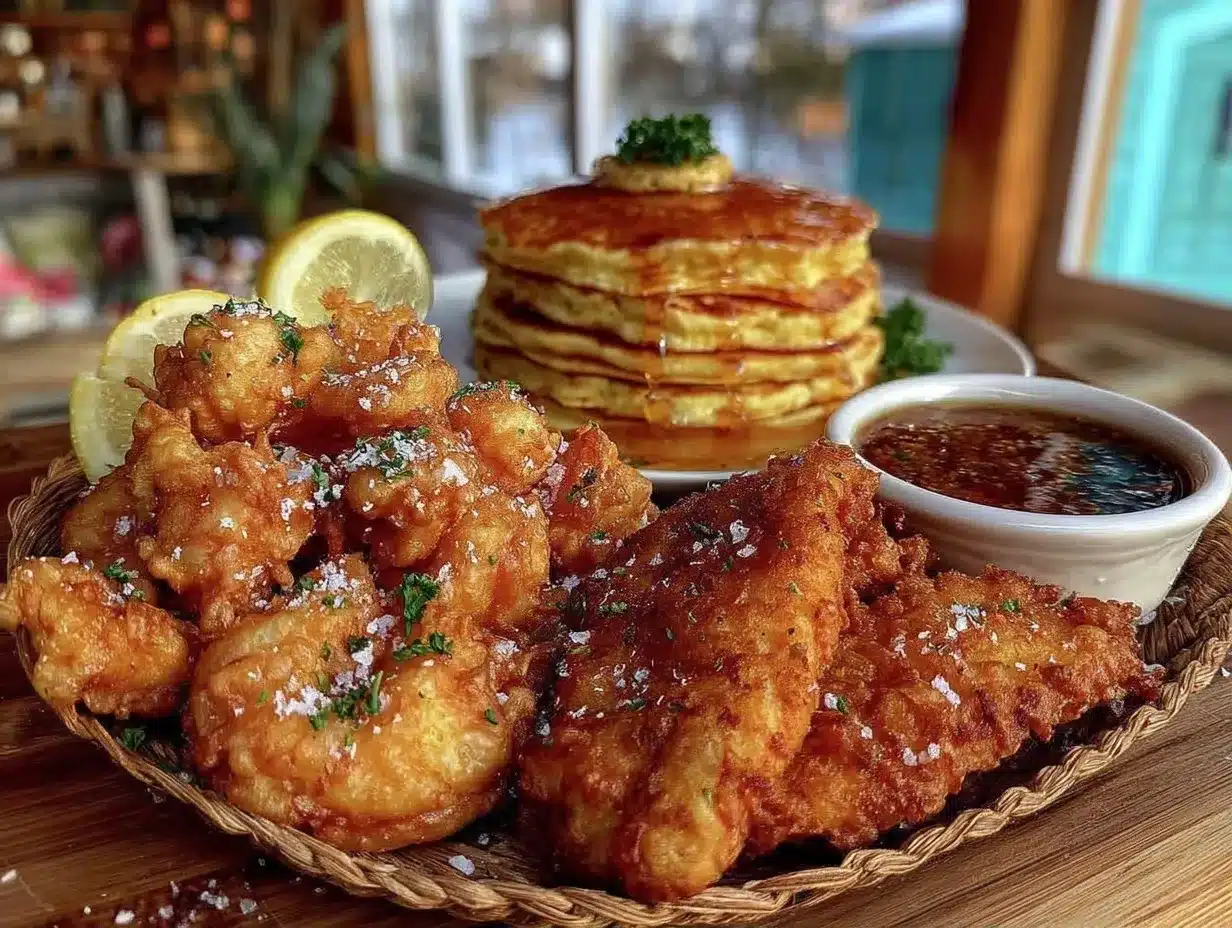
Let’s walk through the process step-by-step. Precision matters here. We want consistent results every time.
Step 1: Making the Tempura Batter (10 minutes)
- Prep the Cold Water: Pour 1 cup of ice-cold water into a bowl. Add the egg and cornstarch. Whisk gently just to combine. Do not overmix. Lumps are okay. In fact, they help create texture. The key is to keep the batter cold. If it warms up, the gluten activates and the batter gets tough.
- Sift the Flour: Sift 1 cup of cake flour directly into the wet mixture. Use a fork to gently fold the flour in. Stop as soon as you see dry streaks. The batter should be lumpy and thin. If it’s too thick, add a splash more ice water. If it’s too thin, add a teaspoon of flour. The consistency should be like heavy cream.
- Keep It Cold: Place the batter in the fridge until you are ready to cook. This maintains the temperature. When you dip your seafood or vegetables, the cold batter hits the hot oil and creates steam. This is what makes it crispy.
Step 2: Making the Pancake Batter (15 minutes)
- Mix Dry Ingredients: In a large bowl, whisk together the all-purpose flour, sugar, baking powder, baking soda, and salt. Make sure there are no clumps of baking powder. This ensures even rising.
- Combine Wet Ingredients: In a separate bowl, whisk the buttermilk, egg, melted butter, and vanilla extract. The melted butter should be warm, not hot. If it’s too hot, it will cook the egg.
- Combine and Rest: Pour the wet ingredients into the dry ingredients. Stir gently with a spatula. The batter will be thick and lumpy. This is perfect. Overmixing leads to tough pancakes. Let the batter rest for five minutes. This relaxes the gluten and hydrates the flour. After resting, the batter will be smoother but still thick.
Step 3: Making the Frying Batter (5 minutes)
- Chill the Liquid: Use cold sparkling water. The bubbles are crucial for a light crust. If you use warm water, the bubbles disappear. Chill the water in the fridge beforehand.
- Mix the Batter: In a bowl, whisk the bread flour, egg, oil, and salt. Slowly pour in the sparkling water while whisking. The batter should be thin, like a crepe batter. It will be slightly bubbly. This is normal. Do not let it sit. Use it immediately for the best results.
- Check Consistency: Dip a spoon into the batter. It should coat the back of the spoon but drip off easily. If it’s too thick, add a little more sparkling water. If it’s too thin, add a bit more flour.
Cooking Tips & Techniques
Mastering these batters takes a bit of practice. Here are some tips to help you succeed. For tempura, the oil temperature is critical. If it’s too low, the food absorbs oil. If it’s too high, the batter burns before the food cooks. Keep the oil between 340°F and 360°F (170°C-180°C). Fry in small batches to maintain the temperature. Also, drain your ingredients well before dipping. Excess water causes splattering. For pancakes, heat your griddle over medium heat. Too hot and the outside burns while the inside stays raw. Too cool and they don’t brown. Test with one pancake first. For frying, use a heavy pot. It holds heat better. Stir occasionally to prevent sticking. The sparkling water batter is great for onion rings or zucchini sticks. It stays crisp longer than traditional batter.
Common Mistakes to Avoid
- Overmixing: This is the biggest mistake. It develops gluten and makes the batter tough. Mix until just combined.
- Wrong Oil Temperature: Always check your oil. A thermometer is worth the investment.
- Using Warm Water for Tempura: Warm water activates gluten. Always use ice water.
Variations & Adaptations
These batters are very adaptable. You can change the flavors to suit your mood. For the tempura batter, add a little sake or mirin for authentic Japanese flavor. You can also add grated ginger for a spicy kick. For pancakes, add blueberries or chocolate chips to the batter. Or go savory with cheese and herbs. For the frying batter, add garlic powder or paprika for extra zest. You can also use beer instead of sparkling water for a richer flavor. If you are gluten-free, use a 1:1 gluten-free flour blend for all three. The results are surprisingly similar. I often use the frying batter for cauliflower wings. It’s a great vegetarian option. The tempura batter works well for asparagus or sweet potato fries. Try different vegetables to find your favorites.
Serving & Storage Suggestions
Serve the tempura immediately with a dipping sauce. Tentsuyu is traditional, made with dashi, soy sauce, and mirin. For pancakes, serve with maple syrup and fresh fruit. The frying batter creations are best with tartar sauce or ranch dressing. Store leftovers in an airtight container in the fridge for up to two days. Reheat in an air fryer or oven to restore crispiness. Microwaving makes them soggy. The batter itself should be made fresh. Do not store mixed batter for later use. It will lose its leavening power and texture.
Nutritional Information & Benefits
These batters provide a good balance of carbohydrates and protein. The eggs add essential amino acids. The flour provides energy. Tempura is lighter than deep-fried foods because the batter is thin. Pancakes can be made healthier by using whole wheat flour or adding oats. The frying batter can be baked in the oven for a lower-calorie option. Each serving of tempura has about 150 calories. Pancakes have around 200 calories per two pancakes. The frying batter items vary based on the main ingredient. These recipes allow you to control the sugar and fat content. It’s a better alternative to store-bought mixes.
Conclusion
Learning these 3 batter types for tempura, pancakes & frying is a game-changer. You now have the tools to create light, crispy, and delicious dishes at home. I hope you try these recipes and find your own favorites. The tempura batter is magical for seafood. The pancake batter is perfect for lazy mornings. The frying batter is great for comfort food. Feel free to experiment with flavors and ingredients. Cooking is about joy and creativity. Share your results with friends and family. I’d love to hear how they turn out for you. Happy cooking!
Frequently Asked Questions
Can I use self-rising flour for the pancake batter?
Yes, but you need to adjust the baking powder and salt. Self-rising flour already contains leavening agents. Reduce the baking powder in the recipe by half and omit the salt. This prevents the pancakes from tasting too bitter or rising too much.
Why is my tempura batter soggy?
This usually happens if the oil is not hot enough or if the batter is overmixed. Ensure your oil is at 350°F (175°C). Also, make sure you use ice-cold water and mix the batter minimally. Lumpy batter is better than smooth batter for tempura.
Can I make the pancake batter ahead of time?
It’s best to make pancake batter fresh. However, you can mix the dry ingredients the night before. Store them in an airtight container. In the morning, just add the wet ingredients. This saves time without compromising texture too much.
What oil is best for frying with the batter?
Use oils with a high smoke point. Canola, vegetable, or peanut oil are great choices. They don’t burn easily and have a neutral flavor. Avoid olive oil for deep frying as it has a lower smoke point and a strong flavor that might clash with the batter.
How do I keep fried food crispy?
Place fried items on a wire rack instead of paper towels. Paper towels trap steam and make the bottom soggy. The wire rack allows air to circulate, keeping the entire piece crispy. Also, serve immediately after frying for the best texture.
Pin This Recipe!
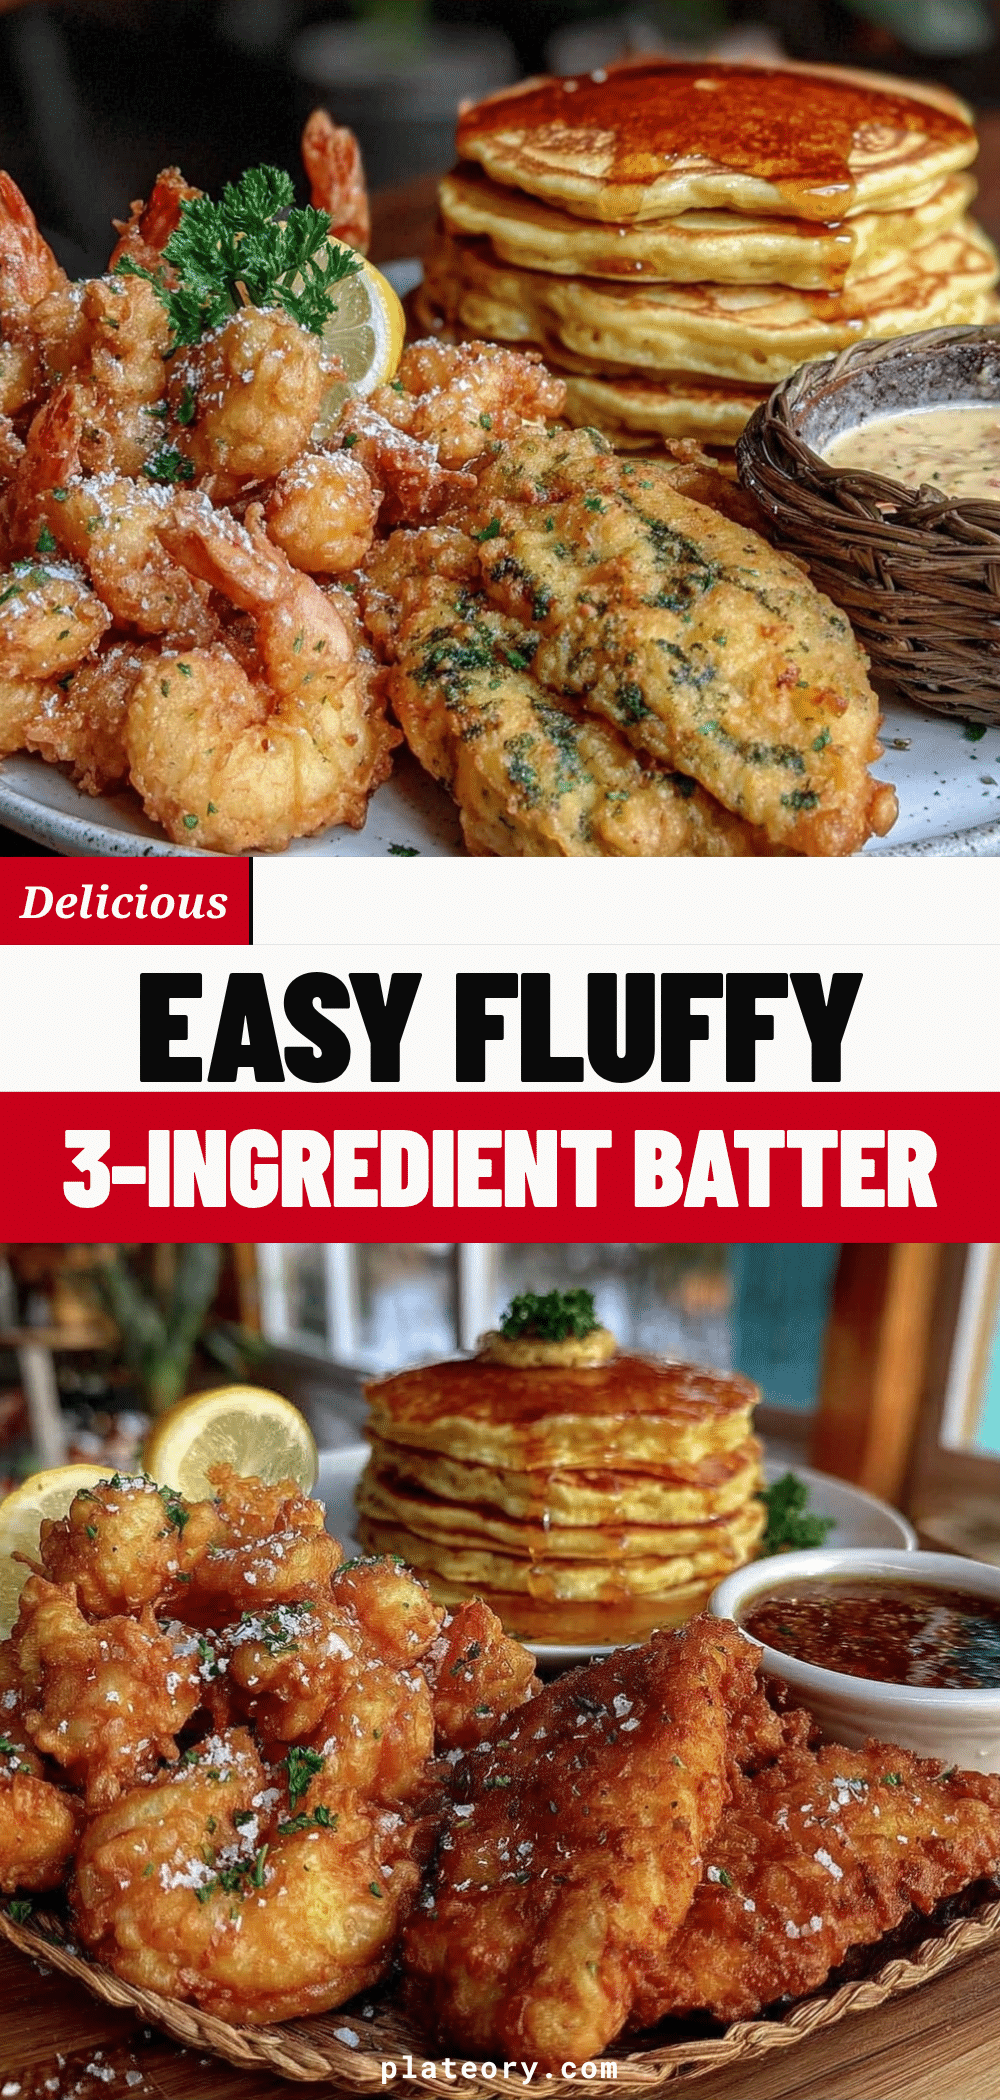

3 Tempura Batter Types: Best Homestyle Frying
- Total Time: 25 minutes
- Yield: Makes enough batter for 3 different applications
Description
Master three essential batter types for tempura, pancakes, and general frying. This guide provides foolproof recipes for light, crispy, and fluffy results using simple ingredients and key techniques like ice-cold water and minimal mixing.
Ingredients
- 1 cup cake flour (120g)
- 1 large egg (room temperature)
- 1 cup ice-cold water (240ml)
- 1 teaspoon cornstarch (optional)
- pinch of salt
- 1 ½ cups all-purpose flour (190g)
- 2 tablespoons sugar (30g)
- 2 teaspoons baking powder (6g)
- ½ teaspoon baking soda (2.5g)
- 1 cup buttermilk (240ml)
- 2 tablespoons melted butter
- 1 teaspoon vanilla extract
- 1 cup bread flour (125g)
- 1 cup cold sparkling water (240ml)
- 2 tablespoons oil
- neutral oil for frying (e.g., canola or vegetable)
Instructions
- For Tempura Batter: Whisk ice-cold water, egg, cornstarch, and salt gently. Sift cake flour into the wet mixture and fold with a fork until just combined and lumpy. Keep batter cold until ready to use.
- For Pancake Batter: Whisk all-purpose flour, sugar, baking powder, baking soda, and salt in a large bowl. In a separate bowl, whisk buttermilk, egg, melted butter, and vanilla. Pour wet ingredients into dry ingredients and stir gently until thick and lumpy. Let rest for 5 minutes.
- For Frying Batter: Whisk bread flour, egg, oil, and salt. Slowly pour in cold sparkling water while whisking until the batter is thin and bubbly. Use immediately.
- Heat oil to 350°F (175°C) for frying or preheat griddle to medium for pancakes.
- Dip ingredients into the respective batter and fry or cook until golden brown and crispy.
- Serve tempura with tentsuyu, pancakes with maple syrup, and fried items with dipping sauces.
Notes
Keep tempura batter ice-cold to prevent gluten development. Do not overmix any batter to ensure a tender texture. For pancakes, let the batter rest for 5 minutes to hydrate the flour. Use cold sparkling water for the frying batter to create a light, bubbly crust. Store leftovers in an airtight container and reheat in an air fryer or oven to maintain crispiness.
- Prep Time: 15 minutes
- Cook Time: 10 minutes
- Category: Breakfast, Main Course, Side Dish
- Cuisine: Japanese, American
Nutrition
- Serving Size: Varies by applicatio
- Calories: 175
- Sugar: 4
- Sodium: 150
- Fat: 8
- Saturated Fat: 2
- Carbohydrates: 22
- Fiber: 1
- Protein: 4
Keywords: tempura batter, pancake batter, frying batter, homestyle frying, crispy coating, ice cold water batter, gluten-free options, easy frying recipes