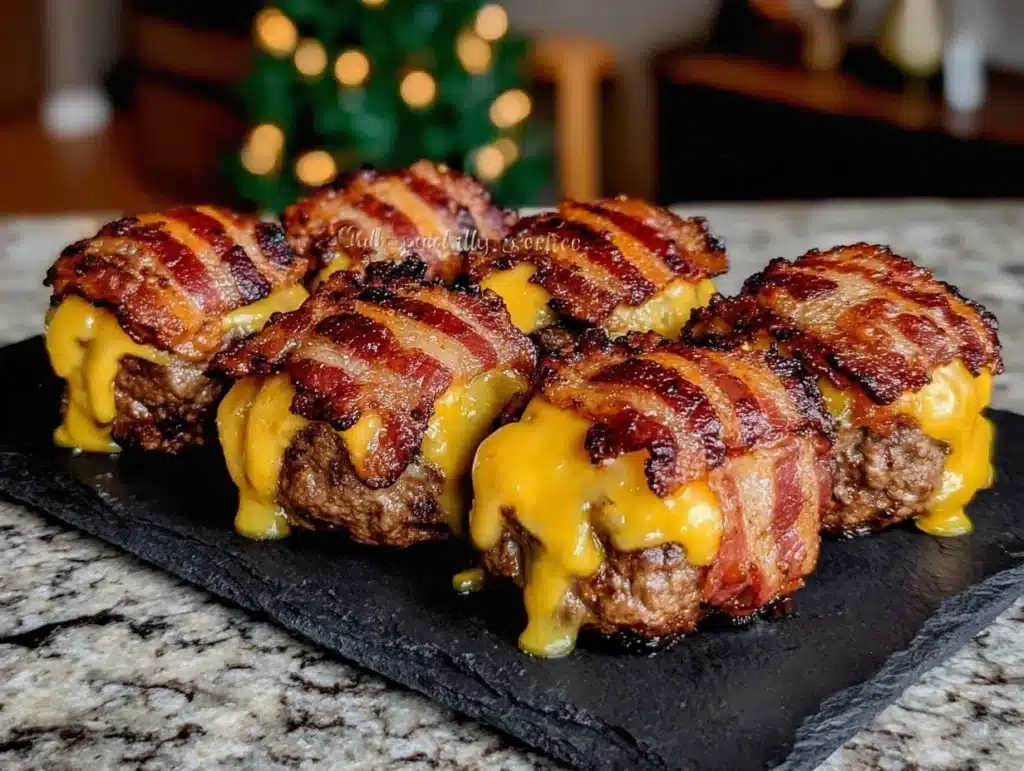
It was 1998, and my college roommate Sarah was throwing what she called a “survival party” for midterms. Honestly, we were just stressed, broke, and hungry. She pulled out a baking sheet of these golden, cheesy bombs from the oven, and the room went quiet for exactly three seconds before they were gone. That was the moment I realized some appetizers aren’t just food—they’re magic.
I remember standing in her tiny kitchen, holding a warm, greasy (but in the best way) piece of dough stuffed with beef, cheese, and crispy bacon. It was messy to eat, sure, but it was the kind of comfort that made all the studying worth it. Fast forward twenty years, and I’m still making this recipe. It’s become my go-to for game days, holiday gatherings, or just when I need a hug from the inside.
People ask me why I keep coming back to Ultimate Cheeseburger Bacon Bombs. Is it the convenience? Maybe. Is it the fact that you can prep them an hour ahead? Definitely. But mostly, it’s because they taste like a childhood dream come true. They are crispy on the outside, gooey on the inside, and packed with that smoky, savory punch that bacon brings to the table. Let’s face it, not every snack can deliver that kind of satisfaction without making you feel like you’ve eaten a whole pizza.
I’ve tested this recipe over a dozen times, tweaking the cheese ratios and the bacon crispiness levels. You know how it is with comfort food—you want it to feel familiar but just a little bit elevated. These bombs hit that sweet spot perfectly. They are perfect for feeding a crowd or just treating yourself to something indulgent on a Tuesday night. Trust me, once you try them, you’ll be making them on repeat.
Why You’ll Love This Recipe
Let’s be real for a second. Not all appetizers are created equal. Some are too fancy, some are too small, and some just leave you wanting more without actually satisfying you. These Ultimate Cheeseburger Bacon Bombs solve all those problems. I’ve spent years in the kitchen testing everything from stuffed mushrooms to jalapeno poppers, and this recipe stands out for its sheer, unapologetic deliciousness.
Here is why this recipe is going to become a staple in your rotation:
- Quick & Easy: You can have these in the oven in under 30 minutes. That’s it. No marinating overnight, no complex techniques. Just mix, roll, and bake. It’s perfect for those weeknights when you want something homemade but don’t have hours to spare.
- Simple Ingredients: You probably already have everything you need in your fridge and pantry. Ground beef, shredded cheese, cooked bacon, biscuit dough, and a few spices. No fancy grocery trips needed. This is accessible cooking at its finest.
- Perfect for Game Day: Whether it’s the Super Bowl, the big football game, or just watching the finals, these are the ultimate finger food. They are sturdy enough to hold without falling apart, which is crucial when you’re watching the big match.
- Crowd-Pleaser: I’ve served these to picky eaters, carnivores, and people who claim they “don’t like appetizers.” They all come back for seconds. The combination of beef and bacon is universally loved, and the flaky dough adds a texture that keeps people coming back.
- Unbelievably Delicious: The texture contrast is key here. You get the crunch of the baked dough, the chew of the beef, and the melt of the cheese. It’s a flavor profile that hits all the right notes—salty, savory, and slightly sweet from the bacon.
What makes this recipe different from the rest? It’s the technique of using pre-made biscuit dough. It saves time but still gives you that homemade, flaky result. Plus, the ratio of cheese to meat is carefully balanced so you get a gooey pull every time you bite in. It’s not just another version of a stuffed dough ball; it’s the best version. It’s the kind of recipe that makes you close your eyes after the first bite. It’s comfort food reimagined—richer, faster, but with the same soul-soothing satisfaction. Perfect for impressing guests without stress, or turning a simple meal into something memorable.
What Ingredients You Will Need
This recipe relies on simple, high-quality ingredients to deliver bold flavor and satisfying texture without the fuss. The beauty of Ultimate Cheeseburger Bacon Bombs is that it uses pantry staples you likely already have, but the quality of those ingredients makes a huge difference. Here is what you need to gather:
- Ground Beef (80/20 blend): You want a little bit of fat here. Lean beef will dry out the bombs. The 80/20 ratio ensures juiciness. Look for fresh, bright red beef from your local butcher if possible.
- Cheddar Cheese, Shredded: Sharp cheddar adds a nice tang that cuts through the richness of the beef and bacon. Pre-shredded cheese often has anti-caking agents, so block cheese is better for melting. I recommend Cabot or Tillamook for consistent flavor.
- Bacon, Cooked and Crumbled: This is non-negotiable. Use thick-cut bacon if you can find it. It holds up better in the dough and provides that essential crunch. Cook it until it’s fully crisp so it doesn’t get soggy in the oven.
- Refrigerated Biscuit Dough: I use the tube variety (like Pillsbury or Grands!) for convenience. It’s flaky, buttery, and saves you from making dough from scratch. Thaw it slightly before working with it.
- Yellow Mustard: Just a tablespoon or two. It adds a tangy kick that mimics the classic cheeseburger flavor profile. Don’t skip it; it balances the saltiness.
- Relish, Diced: Optional, but highly recommended. It adds a bit of acidity and crunch, reminiscent of a real burger. If you’re not a fan, you can skip it, but it adds depth.
- Ketchup: A small amount for sweetness and color. It helps bind the filling slightly and adds that classic diner taste.
- Egg Wash: One egg beaten with a splash of milk. This is crucial for getting that golden-brown, shiny finish on the outside of the bombs.
- Sesame Seeds: For garnish. They add a nice visual appeal and a subtle nutty flavor that ties the whole burger theme together.
- Garlic Powder and Onion Powder: These dried spices boost the savory notes of the beef. Use them generously.
If you want to make it a bit more gourmet, you can swap the cheddar for pepper jack for a spicy kick, or use brie for a creamier texture. For a gluten-free option, you can use gluten-free biscuit dough, though the texture might be slightly denser. I always recommend buying high-quality bacon because it makes the biggest difference in the final flavor profile.
Equipment Needed
You don’t need a fancy kitchen to make these bombs. Here is the basic gear you’ll need:
- Baking Sheet: A standard half-sheet pan. Line it with parchment paper or a silicone baking mat. This makes cleanup a breeze and prevents sticking.
- Skillet: A cast-iron skillet is ideal for cooking the beef and bacon. It distributes heat evenly and adds a nice sear to the meat.
- Mixing Bowls: Two medium bowls. One for the meat mixture and one for the egg wash.
- Pastry Brush: For applying the egg wash. A silicone brush is easier to clean than a traditional bristle brush.
- Knife and Cutting Board: For crumbling the bacon and dicing the relish.
If you don’t have a cast-iron skillet, a non-stick pan works fine. Just make sure it’s large enough to cook the beef in a single layer. Also, having a silicone mat is a game-changer for cleanup. I’ve scrubbed pans for hours after making appetizers, and it’s not fun. Save yourself the trouble.
Preparation Method
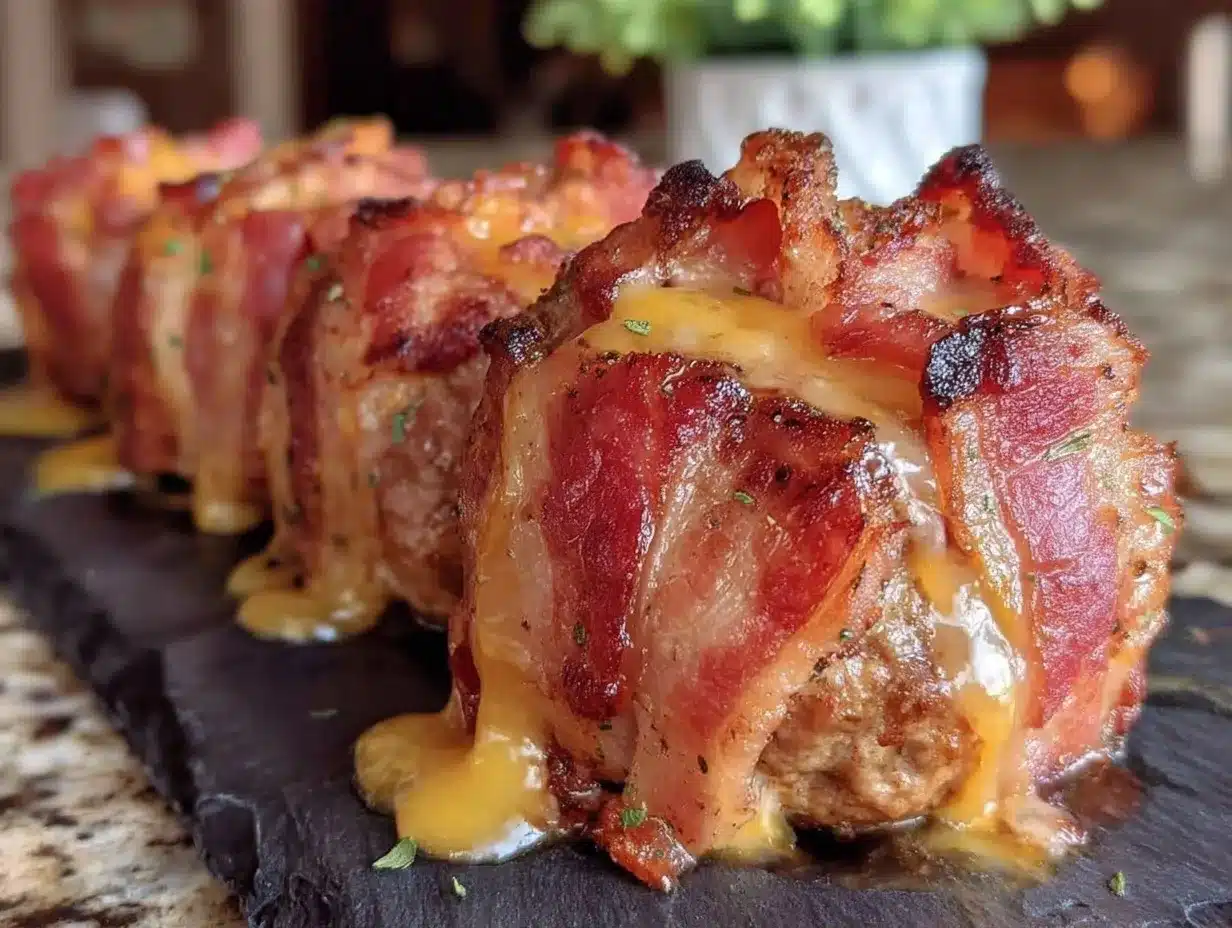
Let’s get into the nitty-gritty. Making Ultimate Cheeseburger Bacon Bombs is straightforward, but there are a few tricks to ensure they turn out perfectly every time.
- Cook the Bacon and Beef (10 minutes): Start by cooking the bacon in a skillet over medium heat until crisp. Remove it and drain on paper towels. In the same pan, add the ground beef. Cook it over medium-high heat, breaking it up with a spatula, until browned and cooked through. Drain any excess grease. This step is crucial; you don’t want watery bombs. Let the meat cool slightly so it’s not hot when you mix it with the cheese.
- Mix the Filling (5 minutes): In a mixing bowl, combine the cooked ground beef, crumbled bacon, shredded cheddar cheese, yellow mustard, ketchup, diced relish, garlic powder, and onion powder. Mix gently with your hands or a spoon until everything is well combined. Taste a small piece (if it’s cool enough) to check seasoning. Add salt and pepper if needed, but remember the bacon and cheese are already salty.
- Prepare the Dough (5 minutes): Open the tube of biscuit dough. Separate the biscuits. If you have large biscuits, you can cut them in half. Roll each piece of dough into a flat circle, about 3-4 inches wide. You want them thin enough to seal but thick enough to hold the filling.
- Assemble the Bombs (10 minutes): Place a spoonful of the beef mixture (about 1-2 tablespoons) in the center of each dough circle. Be careful not to overfill them, or they might burst. Bring the edges of the dough up and around the filling, pinching the top to seal tightly. Roll the ball in your hands to smooth out any seams. Place them seam-side down on the prepared baking sheet. Repeat with the remaining dough and filling.
- Preheat and Prepare Wash (2 minutes): Preheat your oven to 375°F (190°C). In a small bowl, beat the egg with a splash of milk. Brush the tops of the bombs generously with the egg wash. This will give them that beautiful golden-brown color. Sprinkle sesame seeds on top for that classic burger look.
- Bake (15-18 minutes): Place the baking sheet in the preheated oven. Bake for 15-18 minutes, or until the bombs are puffed up and golden brown. Keep an eye on them after 15 minutes, as oven temperatures can vary. You want them to be firm to the touch.
- Cool and Serve (5 minutes): Remove from the oven and let them cool for 5 minutes. They will be very hot inside! Serve warm with extra ketchup, mustard, or a spicy mayo for dipping.
Pro tip: If you are making a large batch, do not overcrowd the baking sheet. Leave space between the bombs so they bake evenly. If you need to use two sheets, rotate them halfway through baking.
How do I prevent the bombs from bursting in the oven?
The key is sealing. Make sure you pinch the dough tightly around the filling. If you see any cracks, press them closed with your fingers. Also, don’t overfill them. A little bit of filling goes a long way.
Can I make these ahead of time?
Yes! You can assemble the bombs and store them in the fridge for up to 24 hours. When you’re ready to bake, let them sit at room temperature for 15 minutes while the oven preheats. You might need to add 2-3 minutes to the baking time if they are cold from the fridge.
What cheese works best?
Sharp cheddar is the classic choice, but you can also use pepper jack for spice, mozzarella for extra stretch, or a mix of both. Avoid pre-shredded cheese if possible, as it doesn’t melt as smoothly.
Can I use turkey or chicken instead of beef?
Absolutely. Ground turkey or chicken works well, but it’s leaner, so add a little extra oil or butter to the pan when cooking, and maybe a splash of broth to keep it moist.
How do I reheat leftovers?
Reheat in an air fryer at 350°F for 3-4 minutes to keep them crispy. The microwave will make the dough soggy, so avoid that if you can.
Cooking Tips & Techniques
After making these bombs for years, I’ve learned a few things that can save your batch. First, always drain the beef well. If the meat is too greasy, the dough will become soggy and fall apart. I usually pat the cooked beef with a paper towel to remove excess oil.
Another tip is to work quickly with the dough. Biscuit dough can dry out if it’s exposed to air for too long. Keep the unused dough covered with a damp towel while you assemble the bombs. This keeps them soft and easy to seal.
Don’t skip the egg wash. It’s not just for looks; it helps the sesame seeds stick and gives the dough a professional finish. If you’re feeling lazy, you can skip the sesame seeds, but the egg wash is worth the extra minute.
Watch the oven closely. Every oven is different. If your bombs are browning too fast, cover them loosely with foil. If they are pale, give them a few more minutes. The inside needs to be cooked, so don’t pull them out too early.
Multitasking is key here. While the bombs are baking, you can prepare your dipping sauces. A simple mix of ketchup, mustard, and a dash of hot sauce is perfect. It saves time and keeps your workflow smooth.
Variations & Adaptations
One of the best things about this recipe is how adaptable it is. Here are a few ways to shake it up:
- Spicy Version: Add diced jalapenos to the beef mixture and use pepper jack cheese. It adds a nice kick that balances the richness.
- BBQ Bacon Bombs: Swap the ketchup and mustard for BBQ sauce. Use smoked cheddar cheese for a deeper, smokier flavor.
- Chicken Caesar Bombs: Use cooked shredded chicken, parmesan cheese, romaine lettuce (finely chopped), and Caesar dressing. It’s a lighter twist on the classic.
- Veggie Option: Replace the beef with a meatless ground crumble or finely chopped mushrooms. Use vegan cheese and vegan biscuit dough for a fully plant-based version.
- Breakfast Bombs: Use breakfast sausage instead of ground beef, add crumbled bacon, and use cheddar cheese. Serve with maple syrup for dipping.
I once tried making these with puff pastry instead of biscuit dough. The result was flakier but harder to seal, and they tended to leak. Stick with the biscuit dough for the best texture and ease of use.
Serving & Storage Suggestions
Serve these bombs warm, right out of the oven. They look great arranged on a platter with a small bowl of dipping sauce in the center. Garnish with chopped parsley or chives for a pop of color.
They pair well with a crisp green salad or some potato wedges. For drinks, a cold beer or a sparkling lemonade works perfectly.
To store leftovers, place them in an airtight container in the fridge for up to 3 days. Reheat in an air fryer or toaster oven to restore crispiness. They do not freeze well raw, but you can freeze cooked bombs for up to a month. Thaw and reheat in the oven.
The flavors meld together nicely the next day, making them even more delicious as leftovers. Just make sure to reheat them properly to avoid a soggy texture.
Nutritional Information & Benefits
While these are definitely an indulgent treat, they do offer some nutritional benefits. The ground beef provides high-quality protein and iron. The cheese adds calcium and protein. The bacon, while high in sodium, adds flavor and satisfaction in small amounts.
Each bomb contains roughly 250-300 calories, depending on the size and ingredients. They are not low-carb, but they are high in protein and fat, which can keep you full longer. If you are watching your sodium intake, opt for low-sodium bacon and reduce the amount of added salt.
From a wellness perspective, these are great for satisfying cravings without the need for a full meal. They are a perfect snack for busy days when you need a quick energy boost.
Conclusion
Ultimate Cheeseburger Bacon Bombs are more than just an appetizer; they are a celebration of comfort food. They are easy to make, delicious to eat, and always a hit at any gathering. I hope this recipe brings you as much joy as it has brought me over the years.
Feel free to experiment with different cheeses and seasonings to make them your own. The beauty of cooking is in the customization. I’d love to hear how you make them. Did you add jalapenos? Did you use a different cheese? Share your variations in the comments below!
If you try this recipe, please leave a rating and a review. It helps me know what you liked and what I can improve. Happy cooking, and enjoy every bite!
Frequently Asked Questions
Can I use frozen biscuit dough?
Yes, but you need to thaw it completely before using it. Frozen dough is too hard to seal properly and may tear. Let it sit at room temperature for 15-20 minutes.
What if I don’t have ground beef?
You can use ground turkey, ground chicken, or even a plant-based meat alternative. Just adjust the cooking time and ensure the meat is fully cooked.
How do I make them spicy?
Add diced jalapenos, cayenne pepper, or hot sauce to the beef mixture. Using pepper jack cheese also adds a nice level of heat.
Can I bake these in an air fryer?
Yes! Cook them at 350°F for 8-10 minutes, flipping halfway through. They will be crispier than oven-baked versions.
Why did my bombs leak?
They likely leaked because the seams weren’t sealed tightly enough or they were overfilled. Make sure to pinch the dough well and use a moderate amount of filling.
Pin This Recipe!
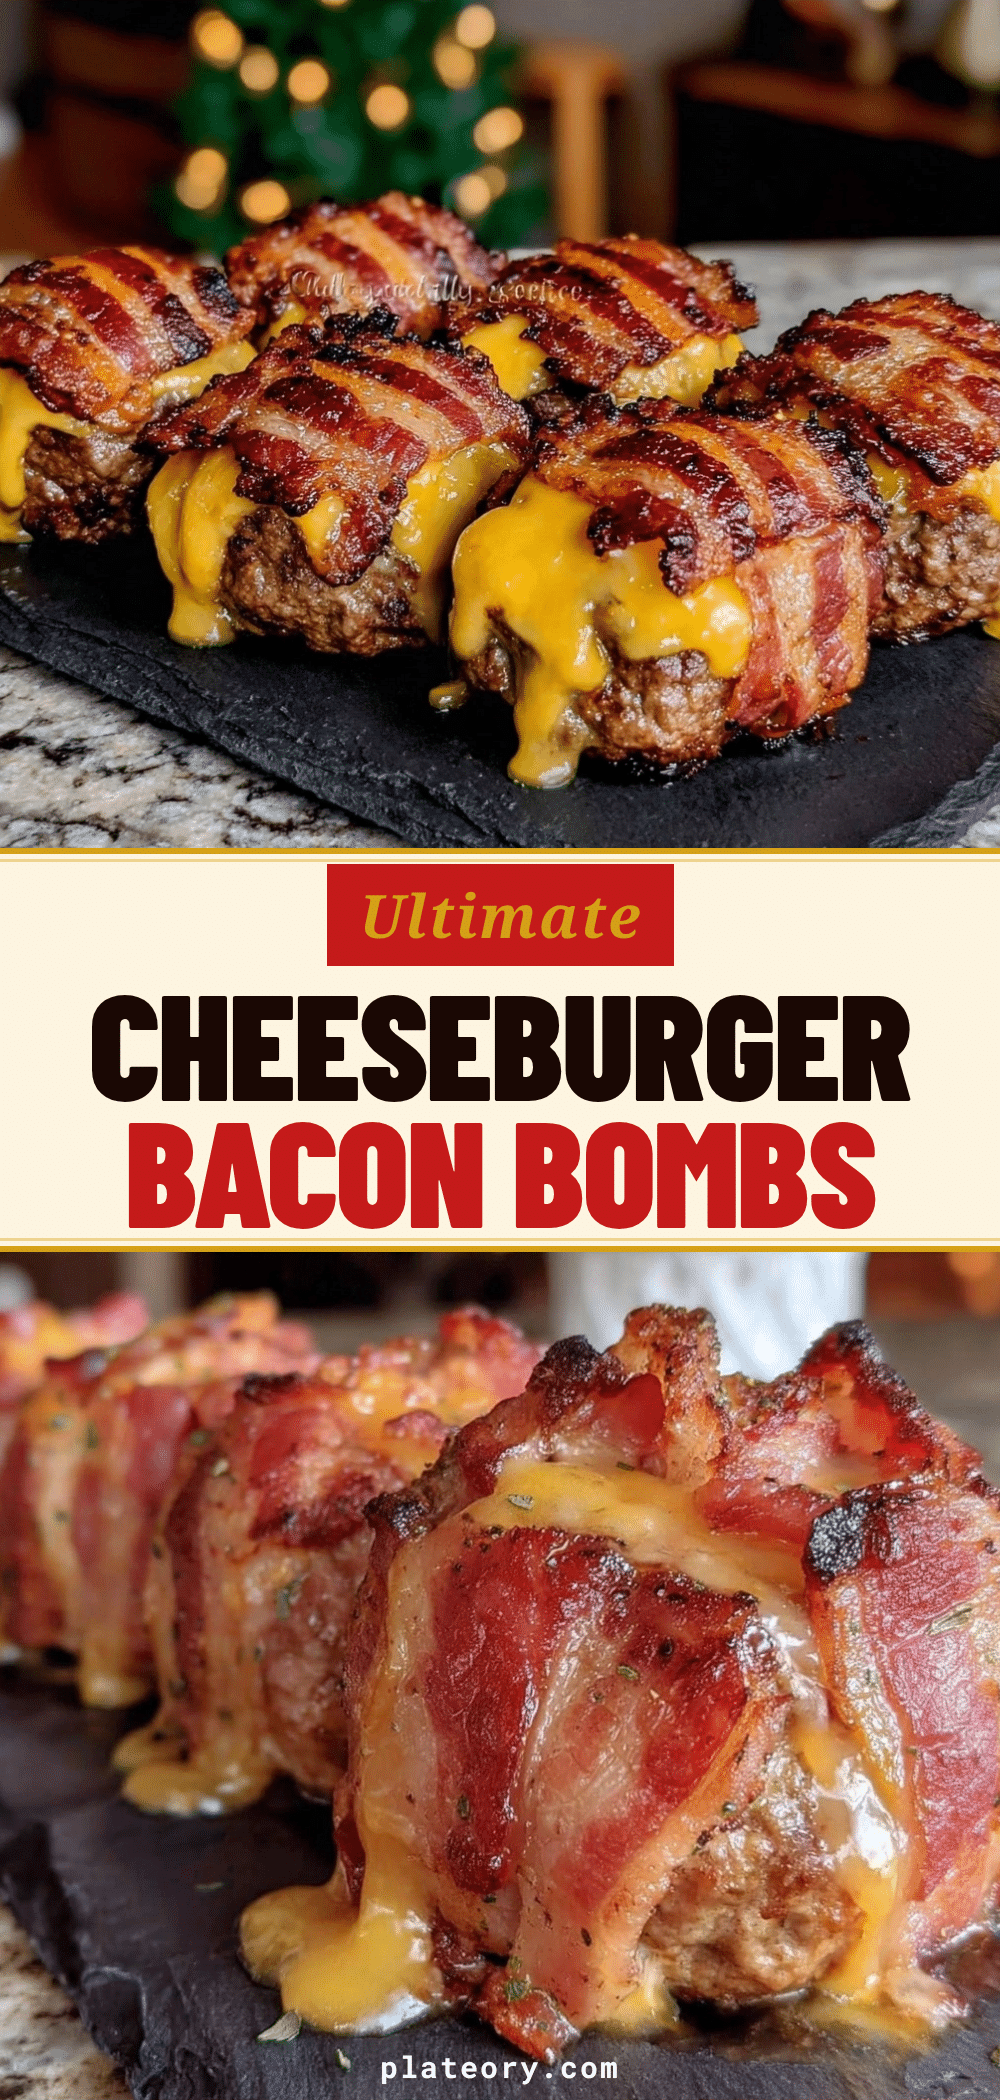

Ultimate Cheeseburger Bacon Bombs
- Total Time: 45 minutes
- Yield: 12 servings 1x
Description
Golden, cheesy, and crispy on the outside with a gooey beef and bacon filling, these easy appetizers are perfect for game days and gatherings.
Ingredients
- 1 lb ground beef (80/20 blend)
- 1 tube refrigerated biscuit dough (like Pillsbury or Grands!)
- 1 cup cheddar cheese, shredded
- 1 cup bacon, cooked and crumbled
- 1 tbsp yellow mustard
- 1 tbsp ketchup
- 1 tbsp relish, diced (optional)
- 1 tsp garlic powder
- 1 tsp onion powder
- 1 egg, beaten with a splash of milk (for egg wash)
- Sesame seeds (for garnish)
- Salt and pepper to taste
Instructions
- Cook bacon in a skillet over medium heat until crisp. Remove and drain on paper towels.
- In the same pan, cook ground beef over medium-high heat, breaking it up, until browned and cooked through. Drain excess grease and let cool slightly.
- In a mixing bowl, combine cooked beef, crumbled bacon, shredded cheddar, mustard, ketchup, relish, garlic powder, and onion powder. Mix gently and season with salt and pepper if needed.
- Open biscuit dough and separate biscuits. Roll each piece into a flat circle about 3-4 inches wide.
- Place 1-2 tablespoons of beef mixture in the center of each dough circle. Bring edges up and pinch tightly to seal, rolling into a ball. Place seam-side down on a parchment-lined baking sheet.
- Preheat oven to 375°F (190°C).
- Brush bombs with egg wash and sprinkle with sesame seeds.
- Bake for 15-18 minutes until puffed and golden brown.
- Cool for 5 minutes before serving warm.
Notes
Ensure the beef is fully drained and cooled to prevent soggy dough. Do not overcrowd the baking sheet. For a spicy version, add jalapenos and use pepper jack cheese. Can be made ahead and refrigerated for up to 24 hours before baking.
- Prep Time: 30 minutes
- Cook Time: 15 minutes
- Category: Appetizer
- Cuisine: American
Nutrition
- Serving Size: 1 bomb
- Calories: 275
- Sugar: 2
- Sodium: 450
- Fat: 18
- Saturated Fat: 8
- Carbohydrates: 15
- Fiber: 1
- Protein: 12
Keywords: cheeseburger bombs, bacon appetizer, game day food, easy appetizer, comfort food, beef and cheese