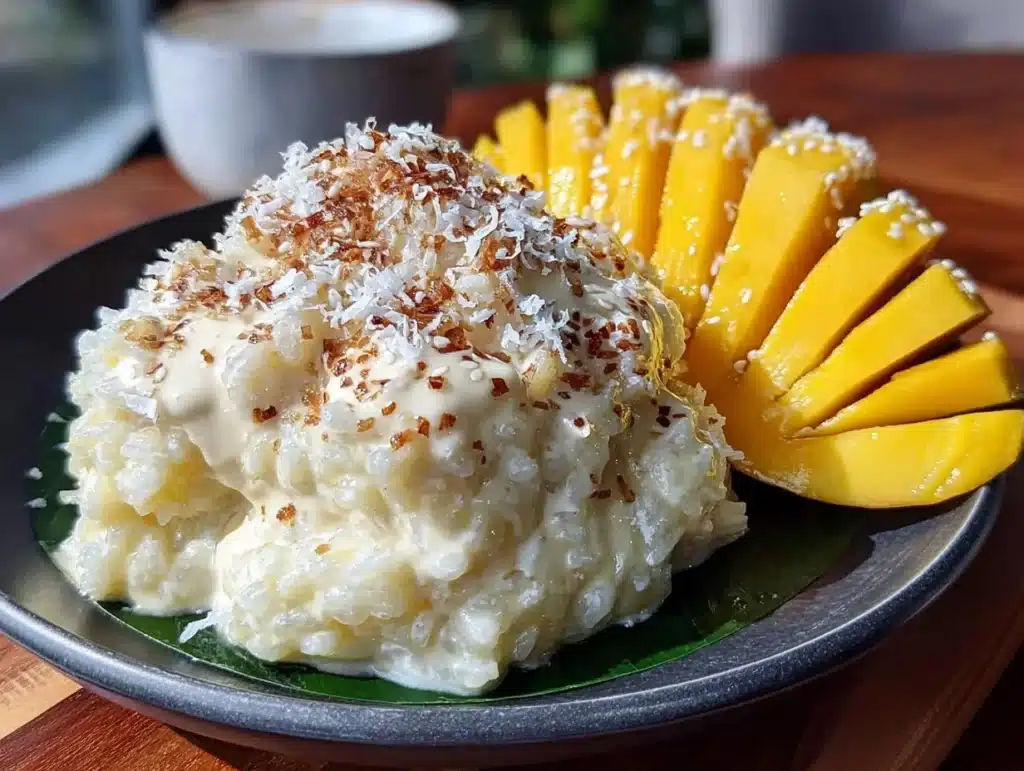
The smell of warm coconut milk meeting toasted sesame seeds takes me straight back to a humid evening in Bangkok. It’s a scent that hits you before you even see the plate. I remember standing at a tiny street stall, watching a vendor drizzle thick, golden syrup over glistening white rice. The mango slices were so ripe they practically melted onto the spoon. That moment changed how I think about dessert. It wasn’t just sweet; it was complex, salty, and deeply satisfying all at once.
I first tried making this dish in my cramped apartment kitchen during a rainy season. I wanted to recreate that street food magic without a Thai pantry. Honestly, I failed a few times. The rice was too sticky, or the coconut sauce was too thin. But after testing it over a dozen times, I finally nailed the balance. Now, this is my go-to comfort food when I need a hug in a bowl.
You know, people often think authentic Thai mango sticky rice is hard to make. Let’s face it, it’s not. It’s actually incredibly simple. The secret isn’t in fancy techniques; it’s in the quality of the short-grain rice and the patience to soak it properly. This recipe is perfect for anyone who loves tropical flavors but wants something lighter than heavy cakes. It’s great for brunch, a light dinner, or just when you’re craving something exotic but easy.
I’ve tested this version with both canned and fresh coconut milk to see what holds up best. The result is a dish that tastes like a vacation. It’s creamy, chewy, and bright. Whether you are a seasoned cook or just starting out, you will love how easy this is to pull together. Plus, it’s naturally gluten-free, which is a huge bonus for my friends with dietary restrictions.
When you serve this, you aren’t just serving dessert. You are sharing a piece of Thai culture. The combination of textures—the soft rice, the firm mango, the crunchy sesame seeds—is what makes it unforgettable. I love that I can bring this regional variation to my table without leaving home. It’s become a staple in my weekly meal rotation, especially in summer.
Why You’ll Love This Authentic Thai Mango Sticky Rice Recipe
Let’s be real, most sticky rice recipes out there are just sweet rice with coconut milk slapped on top. This one is different. It’s the real deal, the kind you’d get in Chiang Mai. I’ve spent years tweaking this to make sure it hits every note correctly. Here is why this recipe stands out from the crowd:
- Quick & Easy Prep: While the rice needs soaking, the actual cooking time is short. It comes together in under an hour of active work, making it perfect for busy weeknights or last-minute dinner parties.
- Simple Ingredients: You don’t need a specialty grocery store. Most of these items are pantry staples or found in any standard supermarket. You likely already have the coconut milk and sugar.
- Perfect for Brunch: This isn’t just a dessert. It makes a fantastic sweet breakfast option. It’s filling enough to keep you going but light enough not to weigh you down.
- Crowd-Pleaser: Kids love the sweetness, and adults appreciate the subtle saltiness. It always gets rave reviews from everyone who tries it.
- Unbelievably Delicious: The texture is next-level. The rice is chewy but tender, and the coconut sauce is rich without being heavy. It’s comfort food reimagined.
What makes this specific version special is the technique. I use a steaming method rather than boiling, which gives the grains that distinct chewy bite. Also, the addition of toasted sesame seeds adds a nutty depth that most recipes skip. It’s not just another version—it’s my best version.
Connecting emotionally, this recipe brings me peace. Closing my eyes after the first bite, I’m back in Thailand. It’s soul-soothing satisfaction in a bowl. It’s perfect for impressing guests without stress. You can prep the rice ahead of time, so you’re not stressed in the kitchen. It turns a simple meal into something memorable and exotic.
What Ingredients You Will Need
This recipe uses simple, wholesome ingredients to deliver bold flavor and satisfying texture without the fuss. The magic lies in the ratio of rice to coconut milk and the balance of sweet and salty. You don’t need anything fancy, just good quality basics. Here is what you will need to get started.
- Glutinous Rice (Sticky Rice): 2 cups. This is non-negotiable. Do not use regular jasmine rice. Look for white short-grain glutinous rice. It has the right starch content for that chewy texture. I recommend buying from an Asian market for the freshest batch.
- Coconut Milk: 1 can (400ml). Use full-fat coconut milk for the best richness. Light coconut milk will make the sauce too thin. Shake the can well before opening.
- Sugar: 1/2 cup. Palm sugar is traditional and adds a caramel-like depth. If you can’t find it, brown sugar works well as a substitute. Granulated sugar is okay but less complex.
- Salt: 1/2 teaspoon. This is crucial. The salt cuts through the sweetness and highlights the coconut flavor. Do not skip this step.
- Sesame Seeds: 2 tablespoons. Toasted white or black sesame seeds add a nice crunch and nutty aroma. Toast them in a dry pan until golden.
- Thai Mangoes: 2 large, ripe. Look for Nam Dok Mai or Nam Wa varieties if possible. They are less fibrous and sweeter. If you can’t find Thai mangoes, Ataulfo (Honey) mangoes are a great alternative.
- Water: For soaking and steaming. Use filtered water if possible to keep the flavor clean.
For the coconut sauce, you might want to reserve a little extra coconut milk for drizzling later. I like to add a pinch of rice flour to the sauce if I want it to thicken slightly more, but it’s optional. The key is to keep the ingredient list short so the flavors can shine.
If you are looking for substitutions, you can use coconut cream instead of milk for an even richer sauce. For a dairy-free option, this recipe is already compliant. Just ensure your sugar is vegan-friendly. In winter, you can swap mangoes for strawberries or peaches, though the texture will change.
Equipment Needed
You don’t need a lot of fancy gadgets to make this dish. A few basic tools will get you the best results. The most important piece of equipment is a steamer. A bamboo steamer is ideal because it allows steam to circulate evenly. However, a metal steamer insert that fits over a large pot works just as well.
- Bamboo or Metal Steamer: Essential for cooking the rice properly. If you don’t have one, a colander lined with cheesecloth over a pot of boiling water works in a pinch.
- Saucepan: Medium-sized for heating the coconut milk and sugar mixture.
- Bowl for Soaking: A large bowl to hold the rice and water for at least 4 hours.
- Sharp Knife: For slicing the mangoes cleanly.
- Small Pan: For toasting the sesame seeds.
I personally prefer the bamboo steamer because it keeps the rice from getting waterlogged. Metal steamers can sometimes cause condensation to drip back into the rice, making it soggy. If you use a metal one, make sure to line it well with parchment paper or cheesecloth.
For budget-friendly options, a simple metal colander works fine. Just be careful not to let the water touch the rice directly. You want steam, not boiling. Also, have a large serving plate ready. The rice is best served warm, so you want to transfer it quickly from the steamer to the plate.
Preparation Method
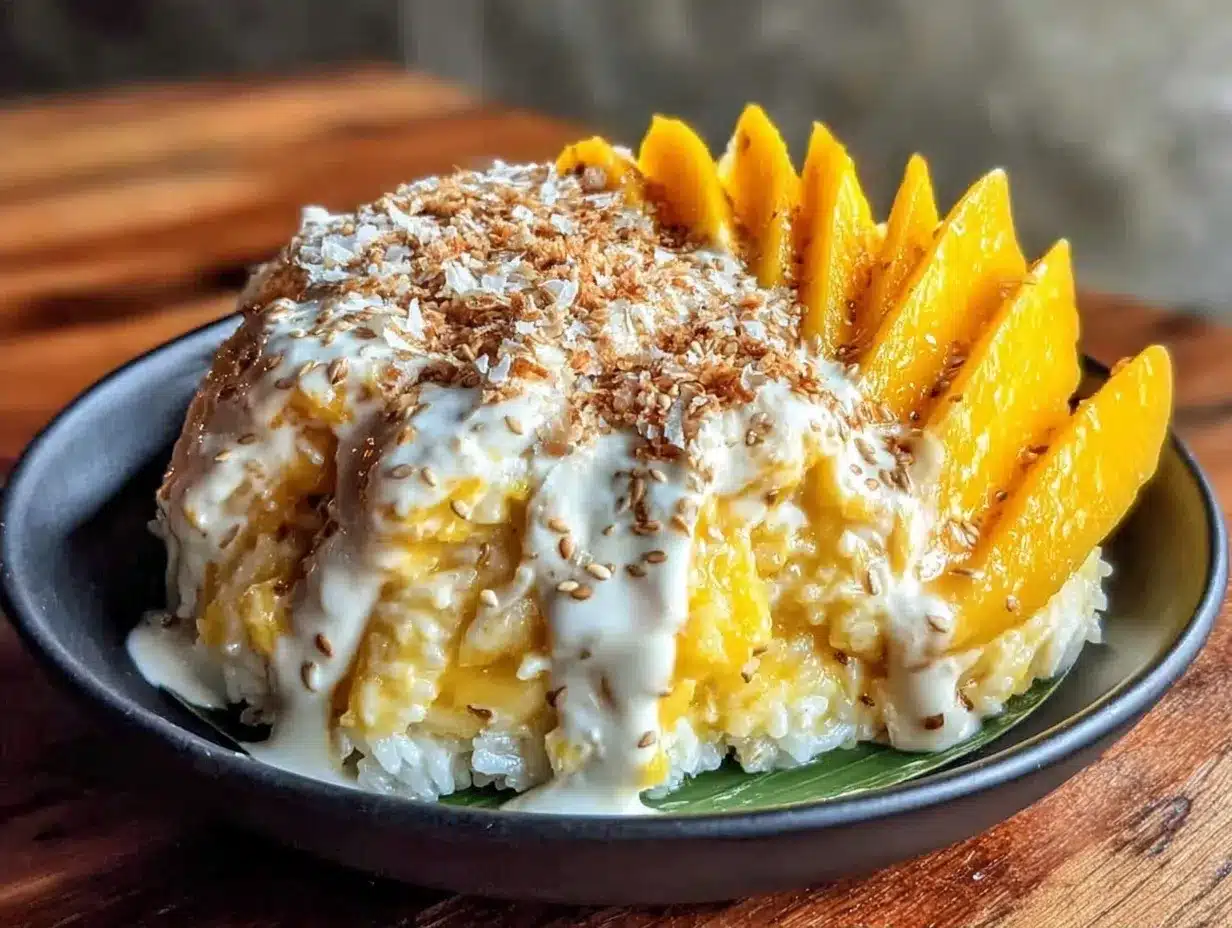
Making authentic Thai mango sticky rice is a process that rewards patience. Here is how to do it step-by-step for the best results.
- Soak the Rice (30 mins prep + 4 hours soak): Rinse the glutinous rice under cold water until the water runs clear. This removes excess starch. Place the rice in a large bowl and cover with cold water. Let it soak for at least 4 hours, or overnight. This step is crucial for even cooking.
- Steam the Rice (20-25 mins): Drain the soaked rice. Place it in a steamer lined with cheesecloth or parchment paper. Steam over boiling water for 20-25 minutes. The rice should be tender but still chewy. Test a grain; it should break easily between your fingers.
- Prepare the Coconut Sauce (5 mins): While the rice steams, combine the coconut milk, sugar, and salt in a saucepan. Heat over medium-low heat, stirring until the sugar dissolves. Do not let it boil vigorously, or the coconut milk might split. Keep it warm.
- Combine Rice and Sauce (5 mins): Once the rice is done, transfer it to a large mixing bowl. Pour about 3/4 of the warm coconut sauce over the hot rice. Gently fold the sauce into the rice. Let it sit for 10 minutes so the rice absorbs the flavors. Save the rest of the sauce for serving.
- Toast Sesame Seeds (2 mins): In a small dry pan, toast the sesame seeds over medium heat. Stir constantly until they are golden and fragrant. Be careful not to burn them, as they can go from golden to bitter quickly.
- Prepare the Mangoes (5 mins): Peel the mangoes and slice the flesh away from the pit. Cut the slices into manageable pieces. Arrange them on a serving plate.
- Assemble and Serve: Place the sticky rice next to the mango slices. Drizzle with the reserved coconut sauce. Sprinkle with toasted sesame seeds. Serve immediately while warm.
The key here is temperature. The rice needs to be hot when you add the sauce for best absorption. If the rice cools down, it won’t soak up the coconut milk as well. Also, don’t stir the rice too much, or it will become mushy. Gentle folds are best.
Cooking Tips & Techniques
There are a few tricks I’ve learned over the years to ensure your sticky rice turns out perfect every time. The biggest mistake people make is using the wrong type of rice. Make sure you are using glutinous rice, not jasmine rice. Jasmine rice will be fluffy and separate, which is not what you want.
Another tip is to not skip the soaking step. Soaking hydrates the grains, ensuring they cook evenly. If you skip this, the outside might be mushy while the inside is hard. Also, when steaming, make sure the water level in the pot is low enough that it doesn’t touch the rice. You want pure steam.
I once burned my sesame seeds while trying to multitask. Lesson learned: toast them separately and set them aside. You can toast them while the rice is steaming, but keep an eye on them. They burn faster than you think.
For consistency, use a kitchen scale for the rice if possible. Volume measurements can vary depending on how packed the rice is. Precision helps, but experience matters more. Trust your senses. The rice should smell sweet and nutty when it’s done. If it smells raw, keep steaming.
Also, taste the coconut sauce before pouring it over the rice. Adjust the sugar or salt to your liking. Everyone’s palate is different. Some like it sweeter, some prefer the saltiness to dominate. Find your balance.
Variations & Adaptations
While the classic version is timeless, there are ways to tweak this recipe to suit your needs or preferences.
- Vegan Option: This recipe is already vegan, but ensure your sugar is vegan-friendly. Some white sugars are processed with bone char.
- Low-Sugar Version: Reduce the sugar in the coconut sauce by half. Use a natural sweetener like monk fruit or erythritol. The flavor will be less caramel-like, but still delicious.
- Gluten-Free: Glutinous rice is naturally gluten-free. Just ensure your sesame seeds and coconut milk are certified gluten-free if you have celiac disease.
- Seasonal Fruit: Swap mangoes for strawberries, blueberries, or lychees in the winter. The coconut sauce pairs well with many fruits.
- Spicy Twist: Add a pinch of chili powder to the coconut sauce for a sweet-heat contrast. It sounds weird, but it works well with tropical fruits.
I once tried adding pandan leaves to the coconut sauce. It gave it a beautiful green color and a fragrant aroma. It’s a nice variation if you want to impress guests. You can also add a splash of lime juice to the sauce for extra brightness.
For a richer dessert, top the rice with condensed milk or a scoop of coconut ice cream. It’s indulgent but still fits the theme. Feel free to experiment with different nuts, like crushed peanuts or cashews, for added crunch.
Serving & Storage Suggestions
This dish is best served warm, not hot, and not cold. The warmth allows the coconut sauce to be silky and the rice to be chewy. Present the rice in a mound next to the mango slices for a beautiful contrast. The white rice, yellow mango, and green basil leaves (optional) make a vibrant plate.
It pairs well with a cup of hot Thai tea or black coffee. The bitterness of the coffee cuts through the sweetness. For a complete meal, serve it as a light dessert after a spicy Thai curry.
To store leftovers, keep the rice and sauce in separate airtight containers in the refrigerator. The rice will harden in the fridge, so you need to reheat it. Microwave it with a splash of water for 30-60 seconds to soften it. The sauce can be reheated gently on the stove.
The rice is best eaten within 2 days. After that, the texture changes. The mango should be consumed fresh. Do not store cut mango with the rice, as it will release water and make the rice soggy.
Flavors develop over time. The rice absorbs more sauce if left overnight, becoming softer. Some people prefer this texture. Try it both ways to see which you like better.
Nutritional Information & Benefits
This dessert is naturally gluten-free and dairy-free, making it suitable for many dietary restrictions. It is high in carbohydrates from the rice, providing quick energy. The coconut milk adds healthy fats, which help with satiety.
Mangoes are rich in Vitamin C and Vitamin A, boosting your immune system. They also contain fiber, which aids digestion. The sesame seeds add calcium and iron to the dish.
While it is high in sugar, it is a treat to be enjoyed in moderation. I like to view this as a mindful dessert. Savor each bite. It’s not about filling up; it’s about enjoying the flavor.
For those watching their calorie intake, use light coconut milk and reduce the sugar. The fruit provides natural sweetness, so you might not need as much added sugar as you think.
Conclusion
Making authentic Thai mango sticky rice at home is easier than you think. It brings the flavors of Thailand to your kitchen without the hassle. I hope you try this recipe and enjoy it as much as I do. It’s a dish that connects me to my travels and brings joy to my table.
Feel free to customize it with your favorite fruits or nuts. It’s a versatile recipe that adapts to your tastes. If you make it, I’d love to hear how it turned out. Leave a comment below with your thoughts.
Share this recipe with friends who love tropical desserts. Tag me on social media if you post a photo. I love seeing your creations. Happy cooking!
Frequently Asked Questions
Can I use regular rice instead of glutinous rice?
No, regular rice like jasmine or basmati will not work. Glutinous rice has a high starch content that gives it the characteristic chewy texture. Without it, the dish will be too fluffy and dry.
How do I know when the rice is done steaming?
The rice is done when the grains are translucent and tender but still have a slight chew. You should be able to crush a grain easily between your fingers. It should not be hard in the center.
Can I make the coconut sauce ahead of time?
Yes, you can make the sauce a day in advance. Store it in the refrigerator and reheat it gently before serving. The flavors will meld together, which can be beneficial.
What kind of mango is best for this recipe?
Thai mangoes like Nam Dok Mai are ideal because they are sweet and less fibrous. If you can’t find them, Ataulfo (Honey) mangoes are the best substitute. They are also sweet and smooth.
How do I reheat leftover sticky rice?
Sprinkle a little water over the rice and microwave it for 30-60 seconds. This adds moisture and softens the grains. You can also steam it briefly to restore the texture.
Pin This Recipe!
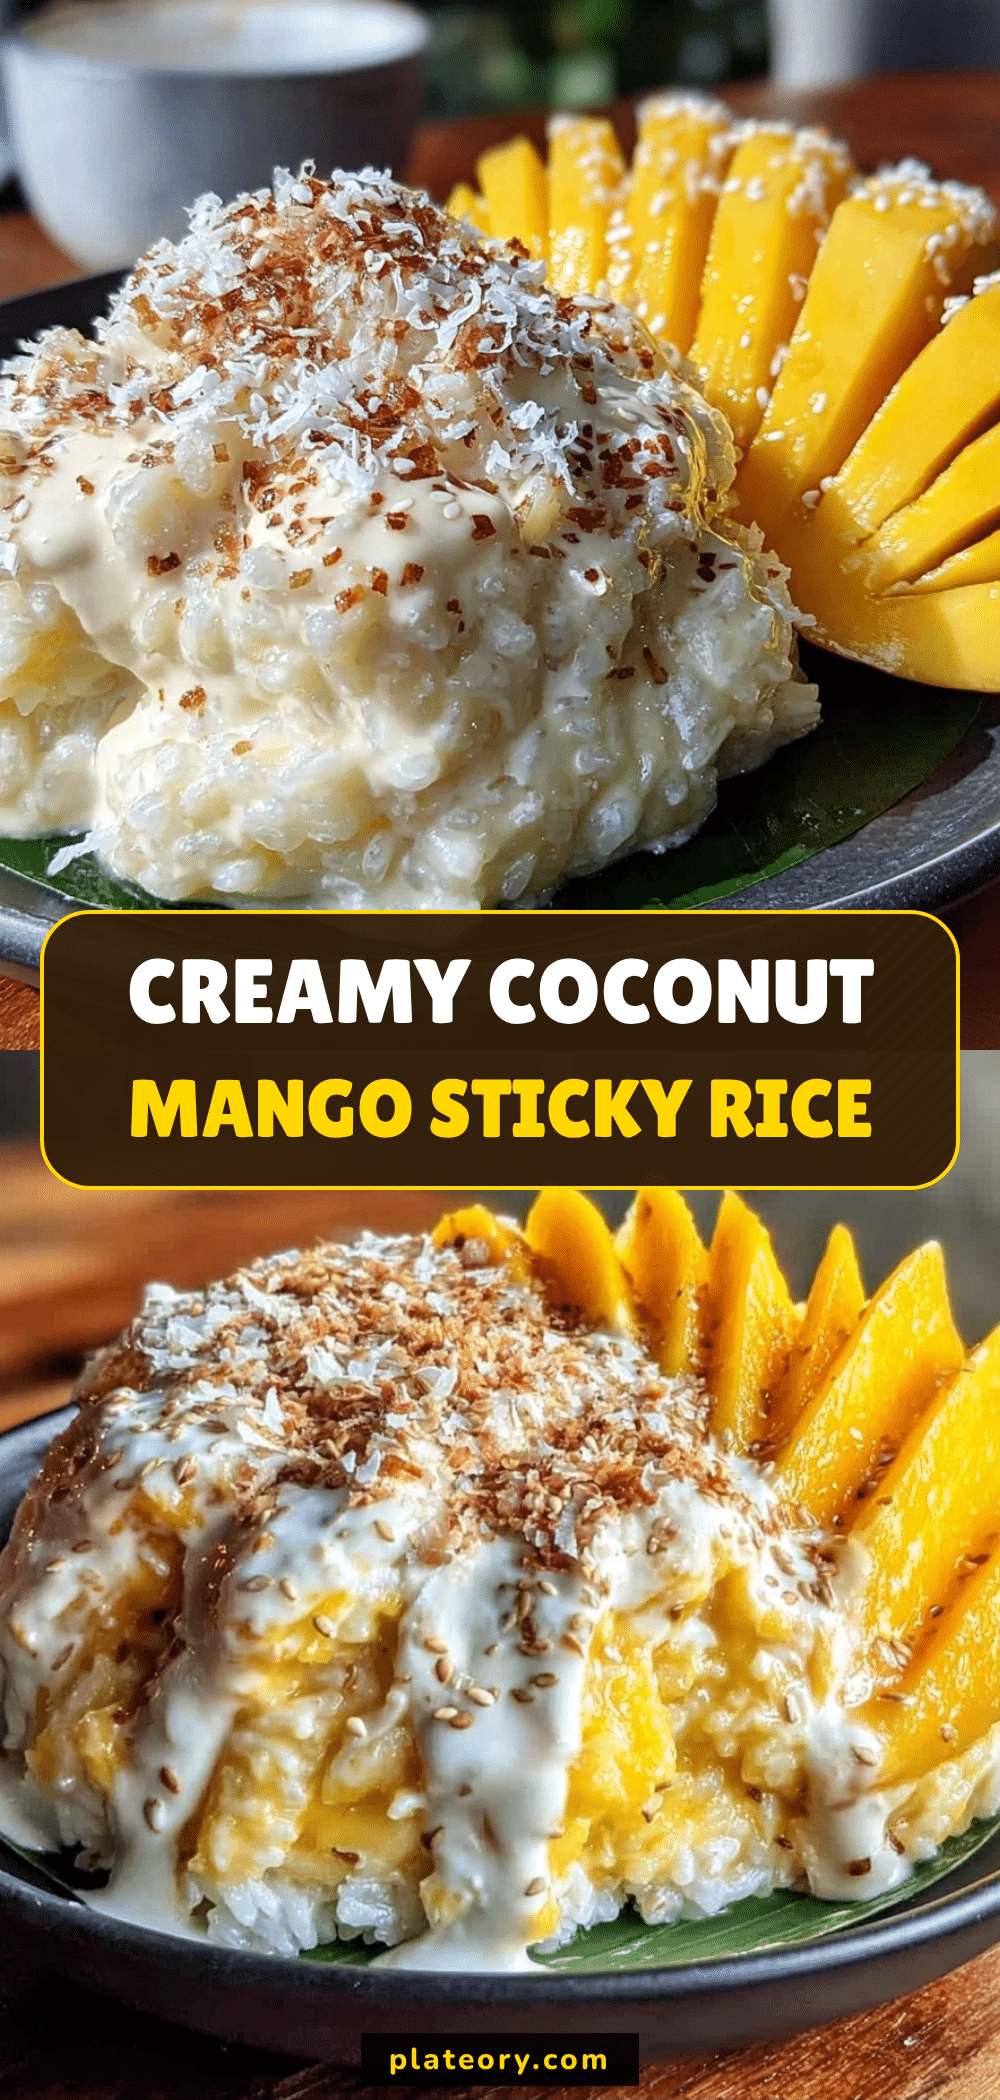

Authentic Thai Mango Sticky Rice
- Total Time: 5 hours
- Yield: 4 servings 1x
Description
A creamy, chewy, and sweet Thai dessert featuring steamed glutinous rice soaked in rich coconut milk, served with ripe mangoes and toasted sesame seeds.
Ingredients
- 2 cups glutinous rice (sticky rice)
- 1 can (400ml) full-fat coconut milk
- 1/2 cup palm sugar (or brown sugar)
- 1/2 teaspoon salt
- 2 tablespoons sesame seeds
- 2 large ripe Thai mangoes (or Ataulfo/Honey mangoes)
- Water for soaking and steaming
Instructions
- Rinse the glutinous rice under cold water until clear. Soak in a large bowl of cold water for at least 4 hours or overnight.
- Drain the soaked rice and place it in a steamer lined with cheesecloth or parchment paper.
- Steam the rice over boiling water for 20-25 minutes until tender but chewy.
- While the rice steams, combine coconut milk, sugar, and salt in a saucepan. Heat over medium-low heat until sugar dissolves, without boiling.
- Transfer hot rice to a large bowl. Pour about 3/4 of the warm coconut sauce over the rice and gently fold to combine. Let sit for 10 minutes.
- Toast sesame seeds in a small dry pan over medium heat until golden and fragrant.
- Peel and slice the mangoes.
- Serve the sticky rice alongside mango slices, drizzle with reserved coconut sauce, and sprinkle with toasted sesame seeds.
Notes
Ensure you use glutinous rice, not jasmine rice, for the correct chewy texture. Soaking the rice is crucial for even cooking. Toast sesame seeds separately to avoid burning. Serve warm for best texture.
- Prep Time: 4 hours 30 minutes
- Cook Time: 30 minutes
- Category: Dessert
- Cuisine: Thai
Nutrition
- Serving Size: 1 plate with rice, m
- Calories: 450
- Sugar: 45
- Sodium: 150
- Fat: 18
- Saturated Fat: 14
- Carbohydrates: 70
- Fiber: 3
- Protein: 5
Keywords: Thai dessert, mango sticky rice, glutinous rice, coconut milk, vegan dessert, gluten-free, Asian cuisine, tropical dessert