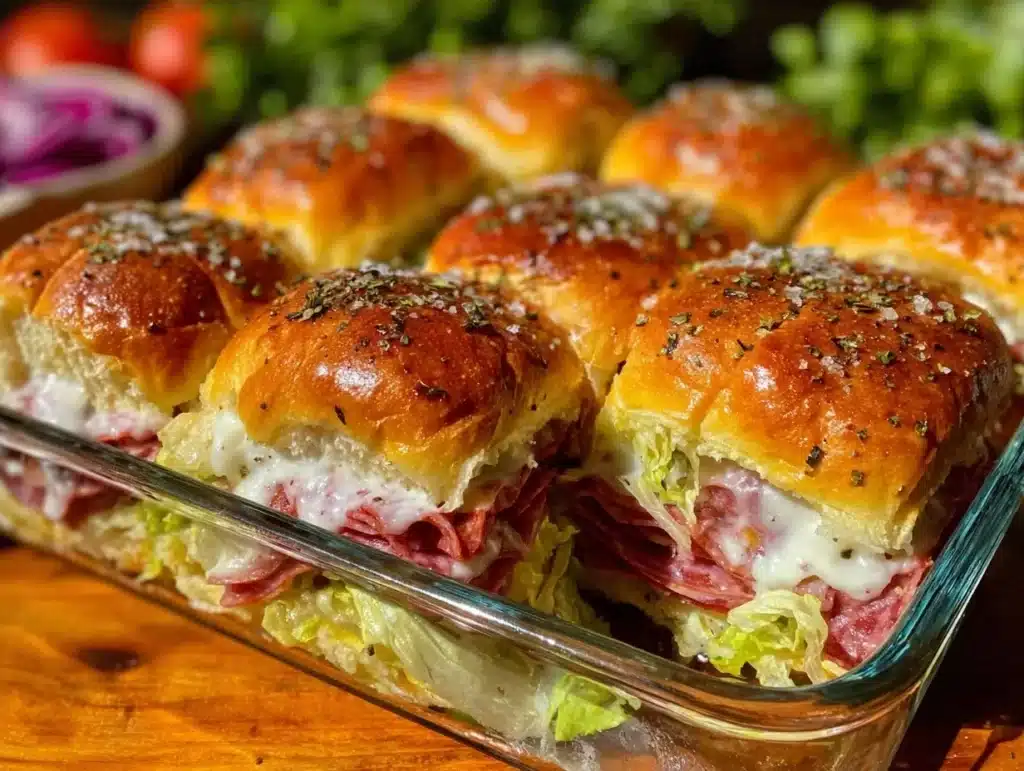
There is nothing quite like the aroma of melting provolone and warm, toasted bread to turn a quiet Tuesday into a mini celebration. I remember the first time I made these classic Italian sliders. It was a rainy Sunday, my pantry was dangerously empty, and I had unexpected guests showing up at the door. Honestly, I panicked for a second. But then I remembered I had a loaf of Italian rolls, some salami, and a block of cheese. That panic turned into the best casual dinner party I’ve ever hosted.
These classic Italian sliders are not just another appetizer. They are the culinary equivalent of a warm hug. You know that feeling when you take a bite of something so familiar yet perfectly balanced that you close your eyes? That’s exactly what happens here. The tangy vinaigrette soaks into the soft bread, the sharp provolone melts into gooey perfection, and the spicy salami adds that necessary kick. It’s simple, but it’s never boring.
I’ve tested this recipe over a dozen times, tweaking the oil-to-vinegar ratio until it hit that sweet spot. As someone who loves exploring global flavors from a home kitchen, I appreciate how this dish brings the spirit of an Italian antipasto table into a handheld format. It’s perfect for busy families who need a quick win, or for anyone looking to impress guests without spending hours in the kitchen. Let’s face it, who doesn’t love a recipe that looks fancy but comes together in under 20 minutes?
The beauty of these classic Italian sliders lies in their versatility. You can make them for a Super Bowl party, a bridal shower, or just because you want to treat yourself. They travel well, they eat well cold or hot, and they disappear faster than you can bake them. If you’re looking for a crowd-pleaser that requires zero stress, you’ve found it. Trust me, once you try this combination, you’ll be making them on repeat.
Why You’ll Love This Recipe
After years of cooking and testing hundreds of appetizers, I can confidently say that these sliders stand out. They aren’t just good; they are the kind of dish that makes you want to lick your fingers. Here is why this recipe has earned a permanent spot in my rotation:
- Quick & Easy: These classic Italian sliders come together in under 15 minutes of prep time. You don’t need to be a chef to assemble them. It’s perfect for busy weeknights or last-minute cravings when you need something savory fast.
- Simple Ingredients: You likely already have everything in your kitchen. We are talking about pantry staples and fridge basics. No fancy grocery trips needed, which saves both time and money.
- Perfect for Entertaining: Whether it’s a holiday morning brunch, a potluck, or a cozy dinner with friends, these sliders fit any occasion. They are easy to grab and eat, making them ideal for mingling.
- Crowd-Pleaser: Kids love the soft bread and melted cheese, while adults appreciate the complex flavors of the cured meats. They always get rave reviews from everyone alike.
- Unbelievably Delicious: The texture and flavor combo is next-level comfort food. The crunch of the fresh lettuce contrasts beautifully with the creamy, melted provolone.
What makes this recipe different from the rest is the marination step. Many people skip this, but letting the sliders sit in the vinaigrette before baking is the secret weapon. It transforms the bread from dry and crumbly to moist and flavorful. This isn’t just another version; it’s my tested, family-approved best version. It’s comfort food reimagined—simpler, faster, but with the same soul-soothing satisfaction of a meal shared with loved ones. It’s perfect for impressing guests without stress, or turning a simple meal into something memorable.
What Ingredients You Will Need
This recipe uses simple, wholesome ingredients to deliver bold flavor and satisfying texture without the fuss. The magic happens in the balance of salty, tangy, and creamy elements. Here is exactly what you need to get started.
For the Slider Assembly
- Italian Rolls: One large loaf, sliced horizontally. I recommend buying a fresh, soft loaf from a bakery if possible. If you use store-bought, look for ones that are still pliable and not too crusty. Brands like Thomas’ or local bakery rolls work well.
- Genoa Salami: 6 to 8 ounces, thinly sliced. The key here is thin slices so you get flavor in every bite without it being too heavy. If you can’t find Genoa, any dry-cured salami will do.
- Provolone Cheese: 8 ounces, sliced. Sharp provolone adds a nice bite, but mild works too if you prefer a milder taste. Make sure the slices are thin for even melting.
- Pepperoni: 4 ounces, sliced. A little pepperoni adds a spicy kick that complements the salami nicely. It’s optional, but I highly recommend it for that extra zing.
- Ham: 4 ounces, thinly sliced. Black forest or honey ham adds a sweet and savory element that balances the saltiness of the meats.
- Red Onion: Half a medium onion, thinly sliced. Raw red onion adds a sharp crunch. If you are serving this to kids, you might want to skip this or soak the slices in water first to mellow the flavor.
- Lettuce: A handful of shredded iceberg or romaine lettuce. This adds freshness and crunch. It’s best added after baking so it stays crisp.
- Tomatoes: One medium tomato, sliced thinly. Remove the seeds if you want to prevent the sliders from getting soggy. Fresh tomatoes are key here.
For the Italian Vinaigrette
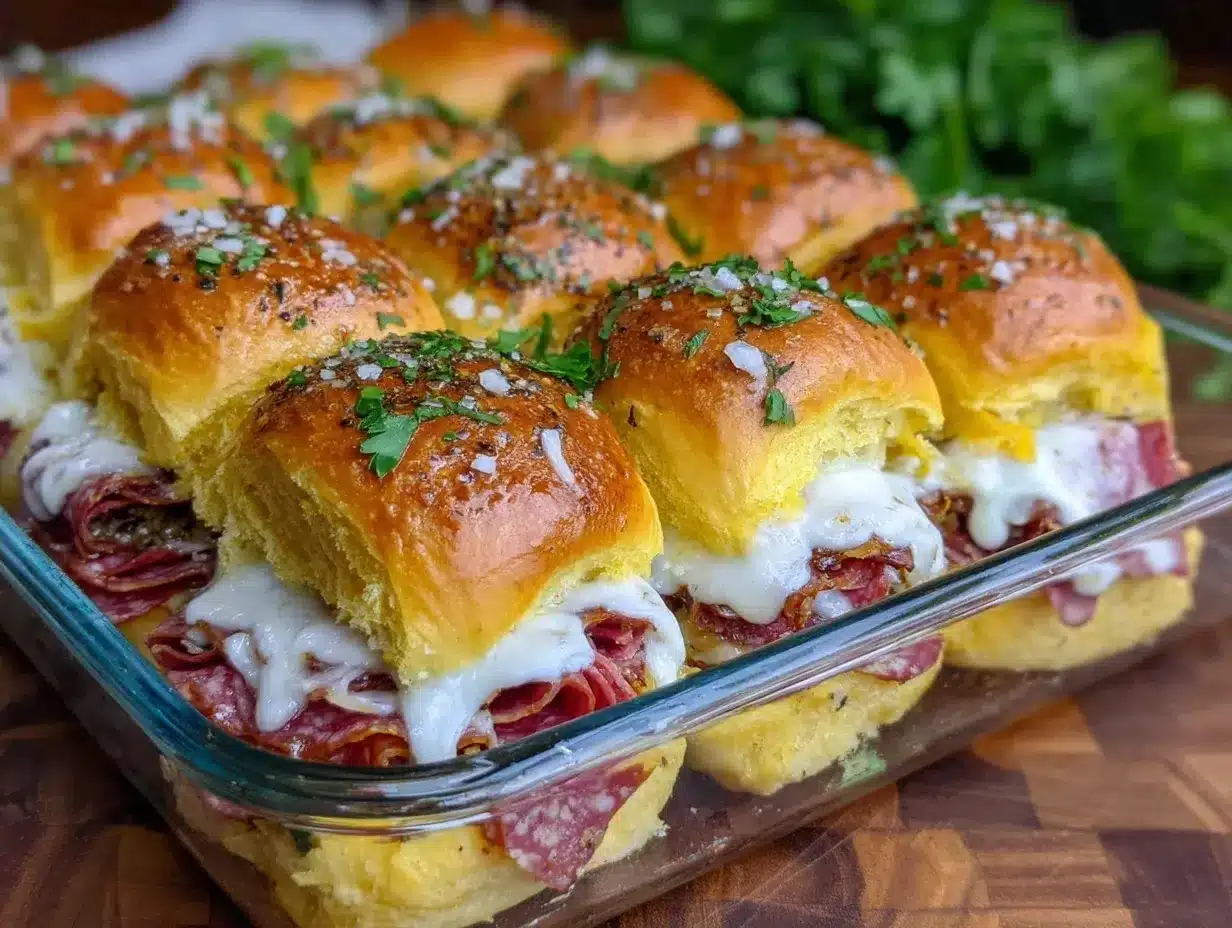
- Extra Virgin Olive Oil: 1/3 cup. Use a good quality oil since it’s a main flavor component. I prefer Colavita for its consistent taste.
- Red Wine Vinegar: 1/4 cup. This provides the necessary acidity to cut through the rich fats of the cheese and meats.
- Dried Oregano: 1 teaspoon. Essential for that classic Italian herb flavor.
- Dried Basil: 1 teaspoon. Adds a subtle sweetness and aromatic quality.
- Garlic Powder: 1/2 teaspoon. Fresh garlic can burn in the oven, so powder is safer and distributes evenly.
- Salt and Black Pepper: To taste. A pinch of each goes a long way.
- Red Pepper Flakes: 1/2 teaspoon. Optional, but adds a nice heat for those who like it spicy.
Equipment Needed
You don’t need a lot of fancy gadgets to make these classic Italian sliders. In fact, keeping it simple is part of the charm. Here is what you’ll need:
- Large Baking Sheet: A standard rimmed baking sheet is perfect. If you don’t have one, a large roasting pan works too. Make sure it’s big enough to hold the entire loaf of rolls.
- Sharp Knife: You need a good serrated knife to slice the bread loaf in half horizontally without crushing it. A dull knife will just mash the bread.
- Mixing Bowl: A small to medium bowl for whisking together the vinaigrette. Any bowl will do.
- Whisk: Essential for emulsifying the oil and vinegar. A fork works in a pinch, but a whisk makes it easier.
- Basting Brush: A silicone basting brush is great for spreading the vinaigrette evenly over the bread. Paper towels work too, but a brush gives better control.
- Aluminum Foil: You’ll need this to cover the sliders while they bake. This helps the cheese melt without burning the bread.
If you don’t have a silicone brush, don’t worry. I’ve used my fingers or a piece of paper towel to spread the sauce with no issues. The key is just to get that flavor on the bread. For budget-friendly options, any basic kitchen tools will suffice. There’s no need to invest in specialty equipment for this recipe.
How to Make Classic Italian Sliders
Let’s walk through the process step-by-step. It’s straightforward, but there are a few tricks to ensure perfection.
- Preheat and Prep: Preheat your oven to 350°F (175°C). Line a large baking sheet with parchment paper or aluminum foil for easy cleanup. This step takes about 5 minutes.
- Slice the Bread: Place the loaf of Italian rolls on a cutting board. Using a serrated knife, carefully slice the loaf horizontally in half. Try to keep the bottom half intact so it holds all the fillings. Be gentle so you don’t tear the bread.
- Make the Vinaigrette: In a small bowl, whisk together the olive oil, red wine vinegar, oregano, basil, garlic powder, salt, pepper, and red pepper flakes. Whisk until the mixture looks emulsified and slightly thickened. This should take about 2 minutes.
- Brush the Bottom: Place the bottom half of the bread on the baking sheet. Brush half of the vinaigrette generously over the cut side of the bread. Don’t be shy with the sauce; this is where the flavor starts.
- Layer the Meats: Layer the salami, pepperoni, and ham over the bread. You can fold the slices or lay them flat. I prefer folding them slightly to create texture. Aim for an even distribution so every slider gets a bit of everything.
- Add Cheese and Veggies: Place the provolone slices over the meats. Then, add the sliced red onions and tomatoes. If you are adding lettuce, save it for now. We’ll add it after baking.
- Top and Brush: Place the top half of the bread on the sliders. Brush the remaining vinaigrette over the top of the loaf. This ensures the crust gets toasted and flavorful. You might need to press down gently to help the sauce soak in.
- Wrap and Bake: Cover the baking sheet tightly with aluminum foil. This traps the steam and helps the cheese melt. Bake for 10-12 minutes. The cheese should be fully melted and the bread warm.
- Crisp the Top: Remove the foil and bake for an additional 2-3 minutes. This step crisps up the top of the bread. Watch it closely so it doesn’t burn.
- Rest and Slice: Remove from the oven and let it rest for 5 minutes. This allows the juices to redistribute. Then, slice into individual sliders. Add fresh shredded lettuce on top just before serving.
Personal tip: If your bread is a bit stale, you can brush it with a little extra water before adding the sauce. It helps revive the texture. Also, don’t rush the resting phase. It makes slicing much easier and keeps the fillings inside.
Cooking Tips & Techniques
Over the years, I’ve learned a few things the hard way. Here are some professional techniques to help you succeed.
- Don’t Skip the Resting Time: I know it’s tempting to dig in immediately. But letting the sliders rest for 5 minutes allows the bread to absorb the vinaigrette fully. If you cut them too soon, the fillings might slide out.
- Thin Slices are Key: When slicing your meats and cheese, go for thin. Thick slices can make the sliders soggy and hard to bite through. Uniformity ensures even cooking.
- Watch the Oven: Ovens vary. Keep an eye on your sliders during the final 2 minutes of baking. You want golden brown, not charred. If the tops are browning too fast, tent with foil.
- Use Fresh Herbs if Available: While dried herbs work well, fresh basil and oregano can elevate the flavor. Add them after baking to preserve their brightness.
- Multi-tasking: While the sliders are baking, shred your lettuce and slice your tomatoes. This way, everything is ready to assemble just before serving.
One common mistake is using too much vinaigrette. Start with half and add more if needed. Too much liquid can make the bread mushy. Another failure I had was forgetting to preheat the oven. This led to uneven baking. Always preheat! Consistency comes from practice, so don’t be discouraged if your first batch isn’t perfect.
Variations & Adaptations
One of the best things about these classic Italian sliders is how adaptable they are. Here are a few ways to mix it up.
- Spicy Version: Add sliced jalapeños or use spicy salami. This is great for those who like a kick.
- Veggie-Forward: Skip the meats and add roasted red peppers, artichoke hearts, and spinach. Drizzle with a balsamic glaze for a vegetarian option.
- Chicken Italian: Swap the cold cuts for grilled chicken breast strips. Marinate the chicken in Italian dressing beforehand for extra flavor.
- Gluten-Free: Use gluten-free Italian rolls. Just be careful not to over-soak them as GF bread can get soggy faster.
- Dairy-Free: Use dairy-free provolone slices. They melt differently, so keep an eye on the baking time.
I once made a version with pesto instead of the vinaigrette. It was delicious but very rich. I also tried adding sun-dried tomatoes, which added a chewy texture that was fantastic. Feel free to experiment based on what you have in your fridge.
Serving & Storage Suggestions
These classic Italian sliders are best served warm, straight from the oven. They pair wonderfully with a light arugula salad or a bowl of minestrone soup. For beverages, a crisp Pinot Grigio or a cold beer complements the flavors perfectly. Traditionally, this dish is enjoyed with a glass of red wine and some crusty bread on the side, but the sliders are hearty enough to be a meal.
If you have leftovers, store them in an airtight container in the refrigerator for up to 3 days. Reheat them in the oven at 300°F for 10 minutes to restore crispiness. Avoid the microwave, as it will make the bread chewy. The flavors actually develop overnight, so they taste great cold the next day too. Just add fresh lettuce before serving.
Nutritional Information & Benefits
While these sliders are a treat, they can fit into a balanced diet. Each slider contains approximately 250 calories, depending on the amount of cheese and meat used. They provide protein from the meats and cheese, and some vitamins from the vegetables. The olive oil in the vinaigrette offers healthy fats. However, be mindful of sodium levels from the cured meats. For a lighter option, use turkey salami and less cheese. This recipe is not gluten-free or dairy-free by default, but adaptations are easy. I enjoy these as a special occasion treat rather than a daily staple.
Conclusion
These classic Italian sliders are more than just an appetizer; they are a celebration of simple, bold flavors. They are easy to make, delicious to eat, and perfect for sharing. I hope you try this recipe and enjoy it as much as my family does. Feel free to customize it with your favorite ingredients. If you do, let me know how it turned out in the comments below. Share your photos and variations with me. Happy cooking, and remember, life is better with good food and good company.
Frequently Asked Questions
Can I make these sliders ahead of time?
Yes, you can assemble them a few hours before baking. Just cover them tightly with plastic wrap and refrigerate. Add the fresh lettuce just before serving. This saves time on party day.
What type of bread is best for Italian sliders?
Soft Italian rolls or hoagie rolls work best. They are sturdy enough to hold the fillings but soft enough to be comfortable to eat. Avoid crusty baguettes as they can be too hard.
Can I freeze leftover sliders?
It’s not recommended to freeze assembled sliders as the bread can become soggy upon thawing. However, you can freeze the components separately. Reassemble and bake when ready.
How do I prevent the sliders from getting soggy?
Make sure to slice the tomatoes and remove excess seeds. Also, don’t over-soak the bread with vinaigrette. Let the sliders rest after baking to allow the bread to absorb the moisture properly.
Are these sliders good cold?
Yes, they are delicious cold. In fact, some people prefer them cold as the flavors meld together. Just add fresh lettuce after refrigerating to maintain crunch.
Pin This Recipe!
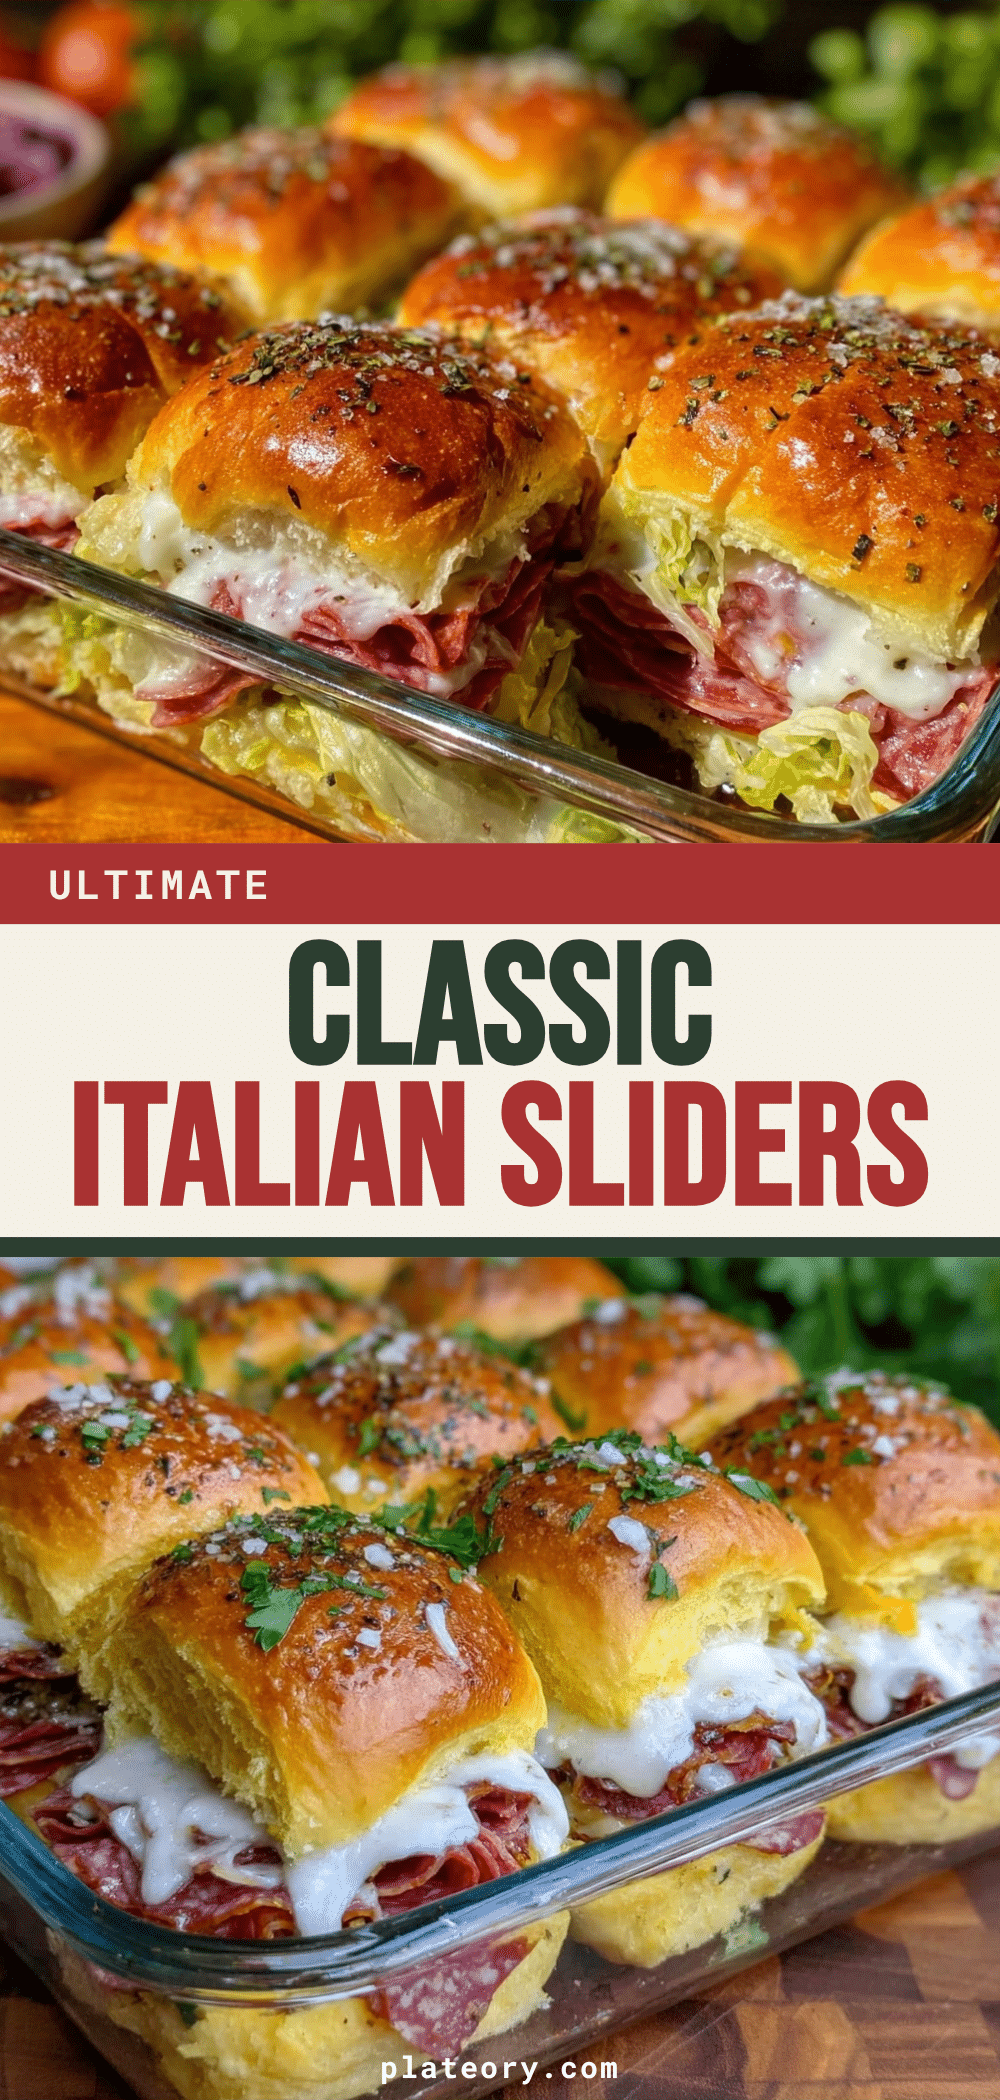

Classic Italian Sliders: Best 3-Pin Easy Appetizer
- Total Time: 30 minutes
- Yield: 12 servings 1x
Description
These classic Italian sliders are a quick, crowd-pleasing appetizer featuring a loaf of Italian rolls layered with salami, pepperoni, ham, provolone cheese, and fresh vegetables, all soaked in a tangy Italian vinaigrette and baked until golden and gooey.
Ingredients
- 1 large loaf Italian rolls, sliced horizontally
- 6 to 8 ounces Genoa salami, thinly sliced
- 8 ounces provolone cheese, sliced
- 4 ounces pepperoni, sliced
- 4 ounces ham, thinly sliced
- 1/2 medium red onion, thinly sliced
- 1 medium tomato, sliced thinly
- Handful of shredded iceberg or romaine lettuce
- 1/3 cup extra virgin olive oil
- 1/4 cup red wine vinegar
- 1 teaspoon dried oregano
- 1 teaspoon dried basil
- 1/2 teaspoon garlic powder
- Salt and black pepper to taste
- 1/2 teaspoon red pepper flakes (optional)
Instructions
- Preheat oven to 350°F (175°C) and line a large baking sheet with parchment paper or foil.
- Slice the loaf of Italian rolls horizontally in half, keeping the bottom half intact.
- In a small bowl, whisk together olive oil, red wine vinegar, oregano, basil, garlic powder, salt, pepper, and red pepper flakes until emulsified.
- Place the bottom half of the bread on the baking sheet and brush generously with half of the vinaigrette.
- Layer salami, pepperoni, and ham over the bread.
- Add provolone slices, red onion, and tomato slices on top of the meats.
- Place the top half of the bread on the sliders and brush with the remaining vinaigrette.
- Cover the baking sheet tightly with aluminum foil and bake for 10-12 minutes until cheese is melted.
- Remove foil and bake for an additional 2-3 minutes to crisp the top.
- Remove from oven and let rest for 5 minutes before slicing into individual sliders.
- Top with fresh shredded lettuce just before serving.
Notes
For best results, let the sliders rest for 5 minutes after baking to allow the bread to absorb the vinaigrette. Use thin slices of meat and cheese for even melting. If using fresh herbs, add them after baking to preserve flavor. Avoid over-soaking the bread to prevent sogginess.
- Prep Time: 15 minutes
- Cook Time: 15 minutes
- Category: Appetizer
- Cuisine: Italian
Nutrition
- Serving Size: 1 slider
- Calories: 250
- Sugar: 2
- Sodium: 650
- Fat: 18
- Saturated Fat: 7
- Carbohydrates: 15
- Fiber: 1
- Protein: 10
Keywords: Italian sliders, appetizer recipe, easy party food, baked sliders, Italian sandwich, crowd pleaser, quick dinner, provolone cheese, salami, homemade vinaigrette