The smell of yeast waking up in warm milk is basically the scent of home, honestly. I remember standing in my first apartment kitchen, staring at a sad, squashed grocery store bun that tasted like cardboard and preservatives. It was a burger night, and I had promised my friends I’d make “gourmet” sliders. I felt like a fraud.
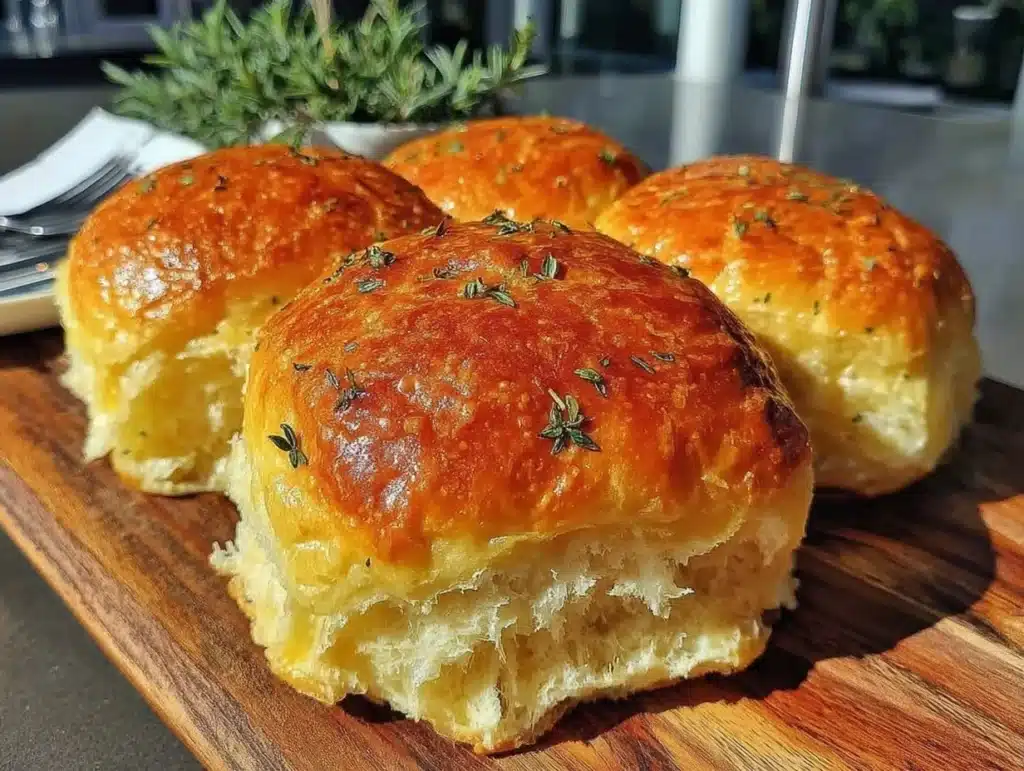
That was the moment I decided homemade hamburger buns weren’t just a luxury—they were a necessity. It started as a panic fix, but quickly turned into a weekend ritual. There is something deeply satisfying about pulling a tray of golden, pillowy soft buns out of the oven. You know that feeling when you tear into one and it gives way without crumbling? That’s the good stuff.
These aren’t complicated. You don’t need a stand mixer or a degree in food science. You just need flour, yeast, and a little patience. After baking these over a dozen times, I’ve nailed the ratio that keeps them soft for days. Whether you’re throwing a summer barbecue or just want a proper sandwich for Tuesday dinner, this recipe delivers. Let’s face it, store-bought just can’t compete with the flavor of fresh bread.
Why You’ll Love This Recipe
I’ve tested dozens of burger bun recipes, and most fall flat. They get dense, or they dry out by lunchtime. This version is different because it balances hydration and fat perfectly to create that cloud-like texture we all crave. It’s not just another bread recipe; it’s the foundation of a better burger experience.
- Quick & Easy: Yes, bread takes time to rise, but active hands-on time is under 15 minutes. It’s perfect for busy weeknights when you want to treat yourself without spending hours in the kitchen.
- Simple Ingredients: No fancy flours or obscure ingredients. You likely have everything in your pantry right now. Flour, sugar, yeast, salt, milk, butter, and an egg. That’s it.
- Perfect for Grilling Season: There is nothing worse than a bun falling apart on a smoky grill. These buns are sturdy enough to hold juicy patties but soft enough to melt in your mouth. They are the ultimate companion for summer cookouts.
- Crowd-Pleaser: I’ve served these to picky eaters and food critics alike. The neutral, slightly sweet flavor profile pairs with everything from classic cheeseburgers to spicy veggie patties. Everyone loves them.
- Unbelievably Delicious: The crust has a delicate crispness that gives way to a tender crumb. It’s comfort food reimagined—simple, honest, and soul-soothing.
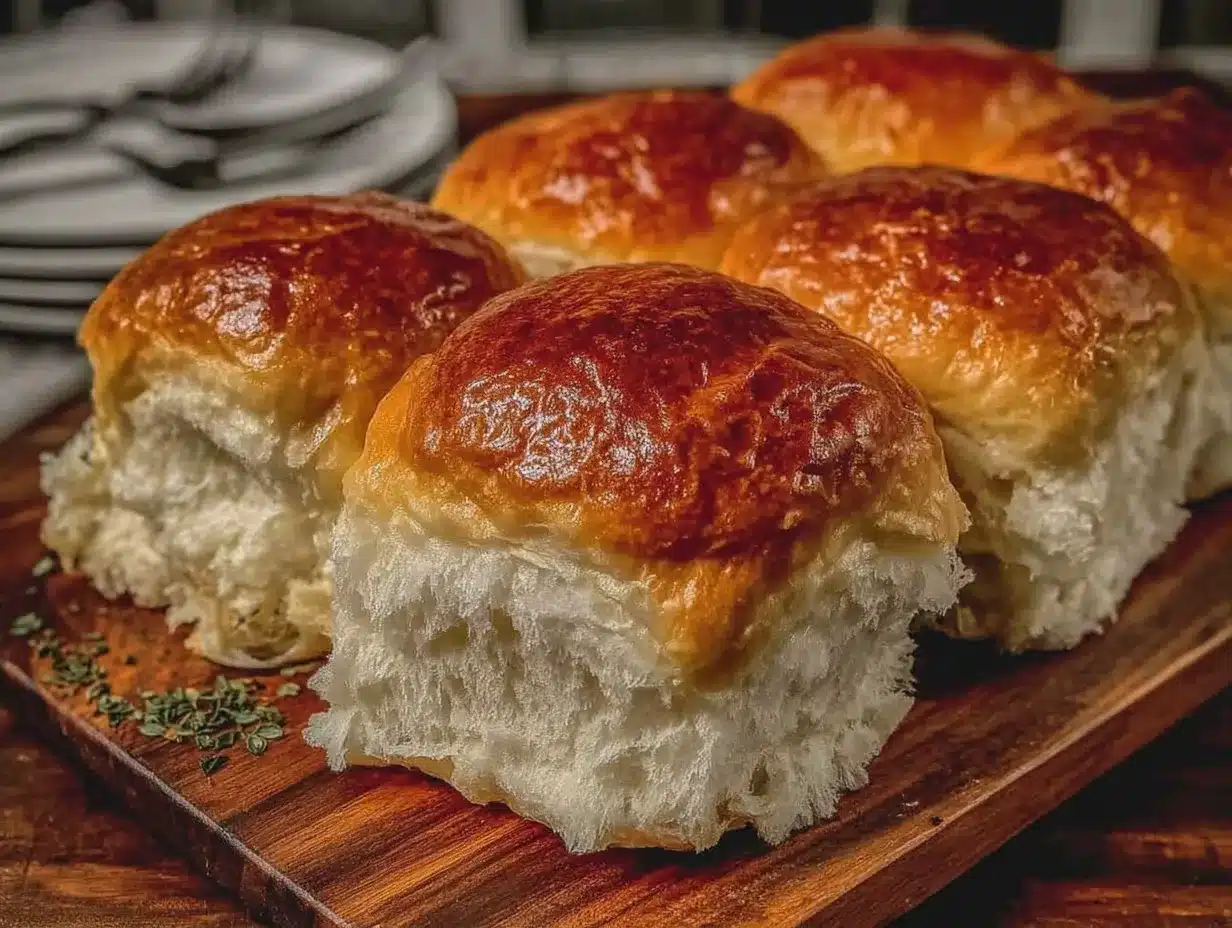
What makes this recipe stand out is the addition of a milk bath. After boiling, the buns get dipped in milk before baking. This creates that deep, glossy mahogany color and a chewy crust that reminds me of artisanal bakeries. It’s a small step that makes a huge difference in texture and flavor.
What Ingredients You Will Need
This recipe relies on high-quality basics to deliver bold flavor and a satisfying texture. The key is using ingredients that are fresh and at the right temperature. Here is what you need to get started.
For the Dough
- All-purpose flour: About 4 to 4.5 cups. I recommend King Arthur Brand for its consistent protein content, which helps with structure.
- Instant yeast: 2 packets (about 4 1/2 teaspoons). Instant yeast works faster and doesn’t need to be proofed first.
- Granulated sugar: 1/4 cup. This feeds the yeast and helps with browning.
- Warm milk: 1 cup, heated to 110°F (43°C). Whole milk makes the softest buns, but 2% works too.
- Unsalted butter: 4 tablespoons, melted. This adds richness and tenderness to the crumb.
- Eggs: 2 large eggs, room temperature. One goes in the dough, and one is for the milk bath later.
- Salt: 1 1/2 teaspoons. Essential for flavor and controlling yeast activity.
For the Milk Bath & Topping
- Whole milk: 1 cup, for the boiling bath. This creates the chewy crust.
- Egg wash: 1 egg beaten with 1 tablespoon water (optional, for extra shine).
- Sesame seeds: 2-3 tablespoons. Classic, nutty, and visually appealing.
- Coarse salt: A pinch, for sprinkling on top.
If you want a gluten-free option, you can swap the flour for a 1-to-1 gluten-free baking blend, though the texture will be slightly denser. For dairy-free versions, use coconut milk and olive oil instead of butter, but note that the crust won’t be as glossy.
Equipment Needed
You don’t need a fancy setup to make these buns, but having the right tools makes the process much smoother. A large mixing bowl is essential for kneading. I prefer a sturdy ceramic bowl because it doesn’t slip around on the counter.
A digital kitchen scale is the most important tool for accuracy. Measuring flour by volume can lead to inconsistent results, so weighing your flour ensures every batch comes out the same. If you don’t have one, spoon the flour into the cup and level it off—don’t scoop directly from the bag.
A large pot for the milk bath is necessary. I use a wide stockpot so the buns have room to move around without breaking. A silicone spatula helps with mixing, and a baking sheet lined with parchment paper prevents sticking. For maintenance, always let your baking sheets cool completely before washing to keep them flat and warp-free.
Preparation Method
Step 1: Mix the Dough (10 minutes)
In a large bowl, combine the warm milk, melted butter, sugar, and one egg. Whisk until the butter is melted and the sugar is dissolved. The mixture should be lukewarm, not hot, or you’ll kill the yeast. Add the instant yeast and stir gently.
Add the salt and half of the flour. Mix until a shaggy dough forms. Gradually add the remaining flour, one cup at a time, until the dough pulls away from the sides of the bowl. It should be tacky but not sticky.
Step 2: Knead the Dough (8 minutes)
Turn the dough onto a lightly floured surface. Knead for about 8 minutes. Push the dough away with the heel of your hand, fold it over, and turn. Repeat this motion. The dough is ready when it is smooth, elastic, and passes the “windowpane test”—you can stretch a small piece thin enough to see light through it without tearing.
Place the dough in a greased bowl, cover with a damp towel or plastic wrap, and let it rise in a warm spot for 1 to 1.5 hours, or until doubled in size.
Step 3: Shape the Buns (15 minutes)
Gently punch down the risen dough to release air. Divide it into 8 equal pieces. Roll each piece into a tight ball by tucking the edges underneath. Place the balls seam-side down on a parchment-lined baking sheet, spaced 2 inches apart.
Cover loosely and let them rise again for 30-45 minutes. They should look puffy and jiggly.
Step 4: The Milk Bath (10 minutes)
While the buns rise, bring the cup of milk to a gentle boil in a large pot. Once boiling, reduce heat to a simmer. Carefully lower the buns into the milk for 30 seconds per side. Use a slotted spoon to remove them and place them back on the baking sheet. This step creates the signature chewy crust.
Step 5: Bake (15 minutes)
Brush the tops with the remaining beaten egg mixed with water. Sprinkle generously with sesame seeds and a pinch of coarse salt.
Bake in a preheated 375°F (190°C) oven for 15-18 minutes, or until deeply golden brown. The internal temperature should reach 190°F (88°C). Remove from the oven and brush immediately with melted butter for extra softness.
Cooking Tips & Techniques
One common mistake is overworking the dough after shaping. Handle the buns gently during the second rise to keep them light. If you press too hard, you’ll deflate the air bubbles and end up with dense buns.
Another tip is temperature control. If your kitchen is cold, the rising process will take longer. Place your dough in a turned-off oven with just the light on to create a warm environment. Conversely, if your dough rises too fast, it can develop a sour taste. Slow and steady wins the race.
When boiling the buns, don’t let the milk boil vigorously. A gentle simmer prevents the milk from scorching and ensures an even cook. Also, be quick with the dipping; too long in the milk and the buns will fall apart.
Variations & Adaptations
Want to switch it up? Try adding 1 tablespoon of poppy seeds or caraway seeds to the dough for a different flavor profile. For a whole wheat option, substitute half the all-purpose flour with whole wheat flour. This adds a nuttier taste and more fiber.
You can also experiment with toppings. Everything bagel seasoning is a fantastic alternative to sesame seeds. For a richer flavor, brush the tops with garlic butter before baking.
If you are making these for a specific cuisine, consider adding a pinch of smoked paprika to the dough for a southwestern twist. The versatility of this basic recipe allows for endless customization.
Serving & Storage Suggestions
These buns are best served warm, right out of the oven. They pair perfectly with classic beef patties, crispy chicken sandwiches, or thick veggie burgers. Serve with a cold beer or a creamy milkshake for the full experience.
To store, place cooled buns in an airtight container or freezer bag. They keep at room temperature for 2 days or in the freezer for up to 3 months. To reheat, wrap them in foil and warm them in a 300°F oven for 5 minutes, or microwave them for 10 seconds. This restores their softness.
Avoid refrigerating bread, as it speeds up the staling process. The cold temperature causes the starches to recrystallize, making the buns dry and crumbly. Freezing is always the better option for longer storage.
Nutritional Information & Benefits
Each bun contains approximately 180 calories, 4g of protein, and 3g of fat. They are a source of carbohydrates for energy and provide some iron from the enriched flour. While not a low-carb option, they are free from artificial preservatives found in store-bought versions.
Using whole milk and butter adds calcium and healthy fats, which help with satiety. For a lighter option, you can use skim milk, though the texture will be slightly less rich. Always check labels if you have specific dietary needs, as yeast and flour can vary in sodium content.
Conclusion
Making homemade hamburger buns is a game-changer for your cooking repertoire. It elevates simple meals into memorable experiences. I hope you try this recipe and enjoy the process as much as I do. Feel free to adjust the sweetness or toppings to suit your taste.
I’d love to see your creations! Tag me on social media or leave a comment below with your results. Happy baking, and enjoy every bite of your homemade goodness.
Frequently Asked Questions
Can I use active dry yeast instead of instant yeast?
Yes, you can. Just dissolve the active dry yeast in the warm milk with the sugar and let it sit for 5-10 minutes until foamy before adding the flour. This step is called proofing and ensures the yeast is alive.
Why are my buns dense?
Dense buns are usually caused by over-flouring or not kneading enough. Make sure you weigh your flour and knead until the dough is smooth and elastic. Also, ensure your yeast is fresh and not expired.
Can I freeze the unbaked dough?
Yes, you can shape the buns and freeze them on the baking sheet. Once frozen solid, transfer them to a bag. When ready to bake, let them thaw and rise at room temperature before boiling and baking.
How do I get the buns to stay soft?
Brushing the hot buns with melted butter immediately after baking helps trap moisture. Also, storing them in an airtight container at room temperature prevents them from drying out.
Can I make these buns ahead of time?
Absolutely. You can bake them a day in advance. Store them in an airtight container and reheat them briefly before serving. They will be just as soft as when freshly baked.
Pin This Recipe!
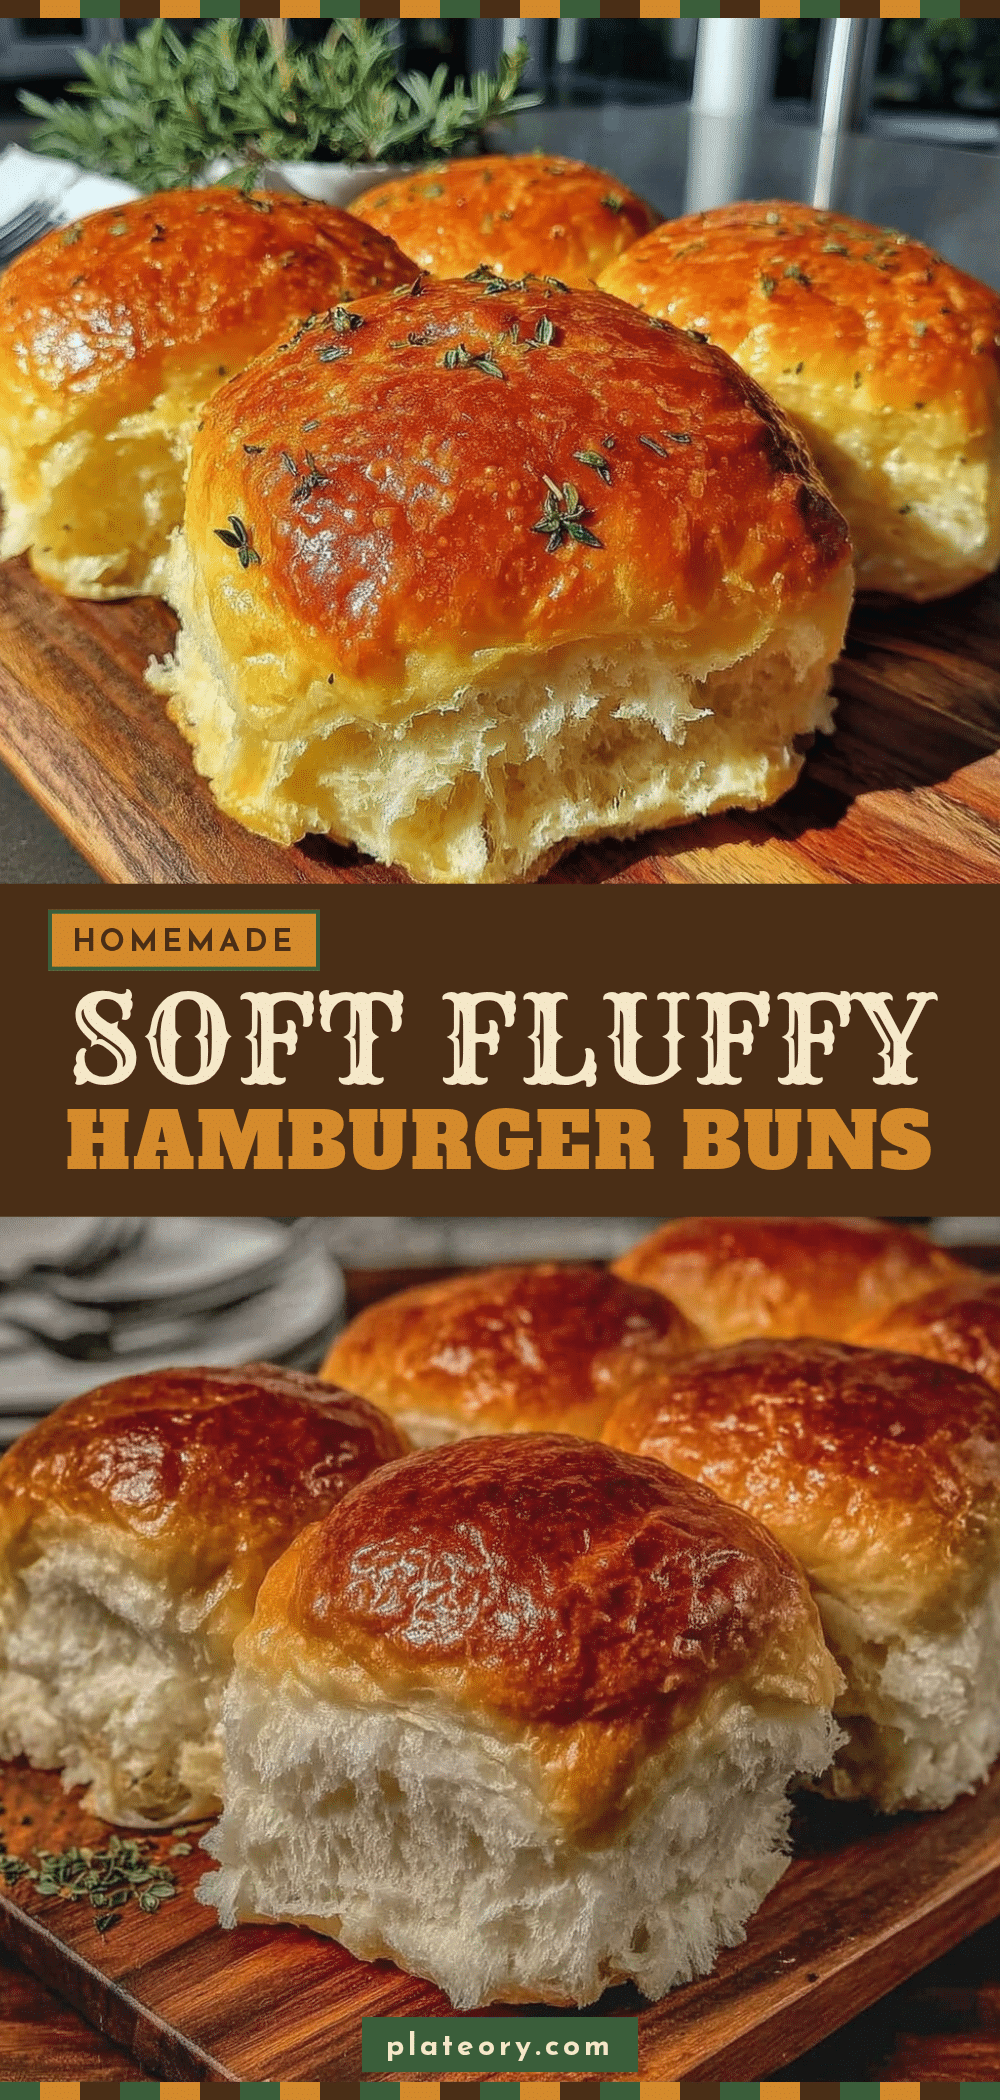

Homemade Hamburger Buns: 10-Min Soft Bakes
- Total Time: 45 minutes
- Yield: 8 servings 1x
Description
These homemade hamburger buns are soft, pillowy, and have a chewy crust thanks to a unique milk bath technique. They are easy to make with simple pantry ingredients and perfect for burgers or sandwiches.
Ingredients
- 4 to 4.5 cups all-purpose flour
- 2 packets instant yeast (about 4 1/2 teaspoons)
- 1/4 cup granulated sugar
- 1 cup warm milk (110°F/43°C)
- 4 tablespoons unsalted butter, melted
- 2 large eggs, room temperature
- 1 1/2 teaspoons salt
- 1 cup whole milk (for milk bath)
- 1 egg beaten with 1 tablespoon water (for egg wash)
- 2–3 tablespoons sesame seeds
- Coarse salt for sprinkling
Instructions
- In a large bowl, combine warm milk, melted butter, sugar, and one egg. Whisk until butter is melted and sugar is dissolved. Ensure mixture is lukewarm.
- Add instant yeast and stir gently. Add salt and half of the flour, mixing until a shaggy dough forms.
- Gradually add remaining flour, one cup at a time, until dough pulls away from sides of the bowl and is tacky but not sticky.
- Turn dough onto a lightly floured surface and knead for about 8 minutes until smooth, elastic, and passes the windowpane test.
- Place dough in a greased bowl, cover with a damp towel or plastic wrap, and let rise in a warm spot for 1 to 1.5 hours until doubled in size.
- Punch down risen dough and divide into 8 equal pieces. Roll each into a tight ball and place seam-side down on a parchment-lined baking sheet, spaced 2 inches apart.
- Cover loosely and let rise again for 30-45 minutes until puffy and jiggly.
- While buns rise, bring 1 cup of milk to a gentle boil in a large pot, then reduce to a simmer.
- Carefully lower buns into the milk for 30 seconds per side using a slotted spoon, then return them to the baking sheet.
- Brush tops with egg wash, sprinkle with sesame seeds and coarse salt.
- Bake in a preheated 375°F (190°C) oven for 15-18 minutes until deeply golden brown and internal temperature reaches 190°F (88°C).
- Remove from oven and immediately brush with melted butter for extra softness.
Notes
For gluten-free options, use a 1-to-1 gluten-free baking blend. For dairy-free versions, substitute coconut milk and olive oil. Ensure yeast is fresh and not expired. Do not refrigerate bread as it speeds up staling; freeze instead for long-term storage.
- Prep Time: 15 minutes
- Cook Time: 30 minutes
- Category: Side Dish
- Cuisine: American
Nutrition
- Serving Size: 1 bun
- Calories: 180
- Sugar: 4
- Sodium: 250
- Fat: 3
- Saturated Fat: 1.5
- Carbohydrates: 28
- Fiber: 1
- Protein: 4
Keywords: hamburger buns, homemade bread, soft buns, milk bath buns, burger recipe, yeast bread, easy baking