The smell of warm, yeast-risen dough mixed with melted honey butter is basically a warm hug for your soul. I still remember the first time I made these rolls during a particularly chaotic holiday dinner prep. I was stressed, the oven was humming, and I needed something fast but impressive. Instead of reaching for the frozen aisle, I decided to trust my instincts and whip up a quick yeast dough. The result? Pillowy soft rolls that disappeared before the main course even hit the table. That moment changed how I view quick breads forever.
Honestly, who has time for a 24-hour sourdough starter when you just want dinner on the table? These homemade honey butter rolls are the answer. They come together in under an hour, require no fancy equipment, and taste like they took all day. I’ve tested this recipe over a dozen times, adjusting the hydration and butter ratios until it was perfect. It’s not just about speed; it’s about that specific sweetness from the honey and the rich, savory finish from the butter brush. You know how some recipes promise the world but deliver disappointment? This one delivers comfort.
I make these for everything from weeknight tacos to Sunday roast dinners. They are incredibly versatile and always a hit with picky eaters. The texture is airy yet sturdy enough to soak up gravy or soup. If you’ve been intimidated by baking with yeast, this is your gateway drug. It’s forgiving, it’s fast, and it tastes amazing. Let’s face it, store-bought rolls just can’t compete with the aroma of fresh-baked bread filling your kitchen. Plus, they freeze beautifully, so you can always have some on hand for unexpected guests or late-night cravings.
Why You’ll Love This Honey Butter Rolls Recipe
After years of experimenting with different doughs, I’ve found that the secret to these rolls isn’t just the ingredients—it’s the technique. I’ve tweaked this recipe to ensure it’s foolproof for home cooks of all levels. Whether you’re a seasoned baker or someone who usually sticks to boxed mixes, this method works. The key is keeping the dough warm and giving it just enough time to rise without waiting around all day. It’s the perfect balance of convenience and quality.
- Quick & Easy: From mixing to oven, you’re looking at about an hour. This is perfect for busy weeknights when you need a side dish that doesn’t require hours of prep.
- Simple Ingredients: You likely already have flour, yeast, honey, and butter in your pantry. No trip to the specialty store is needed for this one.
- Perfect for Gatherings: These rolls are great for potlucks, holiday dinners, or just a cozy night in. They look impressive but are incredibly simple to make.
- Crowd-Pleaser: Kids love the sweetness, and adults love the soft texture. They always get rave reviews from everyone at the table.
- Unbelievably Delicious: The combination of honey in the dough and the butter brush on top creates a flavor profile that is next-level comfort food.
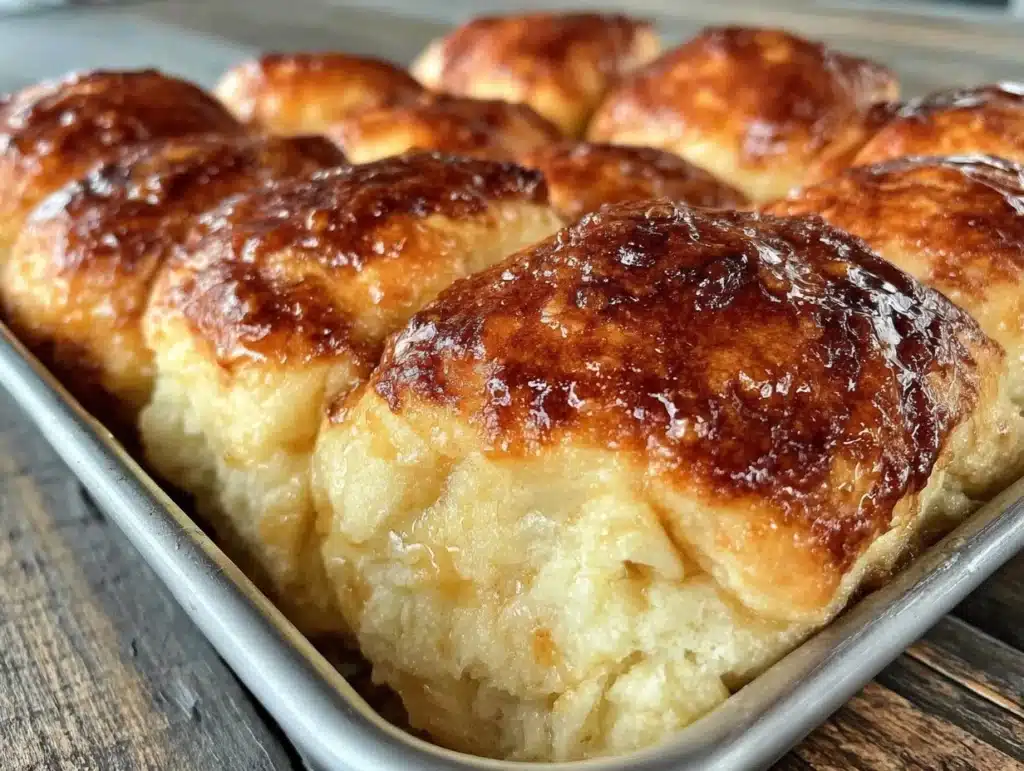
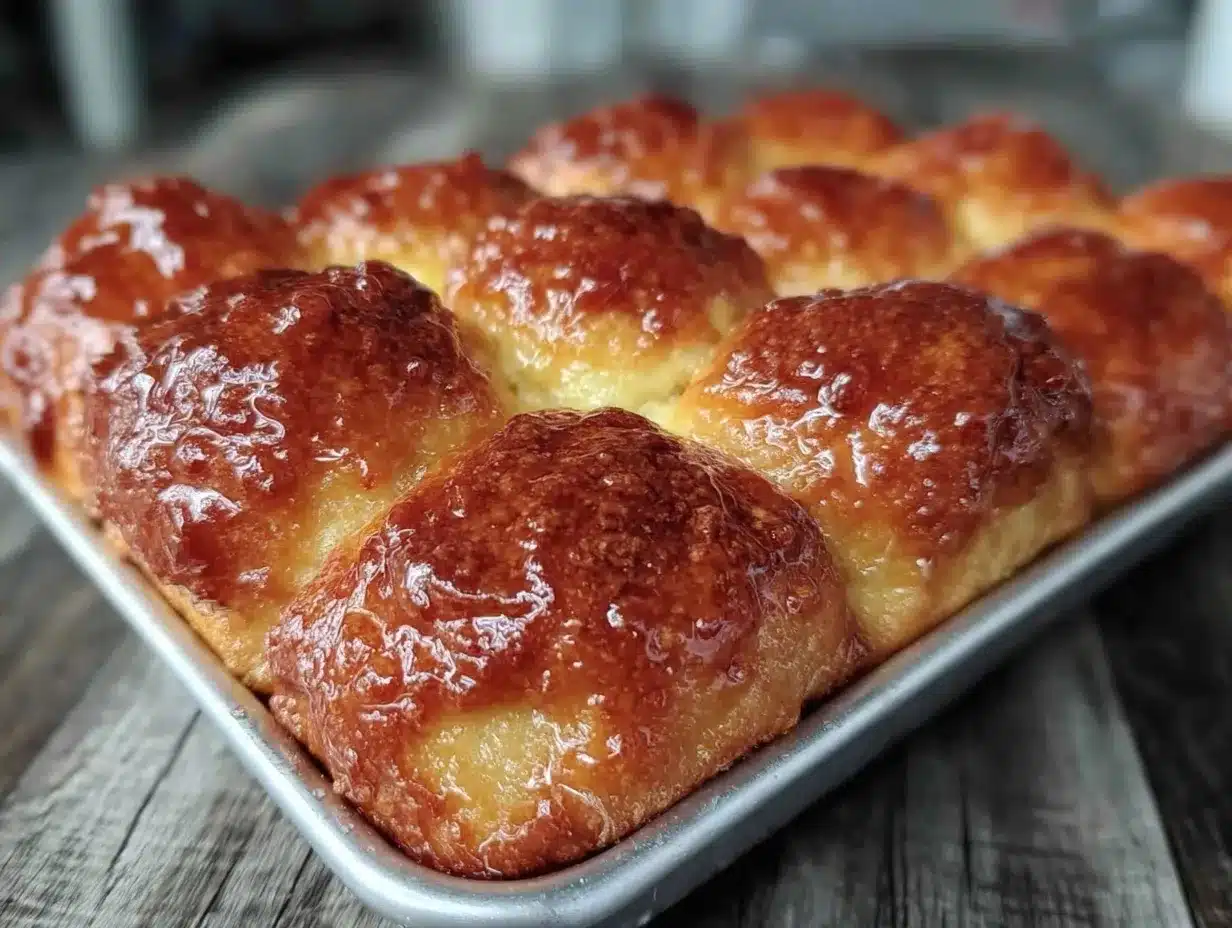
What makes these rolls different from the rest is the addition of honey directly into the dough. Many quick breads rely solely on sugar, but honey adds a depth of flavor and helps keep the crumb moist for days. I also use a technique where I brush the rolls with melted honey butter immediately after baking. This creates a glossy, sticky-sweet crust that softens as they cool. It’s not just good—it’s the kind of bread that makes you close your eyes after the first bite. It’s comfort food reimagined—faster, but with the same soul-soothing satisfaction.
What Ingredients Do You Need?
This recipe uses simple, wholesome ingredients to deliver bold flavor and satisfying texture without the fuss. You don’t need fancy flours or exotic spices. The magic happens in the balance between the sweetness of the honey and the richness of the butter. I recommend using active dry yeast for reliability, though instant yeast works too. Just be sure to check the expiration date on your yeast, as old yeast is the number one reason bread fails.
- All-Purpose Flour (3 1/2 cups / 440g): This is your base. Don’t use cake flour, as it won’t provide enough structure. I prefer King Arthur Brand for its consistent protein content.
- Active Dry Yeast (1 packet / 2 1/4 tsp): Standard packet size. Make sure your liquid is warm, not hot, or you’ll kill the yeast.
- Honey (1/4 cup / 85g): This is the star. Use raw honey if you have it for better flavor, but regular clover honey works fine too.
- Warm Water (1 cup / 240ml): Should be around 105°F to 110°F. Think bathwater temperature, not boiling.
- Unsalted Butter (1/4 cup / 55g, melted): Adds richness to the dough. Save the rest for the brush.
- Egg (1 large): Helps bind the dough and adds richness. Room temperature is best.
- Salt (1 tsp): Essential for flavor balance. Don’t skip it.
- Whole Milk (1/4 cup / 60ml): Adds tenderness to the crumb. You can substitute with water if needed.
For the honey butter glaze, you’ll need 1/2 cup of melted unsalted butter mixed with 2 tablespoons of honey. This glaze is what gives the rolls their signature shine and sticky sweetness. If you’re feeling adventurous, you can add a pinch of cinnamon to the glaze for a fall-inspired twist. I’ve tried adding garlic powder for a savory version, but the sweet version is my absolute favorite for dinner parties.
Equipment Needed
You don’t need a lot of fancy gear to make these rolls. A large mixing bowl is essential for combining the ingredients. I prefer a glass or stainless steel bowl because it’s easy to clean and lets me see the dough consistency clearly. A wooden spoon or a sturdy spatula works well for mixing, but a stand mixer with a dough hook makes the kneading process much easier and faster.
A baking sheet lined with parchment paper or a silicone baking mat is crucial for even baking and easy cleanup. Silicone mats are great because they prevent sticking, but parchment paper is a good budget-friendly alternative. You’ll also need a measuring cup for liquids and dry ingredients. Digital scales are ideal for accuracy, but standard measuring cups work if you spoon and level your flour.
A pastry brush is necessary for applying the honey butter glaze. Silicone brushes are durable and easy to clean, whereas natural bristle brushes require more care. Finally, an instant-read thermometer is helpful to ensure your water is the right temperature. Guessing the water temp can lead to flat rolls, so a thermometer saves you from potential heartbreak.
How to Make Honey Butter Rolls
- Activate the Yeast: In a large bowl, combine the warm water and honey. Sprinkle the yeast over the top and let it sit for 5-10 minutes until it becomes foamy. This step confirms your yeast is alive. If it doesn’t foam, start over with fresh yeast.
- Mix the Dough: Add the melted butter, egg, and milk to the yeast mixture. Stir well. Gradually add the flour and salt. If using a stand mixer, use the dough hook on low speed. If mixing by hand, stir until a shaggy dough forms.
- Knead the Dough: Turn the dough onto a lightly floured surface. Knead for 5-7 minutes until smooth and elastic. The dough should pass the windowpane test—stretch a small piece thin enough to see light through it without tearing. Add more flour if sticky, or water if too dry.
- First Rise: Place the dough in a greased bowl, turning once to coat. Cover with plastic wrap or a damp towel. Let it rise in a warm place for 30-45 minutes, or until doubled in size. This quick rise is key to the one-hour timeline.
- Shape the Rolls: Punch down the dough to release air. Divide it into 12 equal pieces. Roll each piece into a ball by tucking the edges underneath. Place the balls seam-side down in a greased 9×13 inch baking pan.
- Second Rise: Cover the pan and let the rolls rise for another 15-20 minutes while you preheat the oven to 375°F (190°C). They should look puffy and jiggly.
- Bake: Bake for 15-18 minutes until golden brown. The internal temperature should reach 190°F (88°C). If they brown too quickly, tent with foil.
- Glaze: Immediately after removing from the oven, brush the tops generously with the melted honey butter mixture. This creates the signature sticky crust.
- Cool and Serve: Let them cool in the pan for 5 minutes before serving. They are best eaten warm.
Cooking Tips & Techniques
One common mistake is using water that’s too hot, which kills the yeast. Always test the water temperature with a thermometer or the inside of your wrist—it should feel warm, not hot. Another tip is to not add too much flour during kneading. It’s better to have a slightly sticky dough than a dry, dense one. Sticky dough results in lighter, airier rolls.
I once over-kneaded a batch of rolls and ended up with tough, bread-like textures. Remember, you only need to knead until the dough is smooth. If using a mixer, keep it on low speed. Also, ensure your second rise is adequate. If you skip this step, your rolls will be dense and brick-like. The visual cue is important—they should look puffy and fill the pan.
Multitasking is key here. While the dough rises, you can prepare your glaze and prep your baking pan. This saves time and ensures everything is ready when you need it. Don’t rush the shaping process. Tucking the edges creates tension, which helps the rolls rise upward rather than outward, giving them that nice round shape.
Variations & Adaptations
While the classic honey butter flavor is my favorite, there are many ways to customize these rolls. For a savory twist, reduce the honey in the dough to 1 tablespoon and add garlic powder and rosemary to the glaze. These work beautifully with roasted meats.
You can also make them cinnamon sugar rolls by adding 1 teaspoon of cinnamon to the dough and sprinkling a cinnamon-sugar mixture on top before baking. For a dairy-free version, substitute the butter with coconut oil and use maple syrup instead of honey. These adaptations keep the soft texture while changing the flavor profile.
I’ve also tried adding shredded cheddar cheese to the dough for a cheesy bread roll. It’s a hit at game day parties. Just be aware that adding mix-ins may require a bit more flour to maintain the right consistency. Experimenting with these variations keeps the recipe fresh and exciting.
Serving & Storage Suggestions
These rolls are best served warm, straight out of the oven. They pair wonderfully with soups, stews, or roasted chicken. For a festive touch, serve them in a basket lined with a cloth napkin. They also make excellent sandwiches when sliced in half and toasted.
Leftovers can be stored in an airtight container at room temperature for up to 2 days. For longer storage, freeze them for up to 3 months. To reheat, wrap them in foil and warm in a 300°F oven for 10 minutes, or microwave for 30 seconds. The honey butter glaze will soften, but the flavor remains intact.
Nutritional Information & Benefits
Each roll contains approximately 180 calories, with 4g of protein and 25g of carbohydrates. The honey provides natural sugars and antioxidants, while the butter adds essential fats for satiety. These rolls are not gluten-free, so they are not suitable for those with celiac disease. They are a great source of energy and comfort, perfect for fueling a busy day.
Conclusion
Homemade honey butter rolls are a game-changer for any home cook. They are quick, easy, and absolutely delicious. I love making these because they bring people together around the table. Whether you’re a novice or an expert, this recipe is foolproof and rewarding. I encourage you to try it and share your results. Have fun experimenting with different glazes and fillings. Happy baking!
Frequently Asked Questions
Can I use instant yeast instead of active dry yeast?
Yes, you can use instant yeast. You can mix it directly with the dry ingredients and skip the initial activation step with water. The results will be very similar.
Why are my rolls dense?
Dense rolls are usually caused by over-kneading, too much flour, or insufficient rising time. Ensure you measure flour correctly and allow enough time for the dough to double in size.
Can I freeze the dough before baking?
Yes, you can shape the rolls and freeze them on the baking sheet. Once frozen, transfer them to a bag. Bake from frozen, adding a few extra minutes to the baking time.
How do I know when the rolls are done?
The rolls are done when they are golden brown on top and the internal temperature reaches 190°F (88°C). You can also tap the bottom; it should sound hollow.
Can I make these rolls ahead of time?
You can prepare the dough and refrigerate it overnight for a slow rise. Let it come to room temperature before shaping and baking. This can actually improve the flavor.
Pin This Recipe!
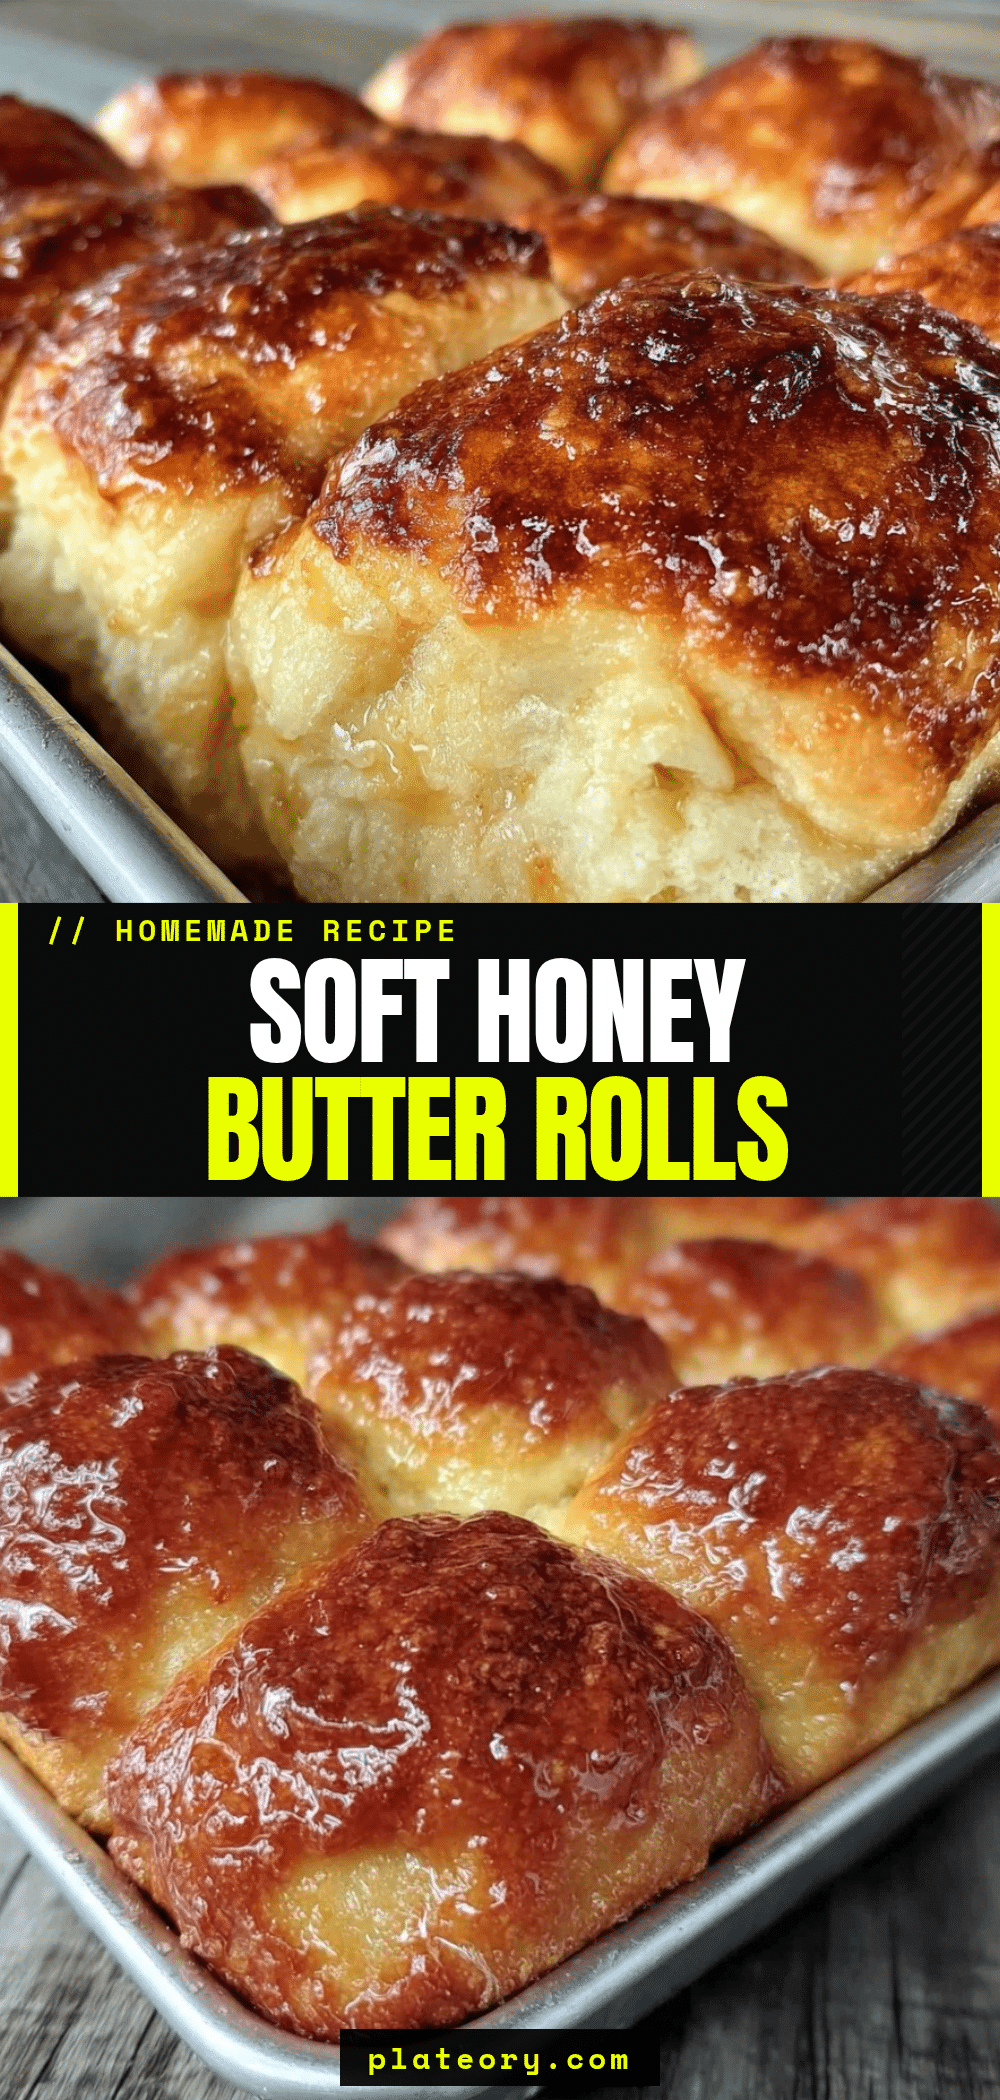

Homemade Honey Butter Rolls: Best 1-Hour Soft Dinner Rolls
- Total Time: 1 hour
- Yield: 12 servings 1x
Description
Pillowy soft, sweet, and savory dinner rolls made in under an hour. These foolproof yeast rolls feature a honey-infused dough and a sticky honey butter glaze, perfect for weeknights or holiday gatherings.
Ingredients
- 3 1/2 cups (440g) All-Purpose Flour
- 1 packet (2 1/4 tsp) Active Dry Yeast
- 1/4 cup (85g) Honey
- 1 cup (240ml) Warm Water (105°F-110°F)
- 1/4 cup (55g) Unsalted Butter, melted
- 1 large Egg, room temperature
- 1 tsp Salt
- 1/4 cup (60ml) Whole Milk
- 1/2 cup (115g) Unsalted Butter, melted (for glaze)
- 2 tbsp Honey (for glaze)
Instructions
- In a large bowl, combine warm water and honey. Sprinkle yeast over the top and let sit for 5-10 minutes until foamy.
- Add melted butter, egg, and milk to the yeast mixture and stir well. Gradually add flour and salt, mixing until a shaggy dough forms.
- Turn dough onto a lightly floured surface and knead for 5-7 minutes until smooth and elastic (passing the windowpane test).
- Place dough in a greased bowl, turning to coat. Cover and let rise in a warm place for 30-45 minutes until doubled in size.
- Punch down dough and divide into 12 equal pieces. Roll each into a ball, tucking edges underneath, and place seam-side down in a greased 9×13 inch baking pan.
- Cover the pan and let rolls rise for another 15-20 minutes while preheating oven to 375°F (190°C).
- Bake for 15-18 minutes until golden brown and internal temperature reaches 190°F (88°C).
- Immediately remove from oven and brush tops generously with the mixture of melted butter and honey.
- Let cool in the pan for 5 minutes before serving warm.
Notes
Ensure water is warm (105-110°F) but not hot to avoid killing the yeast. Do not over-knead to prevent tough rolls. For best results, use a digital scale for flour accuracy. Rolls can be frozen for up to 3 months or refrigerated overnight for a slow rise.
- Prep Time: 30 minutes
- Cook Time: 18 minutes
- Category: Side Dish
- Cuisine: American
Nutrition
- Serving Size: 1 roll
- Calories: 180
- Sugar: 8
- Sodium: 250
- Fat: 6
- Saturated Fat: 3.5
- Carbohydrates: 25
- Fiber: 1
- Protein: 4
Keywords: honey butter rolls, dinner rolls, yeast rolls, quick bread, homemade rolls, soft dinner rolls, holiday sides, weeknight dinner