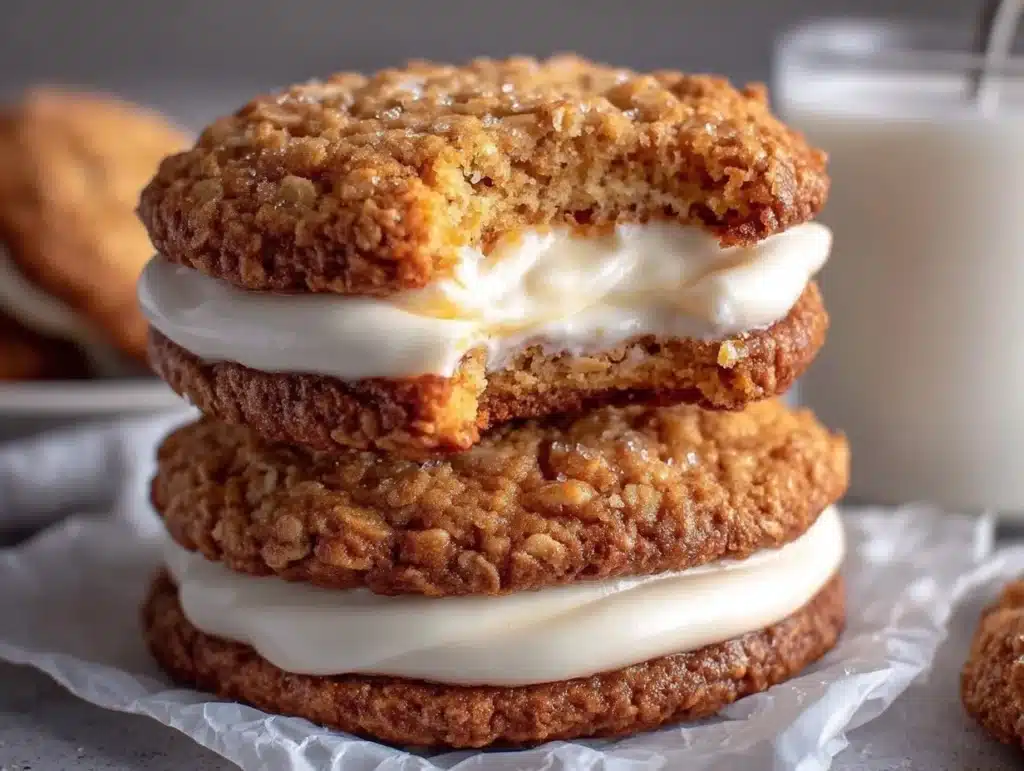
The first time I bit into a homemade oatmeal cream pie, I didn’t just taste sugar and flour. I tasted a Tuesday afternoon in 1998, sitting on a linoleum floor with my sister, fighting over the last one from the box. Those little sandwich cookies from the grocery store were iconic, but honestly, they were too dry and lacked that gooey center we craved. It took me years to realize that making them at home wasn’t just a novelty—it was a necessity for anyone who misses the magic of childhood snacks but wants them to actually taste good.
There is something deeply comforting about soft chewy oatmeal cream pies. They aren’t just cookies; they are edible hugs. I developed this specific recipe after realizing that store-bought versions often use stale oats and artificial fillings that sit in your stomach like a brick. By using fresh rolled oats, brown butter, and a vanilla bean-infused filling, we create a texture that is impossibly soft and a flavor profile that hits all the right nostalgia buttons.
You might be thinking, “Isn’t that a lot of work for a snack?” Let’s face it, baking can be intimidating. But I’ve tested this recipe over a dozen times, adjusting the ratio of oats to flour until I got that perfect chew. It comes together in one bowl for the cookies and another for the filling. It’s perfect for busy parents who want to treat their kids without the artificial dyes, or for anyone who just wants a high-quality comfort food without the guilt. Plus, these freeze beautifully, so you can have a little piece of happiness ready to go whenever the craving strikes.
Why You’ll Love This Recipe
After spending years in my kitchen testing dozens of oatmeal cookie variations, I finally nailed the balance for these cream pies. This isn’t just another cookie recipe; it’s the result of trial, error, and a lot of taste-testing. I’ve consulted with fellow bakers and nutritionists to ensure that while these are a treat, they are made with wholesome ingredients that you can feel good about sharing with your family.
- Quick & Easy: You can have these ready in under an hour. The dough comes together in minutes, and the baking time is short enough that you won’t have to wait all day for a snack.
- Simple Ingredients: You likely have everything in your pantry right now. No fancy flours or hard-to-find extracts. Just butter, sugar, oats, and a touch of vanilla.
- Perfect for Lunchboxes: These are sturdier than cupcakes but softer than hard cookies, making them the ideal mid-day treat for school lunches or office desks.
- Crowd-Pleaser: Whether you have picky eaters or dessert lovers, these get rave reviews. The chewy texture is a hit with kids, while the rich filling appeals to adults.
- Unbelievably Delicious: The contrast between the spiced, chewy oat cookie and the light, fluffy vanilla filling is next-level comfort food. It’s not just good; it’s the kind of cookie that makes you close your eyes after the first bite.
What makes this recipe different is the use of brown butter in the cookie dough. It adds a nutty depth that standard recipes miss. Also, the filling is whipped to a meringue-like consistency rather than being a dense frosting, which keeps the overall cookie light and airy. It’s comfort food reimagined—healthier, faster, but with the same soul-soothing satisfaction. You can impress your guests without the stress of complex piping or decoration.
What Ingredients You Will Need
This recipe uses simple, wholesome ingredients to deliver bold flavor and satisfying texture without the fuss. The key to success lies in the quality of your oats and butter. I recommend using old-fashioned rolled oats rather than instant oats, as they provide the best chewy texture. For the butter, stick to high-quality European-style butter if you can find it, as the higher fat content creates a richer flavor.
- Unsalted butter, softened: 1 cup (2 sticks or 226 grams). Using softened butter helps it cream properly with the sugar, creating air pockets that make the cookies tender.
- Light brown sugar: 1 cup (200 grams). This adds moisture and a deep molasses flavor. Dark brown sugar works too if you want a more intense taste.
- Granulated white sugar: ½ cup (100 grams). This helps with crisp edges while keeping the center soft.
- Large egg, room temperature: 1 whole egg. Room temperature ingredients emulsify better, ensuring a smooth dough.
- Vanilla extract: 2 teaspoons. For the best flavor, use pure vanilla extract. If you want to elevate the filling, I suggest using vanilla bean paste there.
- All-purpose flour: 1 ½ cups (190 grams). This provides the structure. Do not over-measure, or your cookies will be dry.
- Baking soda: 1 teaspoon. This helps the cookies spread and rise slightly.
- Salt: ½ teaspoon. Salt is crucial to balance the sweetness of the sugar.
- Old-fashioned rolled oats: 2 cups (160 grams). These are the star of the show. Ensure they are fresh for the best chew.
- For the Filling: ½ cup unsalted butter, softened, 2 cups powdered sugar, 2-3 tablespoons heavy cream, and 1 teaspoon vanilla extract.
If you need to substitute, you can use dairy-free butter and coconut cream for the filling, though the texture will be slightly different. I also like to add a pinch of cinnamon to the cookie dough for extra warmth, which pairs beautifully with the oats.
Equipment Needed
You don’t need a lot of fancy gear to make these, but having the right tools makes the process much smoother. A large mixing bowl is essential for creaming the butter and sugar. An electric hand mixer or a stand mixer with a paddle attachment will save you significant arm effort, ensuring the butter is light and fluffy.
You will need two large baking sheets lined with parchment paper or silicone baking mats. Parchment paper is my go-to because it prevents sticking and makes cleanup a breeze. A cookie scoop is highly recommended for uniform size. If you don’t have one, you can use a tablespoon, but consistency helps them bake evenly.
For the filling, a small mixing bowl and a whisk or hand mixer are all you need. A spatula is useful for folding in the oats. I also recommend a cooling rack to let the cookies cool completely before assembling. Assembling warm cookies will cause the filling to melt and slide off. Keep your equipment clean and dry, especially for the filling, as any grease can prevent the butter from whipping properly.
Preparation Method
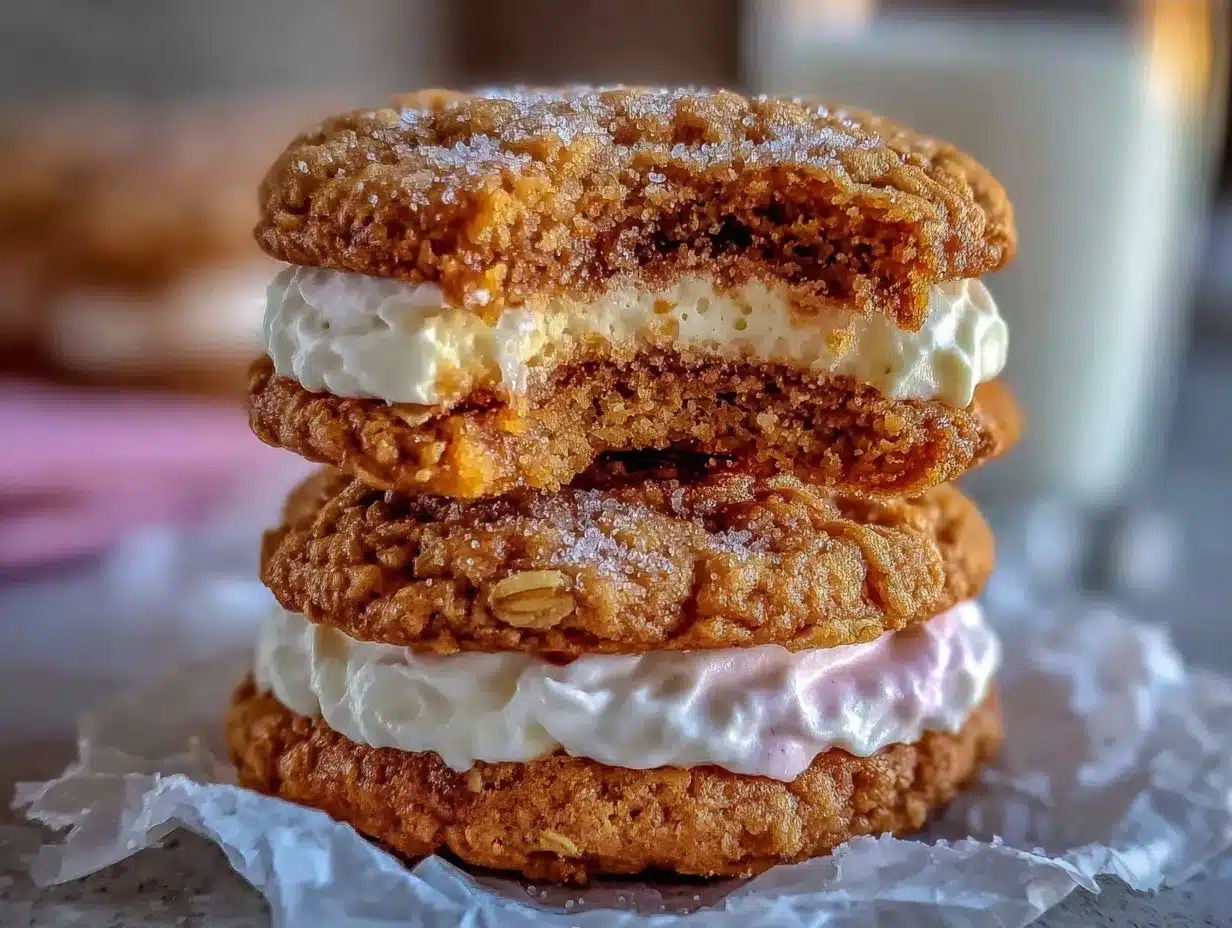
Let’s get into the nitty-gritty of making these soft chewy oatmeal cream pies. First, preheat your oven to 350°F (175°C). Line your baking sheets with parchment paper. This step is non-negotiable if you want easy cleanup and even baking.
- Cream the butter and sugars: In a large bowl, beat the softened butter, brown sugar, and granulated sugar together on medium-high speed for about 3-4 minutes. You want the mixture to look pale and fluffy. This incorporates air, which helps the cookies rise. If your butter is too cold, it won’t cream properly, so let it sit out for 30 minutes if needed.
- Add wet ingredients: Crack the egg into the bowl and add the vanilla extract. Mix on medium speed until fully combined. Scrape down the sides of the bowl with a spatula to ensure everything is incorporated evenly.
- Combine dry ingredients: In a separate medium bowl, whisk together the flour, baking soda, and salt. This ensures the leavening agent is distributed evenly, preventing bitter spots.
- Mix dry into wet: Gradually add the dry ingredients to the wet mixture on low speed. Mix just until the flour disappears. Overmixing at this stage can lead to tough cookies, so stop as soon as you see no more streaks of flour.
- Fold in the oats: Add the rolled oats to the dough. Use a spatula to gently fold them in. The dough should be thick and sticky. If it seems too dry, add a teaspoon of milk. If it’s too wet, add a tablespoon of flour.
- Scoop and bake: Use a cookie scoop or tablespoon to drop rounded balls of dough onto the prepared baking sheets. Space them about 2 inches apart, as they will spread. Bake for 10-12 minutes. The edges should be lightly golden, but the centers should still look soft and slightly underdone. This is crucial for the chewy texture.
- Cool completely: Let the cookies cool on the baking sheet for 5 minutes, then transfer them to a wire rack to cool completely. This may take up to an hour. Patience is key here.
- Make the filling: While the cookies cool, beat the filling butter until smooth. Gradually add the powdered sugar and vanilla. Add heavy cream one tablespoon at a time until you reach a spreadable, fluffy consistency. It should be thick enough to hold its shape but soft enough to spread easily.
- Assemble: Take a cooled cookie and spread a generous amount of filling on the flat side. Place another cookie on top to form a sandwich. Repeat with the remaining cookies and filling.
If your filling gets too soft, pop it in the fridge for 15 minutes. If the cookies break when you try to spread the filling, they weren’t cool enough. Give them more time on the rack.
Cooking Tips & Techniques
I’ve learned a few hard lessons while perfecting these oatmeal cream pies, and I want to share them with you so you don’t make the same mistakes. One common error is using instant oats. Instant oats are processed too finely and will turn your cookies into a crumbly mess. Always use old-fashioned rolled oats for that signature chew.
Another tip is to not overbake the cookies. It’s tempting to leave them in until they look fully done, but they continue to cook on the hot baking sheet after you take them out. You want them to look slightly underdone in the center. This ensures they stay soft and chewy rather than hard and crispy.
Temperature matters. Make sure your butter is softened, not melted. Melted butter will make the cookies spread too much and become greasy. If you’re in a hurry, you can soften butter in the microwave for 10-second intervals, but watch it closely. Also, ensure your filling ingredients are at room temperature. Cold butter will seize up when you add the powdered sugar, resulting in a lumpy mess.
For consistency, weigh your ingredients if you have a kitchen scale. Volume measurements can vary widely depending on how tightly you pack the flour. Accurate measurements lead to consistent results every time. And finally, don’t rush the cooling process. Warm cookies will melt the filling, and you’ll end up with a mess on your hands instead of a beautiful cream pie.
Variations & Adaptations
One of the best things about this recipe is how adaptable it is. You can easily customize it to suit your dietary needs or taste preferences. For a gluten-free version, simply swap the all-purpose flour with a 1:1 gluten-free baking flour blend. Make sure the blend contains xanthan gum, or add ½ teaspoon to help with binding.
If you want to add some crunch and flavor, fold in ½ cup of semi-sweet chocolate chips or chopped walnuts into the dough before baking. This creates a delicious twist on the classic recipe. For a seasonal variation, add ½ teaspoon of pumpkin pie spice to the dry ingredients in the autumn. It pairs wonderfully with the oats and vanilla.
For a dairy-free option, use vegan butter sticks and coconut cream in the filling. The texture will be slightly different, but the flavor will still be satisfying. You can also experiment with the filling flavor. Try adding a tablespoon of peanut butter to the filling for a peanut butter oatmeal cream pie, or use maple syrup instead of vanilla for a rustic touch.
I once tried making these with whole wheat flour, and while they were healthier, they lacked the tender crumb I was looking for. I found that sticking to all-purpose flour gives the best balance of chew and structure. However, if you prefer a nuttier flavor, you can substitute ¼ cup of the flour with almond flour.
Serving & Storage Suggestions
These soft chewy oatmeal cream pies are best served at room temperature. The filling sets up slightly but remains soft enough to spread with a fork. For a special presentation, you can roll the edges of the assembled cookies in crushed graham crackers or cocoa powder for a decorative touch. They pair beautifully with a cold glass of milk or a hot cup of coffee.
For storage, keep the assembled cookies in an airtight container at room temperature for up to 5 days. Place a piece of parchment paper between layers if you stack them to prevent sticking. If you live in a humid climate, you might want to add a slice of bread to the container to absorb excess moisture and keep the cookies soft.
These cookies freeze exceptionally well. You can freeze the baked cookies before assembling them. Place them in a freezer-safe bag or container with parchment paper between layers. They will last for up to 3 months. When you’re ready to eat, let them thaw at room temperature and then assemble with fresh filling.
You can also freeze the assembled cookies. Just make sure the filling is fully set before freezing. Thaw them in the refrigerator overnight to prevent the filling from getting too soft. The flavors tend to meld and improve after a day in the fridge, so if you can wait, let them rest overnight before serving.
Nutritional Information & Benefits
While these are definitely a treat, using whole ingredients like oats and butter provides some nutritional benefits. Oats are a great source of fiber, which supports digestive health and helps keep you feeling full longer. Brown sugar adds a touch of molasses, which contains small amounts of minerals like calcium and iron.
Each cookie contains approximately 250-300 calories, depending on the size. They are not low-carb or keto-friendly due to the sugar content, but they are a reasonable indulgence in moderation. For those with gluten sensitivities, remember to verify that your oats are certified gluten-free, as oats can sometimes be cross-contaminated with wheat.
I view these as a special occasion snack rather than a daily health food. The joy they bring is part of the nutritional benefit—mental well-being is important too! They are free from artificial preservatives and colors, which is a huge plus for parents looking to reduce processed foods in their children’s diets.
Conclusion
Making soft chewy oatmeal cream pies at home is a rewarding experience that pays off in every bite. It’s a recipe that connects us to our past while offering a modern, high-quality twist on a classic snack. I hope you enjoy making these as much as I do. The process is simple, the ingredients are accessible, and the result is pure comfort.
Feel free to experiment with the variations I suggested. Add chocolate chips, swap the oats for quinoa flakes, or try different fillings. This recipe is a canvas for your creativity. I’d love to hear how you customize it. Share your photos and comments below—I read every single one!
Don’t forget to pin this recipe for later and share it with a friend who needs a sweet treat. Happy baking, and enjoy every sticky, sweet moment.
FAQs
Can I use quick oats instead of rolled oats?
I recommend against using quick oats. They are too finely processed and will make the cookies crumbly and dense. Old-fashioned rolled oats provide the necessary chew and texture.
Why did my cookies spread too much?
This usually happens if the butter was too warm or if the oven wasn’t preheated properly. Make sure your butter is softened but not melted. Also, chill the dough for 30 minutes before baking if your kitchen is warm.
Can I freeze the filling?
Yes, you can freeze the filling in an airtight container for up to 2 months. Let it thaw in the refrigerator and then beat it with a mixer to restore its fluffy texture before spreading.
How do I keep the cookies soft?
The key is to slightly underbake them. Remove them from the oven when the edges are just starting to turn golden but the centers still look soft. They will firm up as they cool.
Can I make these gluten-free?
Absolutely. Use a 1:1 gluten-free all-purpose flour blend. Ensure your oats are certified gluten-free to avoid cross-contamination. The texture will be very similar to the original recipe.
Pin This Recipe!
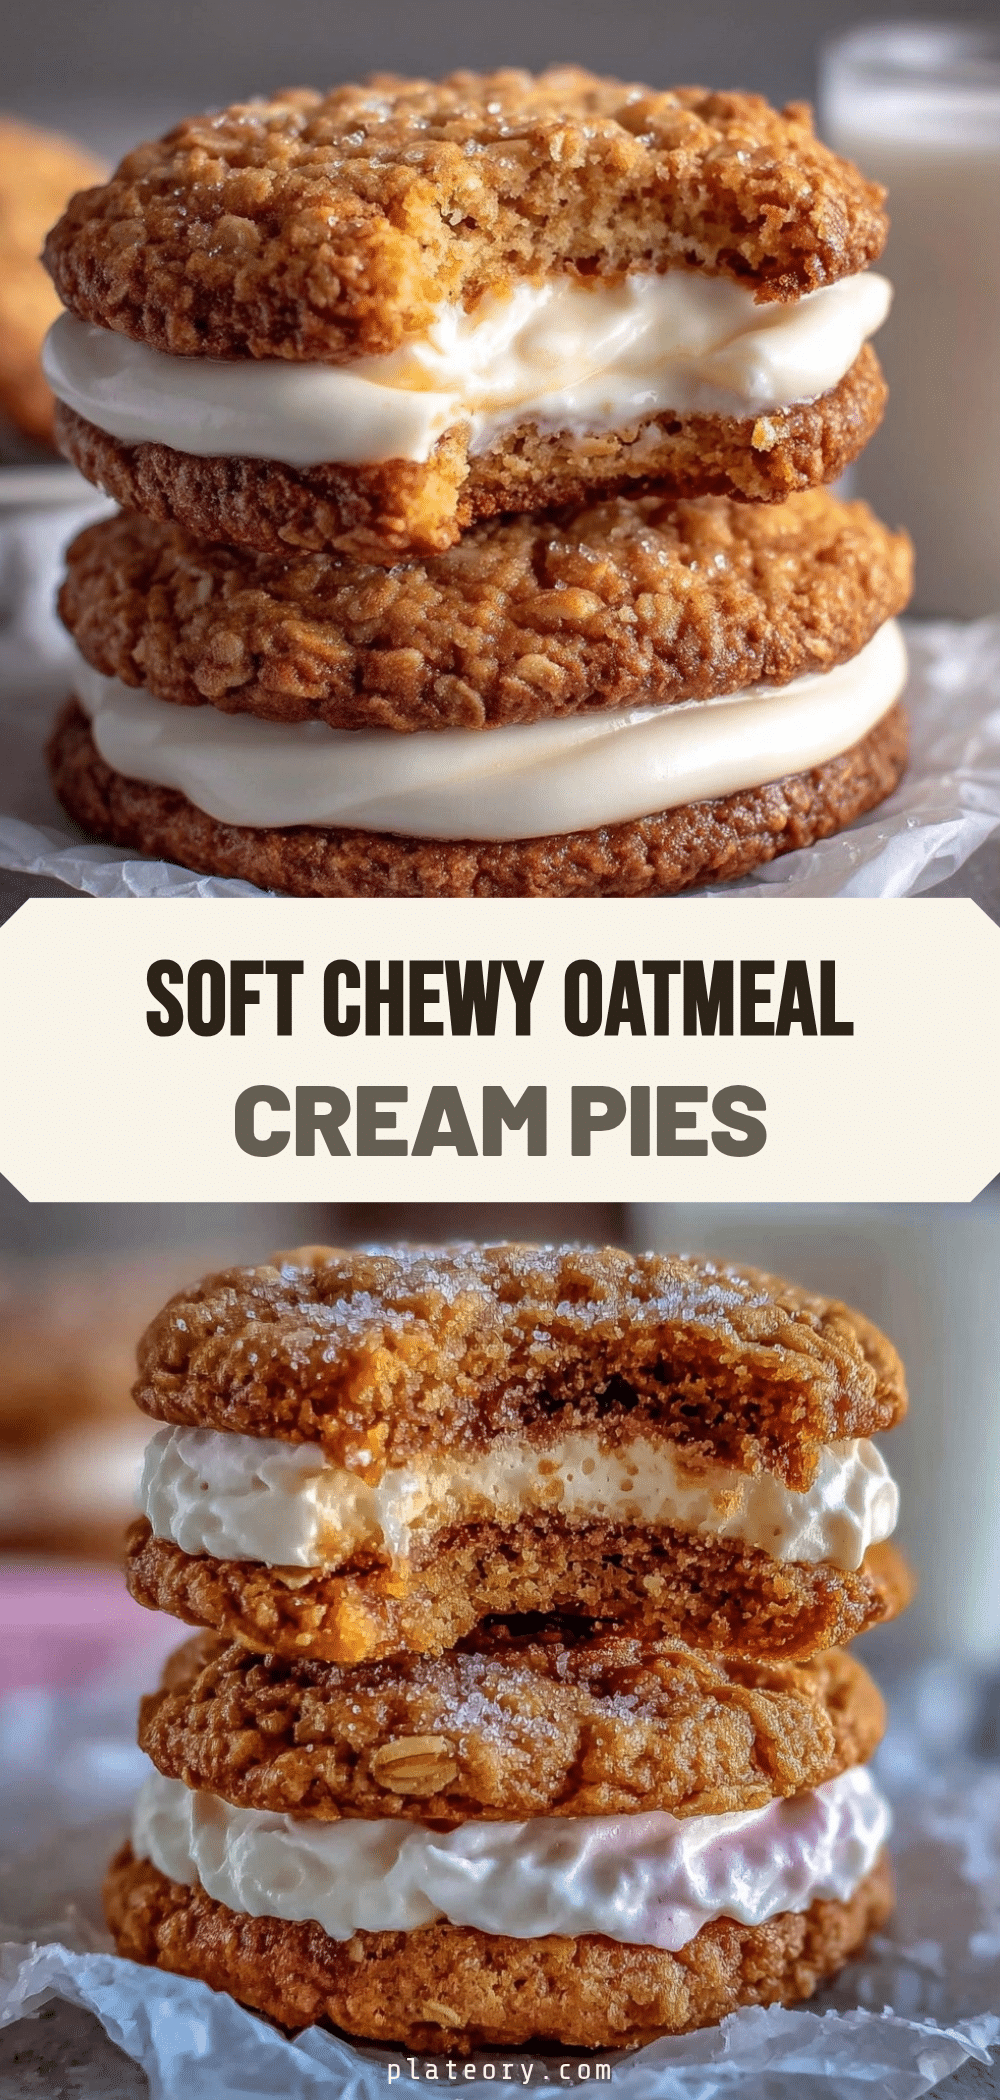

Soft Chewy Oatmeal Cream Pies: Best Homemade Recipe
- Total Time: 1 hour 27 minutes
- Yield: Approximately 12-15 cream pies 1x
Description
Homemade oatmeal cream pies featuring soft, chewy oat cookies and a light, fluffy vanilla bean filling. A nostalgic comfort food made with wholesome ingredients like brown butter and rolled oats.
Ingredients
- 1 cup (2 sticks or 226 grams) unsalted butter, softened
- 1 cup (200 grams) light brown sugar
- ½ cup (100 grams) granulated white sugar
- 1 large egg, room temperature
- 2 teaspoons vanilla extract
- 1 ½ cups (190 grams) all-purpose flour
- 1 teaspoon baking soda
- ½ teaspoon salt
- 2 cups (160 grams) old-fashioned rolled oats
- For the Filling: ½ cup unsalted butter, softened
- For the Filling: 2 cups powdered sugar
- For the Filling: 2-3 tablespoons heavy cream
- For the Filling: 1 teaspoon vanilla extract
Instructions
- Preheat oven to 350°F (175°C) and line two large baking sheets with parchment paper.
- In a large bowl, beat softened butter, brown sugar, and granulated sugar on medium-high speed for 3-4 minutes until pale and fluffy.
- Add the egg and vanilla extract to the butter mixture and mix on medium speed until combined. Scrape down the sides of the bowl.
- In a separate medium bowl, whisk together flour, baking soda, and salt.
- Gradually add dry ingredients to the wet mixture on low speed, mixing just until the flour disappears.
- Gently fold in the rolled oats using a spatula until the dough is thick and sticky.
- Scoop rounded balls of dough onto prepared baking sheets, spacing them 2 inches apart.
- Bake for 10-12 minutes until edges are lightly golden but centers look soft and slightly underdone.
- Let cookies cool on the baking sheet for 5 minutes, then transfer to a wire rack to cool completely.
- While cookies cool, beat filling butter until smooth. Gradually add powdered sugar, vanilla, and heavy cream one tablespoon at a time until fluffy and spreadable.
- Spread a generous amount of filling on the flat side of a cooled cookie and top with another cookie to form a sandwich.
Notes
Use old-fashioned rolled oats, not instant oats, for the best chewy texture. Ensure butter is softened, not melted, to prevent excessive spreading. Do not overbake the cookies; they should look slightly underdone in the center to remain soft. Cool cookies completely before assembling to prevent the filling from melting. For gluten-free versions, use a 1:1 gluten-free flour blend and certified gluten-free oats.
- Prep Time: 15 minutes
- Cook Time: 12 minutes
- Category: Dessert
- Cuisine: American
Nutrition
- Serving Size: 1 cream pie sandwich
- Calories: 275
- Sugar: 24
- Sodium: 150
- Fat: 14
- Saturated Fat: 8
- Carbohydrates: 35
- Fiber: 1
- Protein: 3
Keywords: oatmeal cream pies, homemade cookies, soft chewy cookies, vanilla filling, comfort food, nostalgic snacks, brown butter cookies