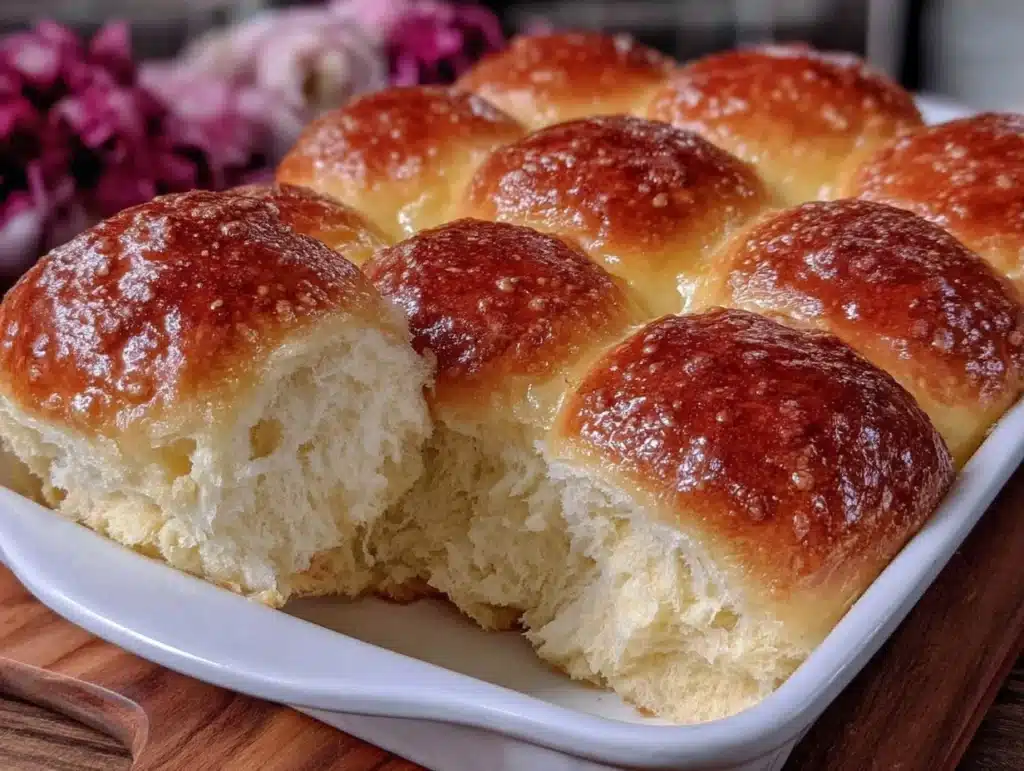
The smell of warm, buttery yeast dough rising in a humid kitchen takes me right back to my grandmother’s table in rural Ohio. You know that feeling? It’s not just about the food; it’s about the warmth filling the room, the way the steam fogs up the windows, and the absolute comfort of knowing something good is coming. I first started making homemade dinner rolls during those long winter weekends when I had nothing but time and a craving for real, unprocessed comfort. Back then, I was struggling with store-bought rolls that tasted like cardboard and preservatives. Honestly, it was a disaster.
After baking these rolls over a dozen times, I finally cracked the code on getting that pillowy, cloud-like texture that melts in your mouth. As someone who loves exploring global flavors from a home kitchen, I’ve learned that bread is the universal language of hospitality. Whether you are serving these with a rich beef stew or a light lemon herb chicken, these rolls are the perfect side dish. They are soft, slightly sweet, and incredibly versatile. I’ve tested this recipe with different flours and yeast types, and this specific combination is the winner every single time. It’s reliable, forgiving, and always delivers that homemade pride.
These rolls are worth the extra thirty minutes of active time because the flavor difference is night and day. You get a crisp, golden crust that gives way to a soft, airy interior. They are perfect for busy families who want to feel like a gourmet chef without the stress. Plus, there is something deeply satisfying about pulling apart a warm roll and slathering it with salted butter. It’s a simple pleasure that never gets old. If you have been hesitant to try yeast baking, this is the gentle introduction you need. It’s easier than you think, and the results are absolutely worth it.
Why You’ll Love This Recipe
Let’s face it, baking bread can feel intimidating. But these homemade dinner rolls are the exception to that rule. I’ve spent years refining this recipe, testing it with different temperatures and flours to ensure it works for everyone, from beginners to seasoned bakers. The result is a roll that is consistently soft, fluffy, and flavorful. This isn’t just another bread recipe; it’s your new go-to for any meal. Here is why you are going to love making these:
- Quick & Easy: While the dough needs time to rise, the active prep time is minimal. You can have these in the oven in under two hours, which is perfect for a weeknight dinner when you want something special but don’t have all day.
- Simple Ingredients: You likely already have everything in your pantry. Flour, yeast, sugar, salt, milk, butter, and an egg. No fancy, hard-to-find ingredients are needed. This makes it accessible for anyone.
- Perfect for Gathering: These rolls are the ultimate crowd-pleaser. Whether it’s a holiday table, a cozy Sunday dinner, or a casual weeknight meal, they fit right in. They are great for potlucks too, as they travel well and stay soft.
- Unbelievably Delicious: The texture is next-level comfort food. They are soft enough to tear apart with your hands but sturdy enough to hold up to heavy sauces. The slight sweetness balances perfectly with savory mains.
- Family Approved: My kids, who are usually picky about crusty bread, devour these. They are mild enough for little ones but sophisticated enough for adult palates. Everyone loves them.
What makes this recipe different is the technique used to tenderize the crumb. By scalding the milk and using a milk bath method, the rolls stay soft for days. This isn’t just a quick bread hack; it’s a professional trick that ensures your rolls don’t go stale by tomorrow. It’s that kind of thoughtful detail that makes this recipe stand out. It’s comfort food reimagined—simple, fast, but with the soul-soothing satisfaction of a bakery treat.
What Ingredients You Will Need
This recipe uses simple, wholesome ingredients to deliver bold flavor and satisfying texture without the fuss. The beauty of bread is that it relies on the quality of a few key components. Here is what you need to get started, along with some tips on how to choose the best items for your batch.
- All-Purpose Flour: You will need about 4 cups (500g). I recommend King Arthur All-Purpose Flour for its consistent protein content, which helps create that perfect chew. Bread flour can be used for a chewier roll, but all-purpose gives a softer bite.
- Active Dry Yeast: One packet (2 ¼ tsp or 7g). You can also use instant yeast, but you may need to adjust the liquid slightly. Make sure your yeast is fresh; old yeast won’t rise properly.
- Whole Milk: 1 cup (240ml). Using whole milk adds richness and tenderness. You can use 2% if that’s all you have, but whole milk yields the best texture. Scalding it helps break down proteins for a softer crumb.
- Unsalted Butter: ¼ cup (57g), melted. This adds flavor and helps keep the rolls moist. Salted butter can be used, but reduce the added salt in the dough slightly.
- Granulated Sugar: 2 tablespoons. This feeds the yeast and adds a subtle sweetness that complements the savory main dishes. Honey can be substituted for a richer flavor.
- Egg: 1 large egg, room temperature. This acts as a binder and adds richness to the dough. It also helps with the golden color of the crust.
- Salt: 1 ½ teaspoons. Salt is crucial for flavor and controlling yeast activity. Do not skip this, or the rolls will taste flat.
- Extra Butter: For brushing on top after baking. This gives them that glossy, appetizing finish and adds a final layer of flavor.
If you are looking for gluten-free options, you can use a 1:1 gluten-free flour blend, though the texture will be slightly different. For a dairy-free version, swap the milk and butter for coconut milk and coconut oil. These substitutions work surprisingly well, keeping the rolls moist and flavorful.
Equipment Needed
You don’t need a fancy kitchen to make these rolls. A few basic tools will get you the best results. A digital kitchen scale is highly recommended for accuracy, but measuring cups work if you spoon and level your flour. A large mixing bowl is essential for combining the dough. I prefer a glass or ceramic bowl because it holds heat well during the rising process.
A stand mixer with a dough hook is helpful for kneading, but you can easily do this by hand. If you knead by hand, you will need about 8-10 minutes of elbow grease. A baking sheet or a 9×13 inch baking dish is needed for the final rise and baking. I use a 9×13 dish because it allows the rolls to touch, which creates softer sides. If you want separate rolls, space them apart on a sheet pan.
A pastry brush is necessary for applying the egg wash and the final butter topping. An instant-read thermometer is a game-changer for checking the internal temperature of the rolls, ensuring they are fully baked without being dry. Keep your equipment clean and dry, as any moisture in the bowl can affect the yeast activity. Budget-friendly options like a basic wooden spoon and a standard metal mixing bowl work perfectly fine. You don’t need to spend a lot to bake great bread.
How to Make Homemade Dinner Rolls
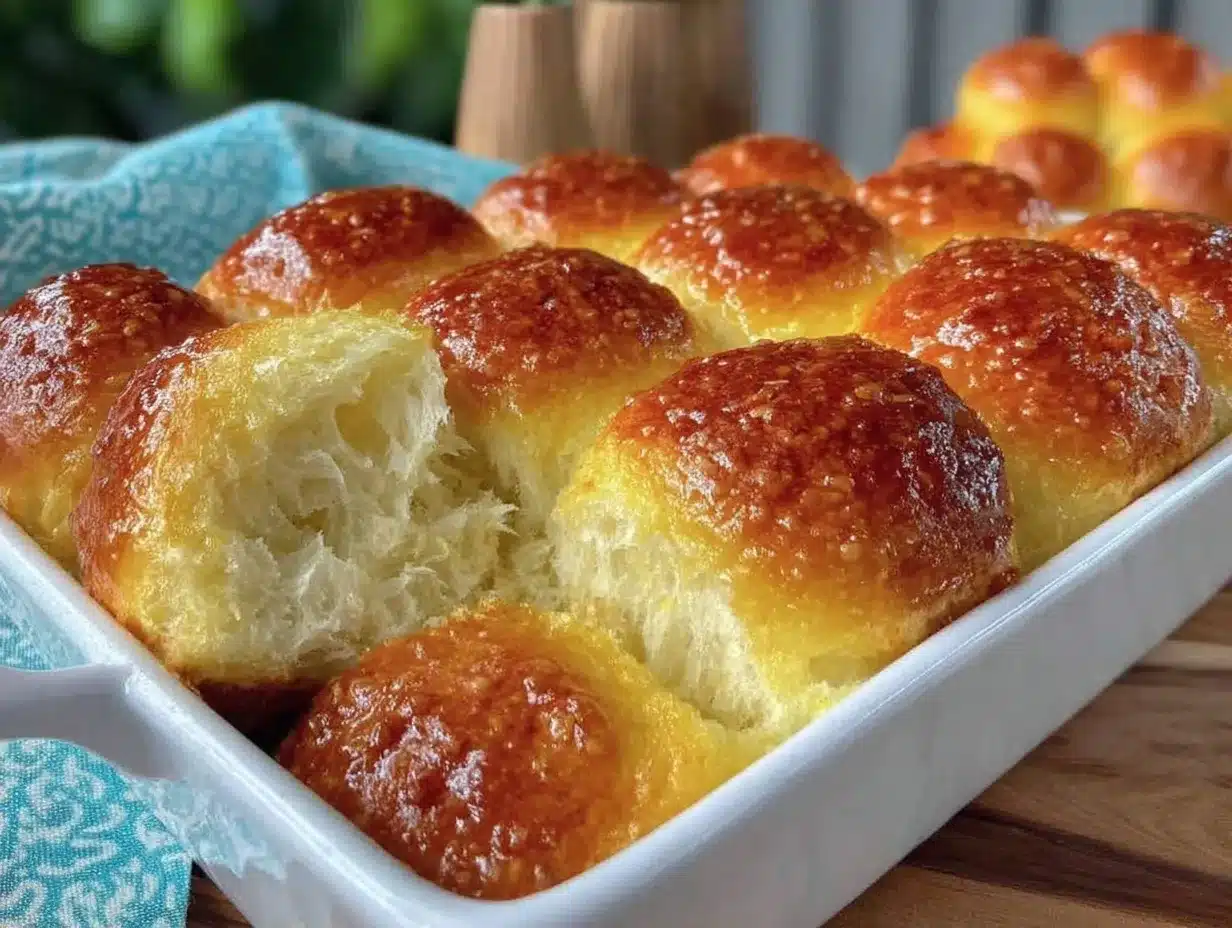
Let’s get into the nitty-gritty of making these rolls. The process is straightforward, but attention to detail makes all the difference. Here is how you do it.
- Activate the Yeast: In a small saucepan, heat the milk over medium heat until it reaches 110°F (43°C). It should be warm to the touch but not hot. Remove from heat and stir in the sugar and yeast. Let it sit for 5-10 minutes until it becomes foamy. This step confirms your yeast is alive. (Time: 10 minutes)
- Mix the Dough: In a large bowl, combine the flour and salt. Add the warm yeast mixture, the egg, and the melted butter. Stir until a shaggy dough forms. If using a stand mixer, switch to the dough hook and mix on low for 2 minutes. (Time: 5 minutes)
- Knead the Dough: Turn the dough out onto a lightly floured surface. Knead for 5-7 minutes until the dough is smooth and elastic. It should pass the windowpane test; stretch a small piece thin without it tearing. If using a mixer, continue on medium-low for 5 minutes. (Time: 7 minutes)
- First Rise: Place the dough in a lightly oiled bowl, turning to coat. Cover with plastic wrap or a damp towel. Let it rise in a warm place for 1-1.5 hours, or until doubled in size. (Time: 90 minutes)
- Shape the Rolls: Punch down the dough to release air. Divide it into 12 equal pieces. Roll each piece into a smooth ball by tucking the edges underneath. Place the balls seam-side down in a greased 9×13 inch baking dish. They should be touching. (Time: 10 minutes)
- Second Rise: Cover the dish and let the rolls rise again for 30-45 minutes. They should look puffy and jiggly. Preheat your oven to 375°F (190°C) during the last 15 minutes of rising. (Time: 45 minutes)
- Bake: Brush the tops with a beaten egg for a golden crust. Bake for 20-25 minutes until the tops are golden brown and the internal temperature reaches 190°F (88°C). (Time: 25 minutes)
- Finish: Immediately brush the hot rolls with melted butter. Let them cool in the pan for 5 minutes before serving. (Time: 5 minutes)
If the rolls are browning too quickly, cover them loosely with foil. If the dough is too sticky, add flour one tablespoon at a time. If it’s too dry, add milk one teaspoon at a time. Trust your hands; the dough should be soft but not sticky.
Cooking Tips & Techniques
Mastering yeast dough takes a bit of practice, but these tips will help you avoid common pitfalls. First, temperature is everything. Your milk should be around 110°F. If it’s too hot, you’ll kill the yeast. If it’s too cold, the yeast won’t activate. Use a thermometer to be sure. Second, don’t overcrowd your bowl during the first rise. The dough needs room to expand. If it’s too cramped, it won’t rise properly.
Another common mistake is under-kneading. Proper kneading develops gluten, which gives the rolls their structure. If you skip this step, your rolls will be dense. You should feel the dough become smooth and springy. Also, be patient during the second rise. If you bake them too soon, they will be dense and gummy. Wait until they are puffy and jiggle when you shake the pan.
I once tried to rush the rising process by putting the dough in a hot oven with the light on. It worked, but the rolls had a strange, yeasty flavor. Always use a moderate, warm spot in your kitchen. A draft-free corner is ideal. Also, make sure your baking dish is greased well. This prevents sticking and helps the sides get soft. If you use a non-stick spray, make sure it doesn’t contain flour, which can leave a white residue.
Multitasking is key. While the dough rises, prepare your main dish. This way, everything finishes at the same time. Keep an eye on the oven temperature; ovens can vary. Use an oven thermometer to check accuracy. If your rolls are coming out pale, your oven might be running cool. If they are burning, it might be too hot. Adjust accordingly. Consistency comes with practice, so don’t get discouraged if your first batch isn’t perfect.
How to Get the Softest Texture?
To get the softest texture, use the milk bath method. Scalding the milk breaks down the proteins, resulting in a tender crumb. Also, adding an egg and butter to the dough adds fat, which softens the gluten strands. Avoid using too much flour during kneading; this is the most common error. The dough should be slightly tacky, not dry.
Variations & Adaptations
Once you master the basic recipe, you can experiment with different flavors. Here are a few variations I love:
- Honey Butter Rolls: Substitute half the sugar with honey and add a teaspoon of cinnamon to the butter topping. This adds a warm, spiced sweetness that pairs well with roasted chicken.
- Garlic Herb Rolls: Add 1 teaspoon of dried rosemary and 1 teaspoon of minced garlic to the dough before the first rise. Brush with garlic butter after baking. These are amazing with pasta dishes.
- Whole Wheat Rolls: Replace half the all-purpose flour with whole wheat flour. This adds a nutty flavor and more fiber. You may need to add a little extra milk as whole wheat absorbs more liquid.
- Cheese Rolls: Stir in ½ cup of shredded cheddar or gruyere cheese into the dough. These are great for breakfast or as a snack.
For a vegan version, use plant-based milk and butter, and omit the egg or use a flax egg. The texture will be slightly different but still delicious. You can also make these into dinner roll bites by dividing the dough into smaller pieces and baking them for 15 minutes. They are perfect for appetizers. I often make a double batch and freeze half the dough for later. Just shape them, freeze on a tray, and then transfer to a bag. Thaw and bake when needed.
Serving & Storage Suggestions
These rolls are best served warm, straight out of the oven. They pair wonderfully with a variety of dishes. I love them with a hearty beef stew, a creamy mushroom soup, or a simple roasted chicken with lemon. The soft texture soaks up sauces beautifully. For a traditional side, serve them with a pat of salted butter and some jam.
Store leftovers in an airtight container at room temperature for up to 2 days. If you live in a humid climate, refrigerate them to prevent mold. To reheat, wrap them in foil and warm in a 350°F oven for 10 minutes. This restores their softness. You can also freeze them for up to 3 months. Wrap tightly in plastic and then foil. Thaw at room temperature and reheat.
Flavors develop over time, so day-old rolls have a slightly more intense wheat flavor. They are great for making croutons or bread pudding. Don’t toss them! I often make a savory bread pudding with leftover rolls, cheese, and herbs. It’s a delicious way to use up any extras. The key is to keep them covered to prevent them from drying out.
Nutritional Information & Benefits
Homemade dinner rolls are a source of carbohydrates, which provide energy for your body. Each roll contains approximately 120 calories, 2g of protein, and 1g of fat. They are a good source of iron and B vitamins, especially if you use enriched flour. The butter and milk add calcium and healthy fats. While they are not a low-carb option, they fit well into a balanced diet when enjoyed in moderation.
Making them at home allows you to control the ingredients. You can reduce the sugar or use whole wheat flour for added fiber. Store-bought rolls often contain preservatives and high-fructose corn syrup, which you avoid by baking from scratch. This recipe is naturally free from artificial additives. For those with gluten sensitivities, gluten-free alternatives are available, though the nutritional profile may vary. Always check your specific ingredients for allergens.
I view these rolls as a treat rather than a staple. Enjoying them as part of a meal with vegetables and protein creates a balanced plate. The act of baking itself can be stress-relieving, which is a wellness benefit in its own right. It connects you to the food you eat and the people you share it with.
Conclusion
Making homemade dinner rolls is a rewarding experience that elevates any meal. These rolls are soft, flavorful, and easier to make than you think. I hope you try this recipe and enjoy the process as much as I do. Feel free to customize the flavors to suit your taste. Whether you stick to the classic version or add some herbs and cheese, these rolls are sure to be a hit.
Thank you for trying this recipe. I’d love to hear how they turned out for you. Leave a comment below with your thoughts or share your variations. Don’t forget to rate the recipe and share it with your friends. Happy baking!
Frequently Asked Questions
Why are my rolls dense?
This usually happens if the yeast is old or the dough is over-floured. Make sure your yeast is active and avoid adding too much extra flour during kneading. The dough should be soft and slightly tacky.
Can I use instant yeast instead of active dry?
Yes, you can use instant yeast. You don’t need to proof it in milk first. Just mix it directly with the flour. You may need slightly less liquid, so add it gradually.
How do I store leftover rolls?
Store them in an airtight container at room temperature for up to 2 days. For longer storage, freeze them in a freezer-safe bag. Reheat in the oven to restore freshness.
Can I make these rolls ahead of time?
Yes, you can shape the rolls, cover them, and refrigerate them overnight. Let them come to room temperature and rise for an hour before baking. This is great for planning ahead.
What is the best way to soften stale rolls?
Wrap the rolls in foil and warm them in a 350°F oven for 10 minutes. This steam method helps rehydrate the bread and makes them soft again.
Pin This Recipe!
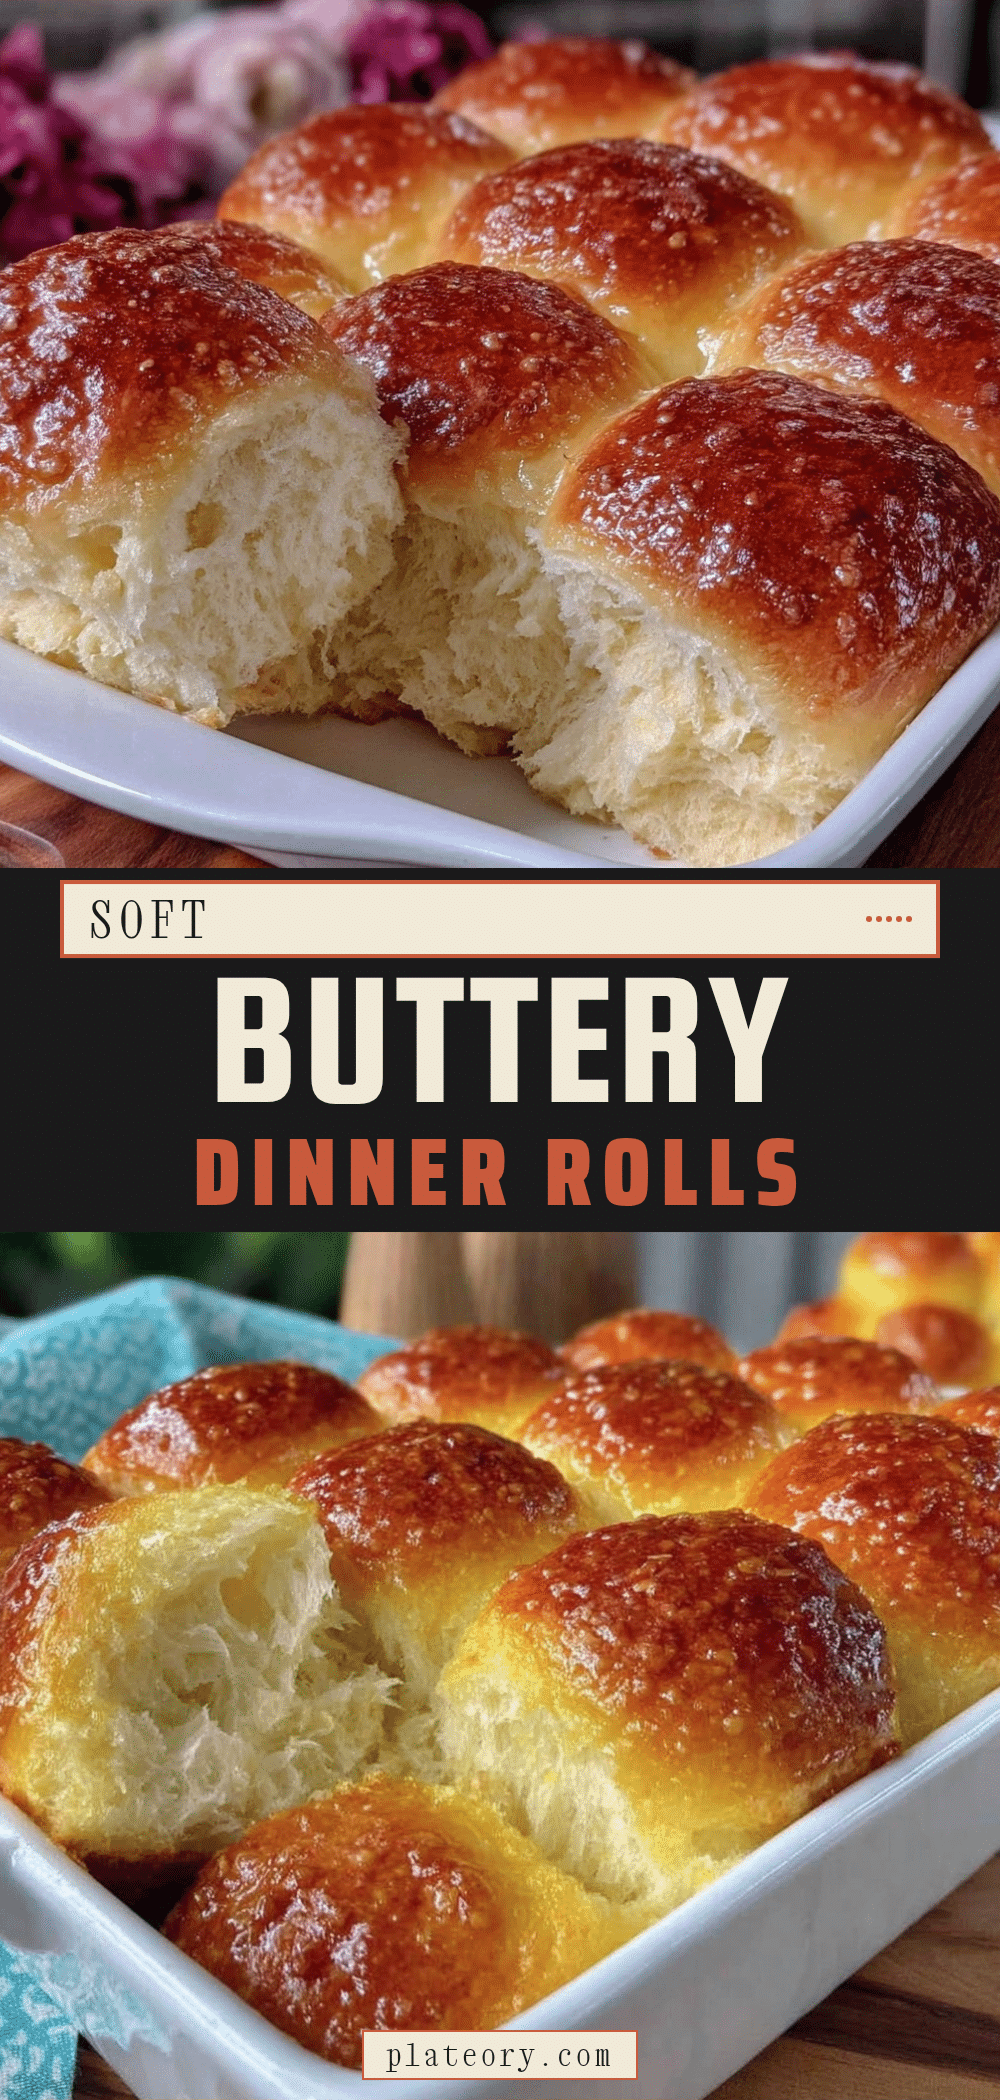
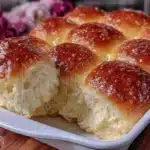
Homemade Dinner Rolls: Best Soft Side to Pair
- Total Time: 2 hours 30 minutes
- Yield: 12 servings 1x
Description
Soft, pillowy homemade dinner rolls made with simple ingredients. These versatile rolls feature a crisp golden crust and a tender, airy interior, perfect for pairing with stews, soups, or roasted meats.
Ingredients
- 4 cups (500g) All-Purpose Flour
- 1 packet (2 ¼ tsp or 7g) Active Dry Yeast
- 1 cup (240ml) Whole Milk
- ¼ cup (57g) Unsalted Butter, melted
- 2 tablespoons Granulated Sugar
- 1 large Egg, room temperature
- 1 ½ teaspoons Salt
- Extra Butter for brushing
Instructions
- Activate the Yeast: Heat milk to 110°F (43°C). Remove from heat and stir in sugar and yeast. Let sit for 5-10 minutes until foamy.
- Mix the Dough: In a large bowl, combine flour and salt. Add yeast mixture, egg, and melted butter. Stir until a shaggy dough forms.
- Knead the Dough: Knead by hand for 5-7 minutes or by mixer on medium-low for 5 minutes until smooth and elastic.
- First Rise: Place dough in an oiled bowl, cover, and let rise in a warm place for 1-1.5 hours until doubled in size.
- Shape the Rolls: Punch down dough. Divide into 12 equal pieces. Roll into balls and place seam-side down in a greased 9×13 inch baking dish, touching.
- Second Rise: Cover and let rise for 30-45 minutes until puffy. Preheat oven to 375°F (190°C) during the last 15 minutes.
- Bake: Brush tops with beaten egg. Bake for 20-25 minutes until golden brown and internal temperature reaches 190°F (88°C).
- Finish: Immediately brush hot rolls with melted butter. Cool in pan for 5 minutes before serving.
Notes
For the softest texture, scald the milk to break down proteins. Ensure yeast is fresh and milk temperature is around 110°F. If dough is too sticky, add flour sparingly; if too dry, add milk. Rolls can be frozen for up to 3 months.
- Prep Time: 30 minutes
- Cook Time: 25 minutes
- Category: Side Dish
- Cuisine: American
Nutrition
- Serving Size: 1 roll
- Calories: 120
- Sugar: 2
- Sodium: 150
- Fat: 1
- Saturated Fat: 0.5
- Carbohydrates: 20
- Fiber: 1
- Protein: 2
Keywords: homemade dinner rolls, soft bread rolls, yeast rolls, side dish, comfort food, baking from scratch